Introduction to 1/2″ PEX A Ball Valve
Installing a 1/2″ PEX A ball valve is a straightforward process, but proper installation ensures long-term functionality and prevents leaks. PEX A ball valves provide a reliable solution for controlling water flow within PEX systems. These valves are commonly used in residential plumbing systems, offering easy operation and a secure seal. The 1/2″ size is ideal for small to medium residential systems and appliances. Understanding the correct installation steps and necessary tools ensures a smooth installation process. This guide will walk you through each step to help you install a 1/2″ PEX A ball valve efficiently.
Ferramentas e materiais necessários
Before beginning the installation, gather all the necessary tools and materials. The following items will help you complete the job:
- 1/2″ PEX A ball valve
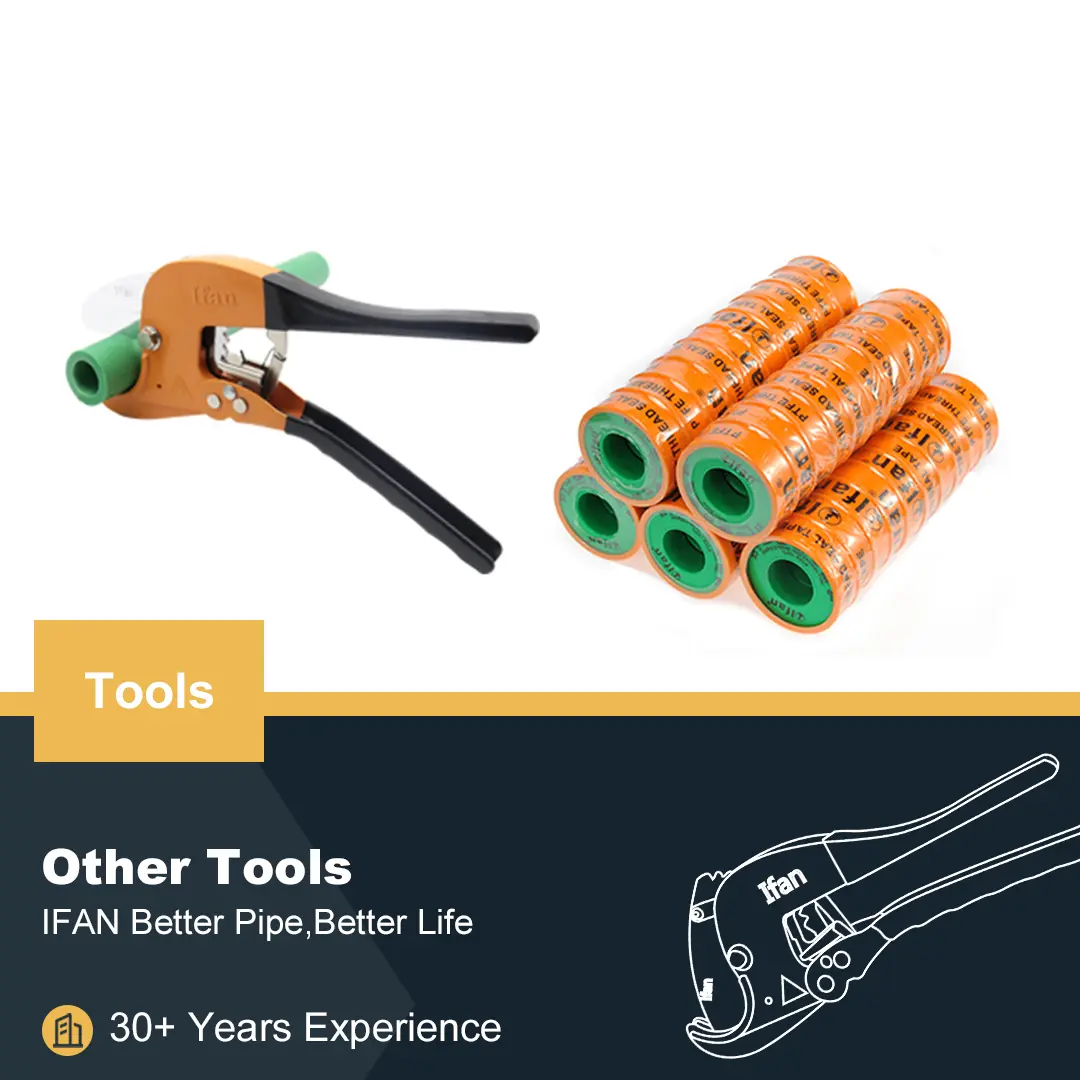
- Cortador de tubos PEX
- Crimp rings or clamps (depending on your system)
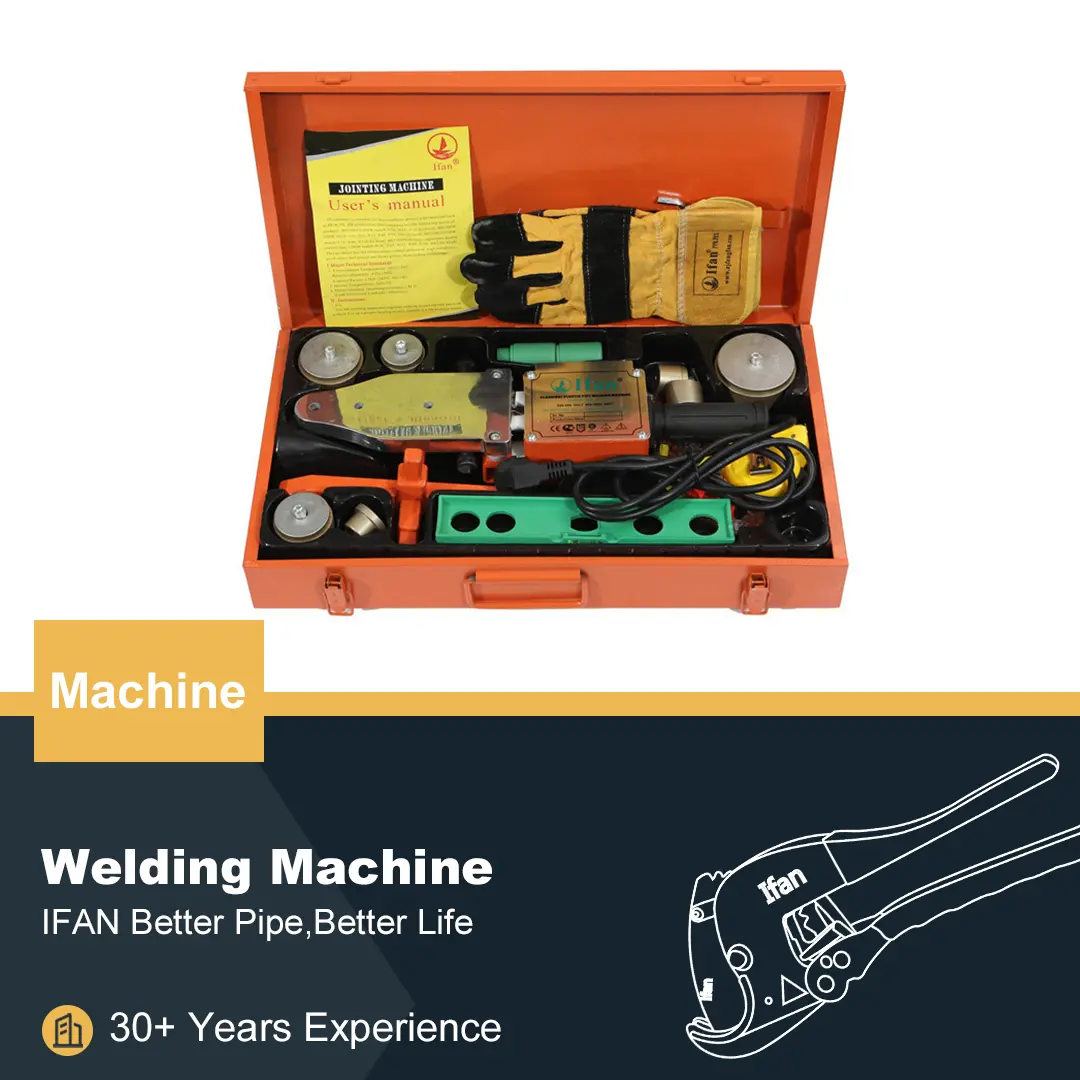
- Ferramenta de crimpagem ou fixação
- PEX fitting (if necessary for the valve connection)
- Fita métrica
- Marker for measuring pipe length
- Towel or bucket to catch residual water
Having these tools ready will ensure the installation goes smoothly and efficiently. Make sure to use the correct size valve for your PEX piping system to ensure proper compatibility and function.
Shutting Off the Water Supply
Before you start installing the 1/2″ PEX A ball valve, turn off the water supply to your plumbing system. Locate the main shutoff valve and turn it off to stop the flow of water. Afterward, open a faucet to relieve any remaining pressure in the pipes. This will prevent water from spilling out when you cut the PEX pipe. You can place a towel or bucket under the work area to catch any residual water that may drip out during the installation.
Measuring and Cutting the PEX Pipe
Once the water supply is off, measure and mark the section of the PEX pipe where you will install the ball valve. Use a measuring tape to ensure the valve fits correctly and is in the right position. With a PEX pipe cutter, carefully cut the pipe where you marked. Make sure to cut the pipe straight and clean to avoid any issues during installation. After cutting, check the edges of the pipe to ensure they are smooth and free from burrs. You can use a deburring tool to smooth out the cut edges to ensure a good seal when connecting the valve.
Attaching the 1/2″ PEX A Ball Valve
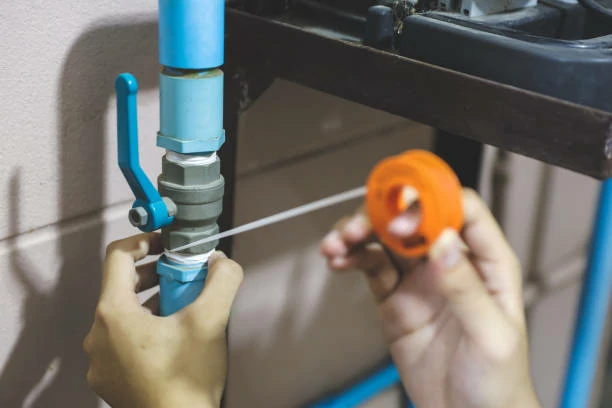
Now that the PEX pipe is cut and prepared, it’s time to install the 1/2″ PEX A ball valve. Insert the PEX pipe into the valve fitting. If using crimp rings, slide a crimp ring over the pipe before inserting it into the valve. For clamp systems, insert the pipe into the valve and secure it with a clamp ring. Ensure the pipe is fully seated inside the fitting for a secure connection. After positioning the pipe, use a crimping tool or clamp tool to tightly secure the fitting. This will prevent leaks and ensure a firm, leak-proof connection.
Testing the Installation for Leaks
After installing the 1/2″ PEX A ball valve, it is important to test the installation for leaks. Turn the water supply back on slowly, and check the area around the valve for any signs of leakage. If you notice any water escaping from the connections, turn the water off immediately and check the crimp or clamp rings. You may need to tighten the fittings or re-crimp the rings to ensure the connection is secure. Once you confirm that the valve is not leaking, test the ball valve by turning it on and off to ensure it operates smoothly.
Final Steps and Cleanup
Once you have confirmed that the valve is installed correctly and is functioning properly, proceed with the final steps. Clean up the work area by removing any tools, leftover materials, or debris. If you used towels or buckets to catch residual water, make sure to dry the area thoroughly. Double-check that the valve is operating smoothly by turning it on and off a few times. The installation is now complete. Regularly inspect the valve for any signs of wear, leaks, or damage to ensure it continues to operate effectively.
Conclusion: Ensuring Long-Term Functionality
Proper installation of a 1/2″ PEX A ball valve ensures reliable water flow control and prevents potential issues like leaks or system malfunctions. By following the steps outlined in this guide, you can ensure the valve is installed securely and operates smoothly. Make sure to use the correct tools, and perform regular maintenance to keep the valve in good working condition. With the right installation practices, your 1/2″ PEX A ball valve will provide efficient service in your plumbing system for years to come.
Norma internacional IFAN
IFAN A IFAN projeta seus produtos para atender a uma ampla gama de normas internacionais, incluindo ASTM F1974, ASTM F1281, CSA B137, DIN 16836, GB18997 e ISO 21003, ISO 15875, GB-T 18992, DIN 16892, ASTM F877, ASTM F2788, BS 7291, BS EN ISO 15875 e CSA B137. Essas normas garantem a qualidade, a durabilidade e o desempenho dos tubos e conexões PEX da IFAN em diversas aplicações. Ao aderir a essas normas, a IFAN fornece soluções confiáveis para sistemas de encanamento, aquecimento e abastecimento de água em mercados globais.
Contato
A IFAN é uma fabricante profissional com 30 anos de experiência, dedicada à produção de tubos, conexões e válvulas de plástico de alta qualidade. Nossos produtos incluem válvulas de latão, válvulas de PPR, além de diversos tubos e conexões para atender às diferentes necessidades dos clientes. Seja para tubos de encanamento e drenagem ou válvulas, a IFAN oferece uma gama diversificada de produtos de alta qualidade e custo-benefício para apoiar seus projetos. Abaixo, você encontra nossos dados de contato.
Responderemos seu e-mail ou fax em até 24 horas.
Você pode nos ligar a qualquer momento caso tenha alguma dúvida sobre nossa produção.
Para mais informações, visite nosso site https://www.ifanplus.com/
Por favor, envie um e-mail para: [email protected]
Whatsapp: + 86 19857948982