PPH (Polyphenylene H2) piping is known for its durability, chemical resistance, and thermal stability. These properties make it a preferred choice for industries requiring robust and long-lasting piping systems. To achieve optimal performance and longevity, proper installation of PPH piping is crucial. This article discusses the essential steps and best practices involved in installing PPH piping systems effectively.
Understanding PPH Piping
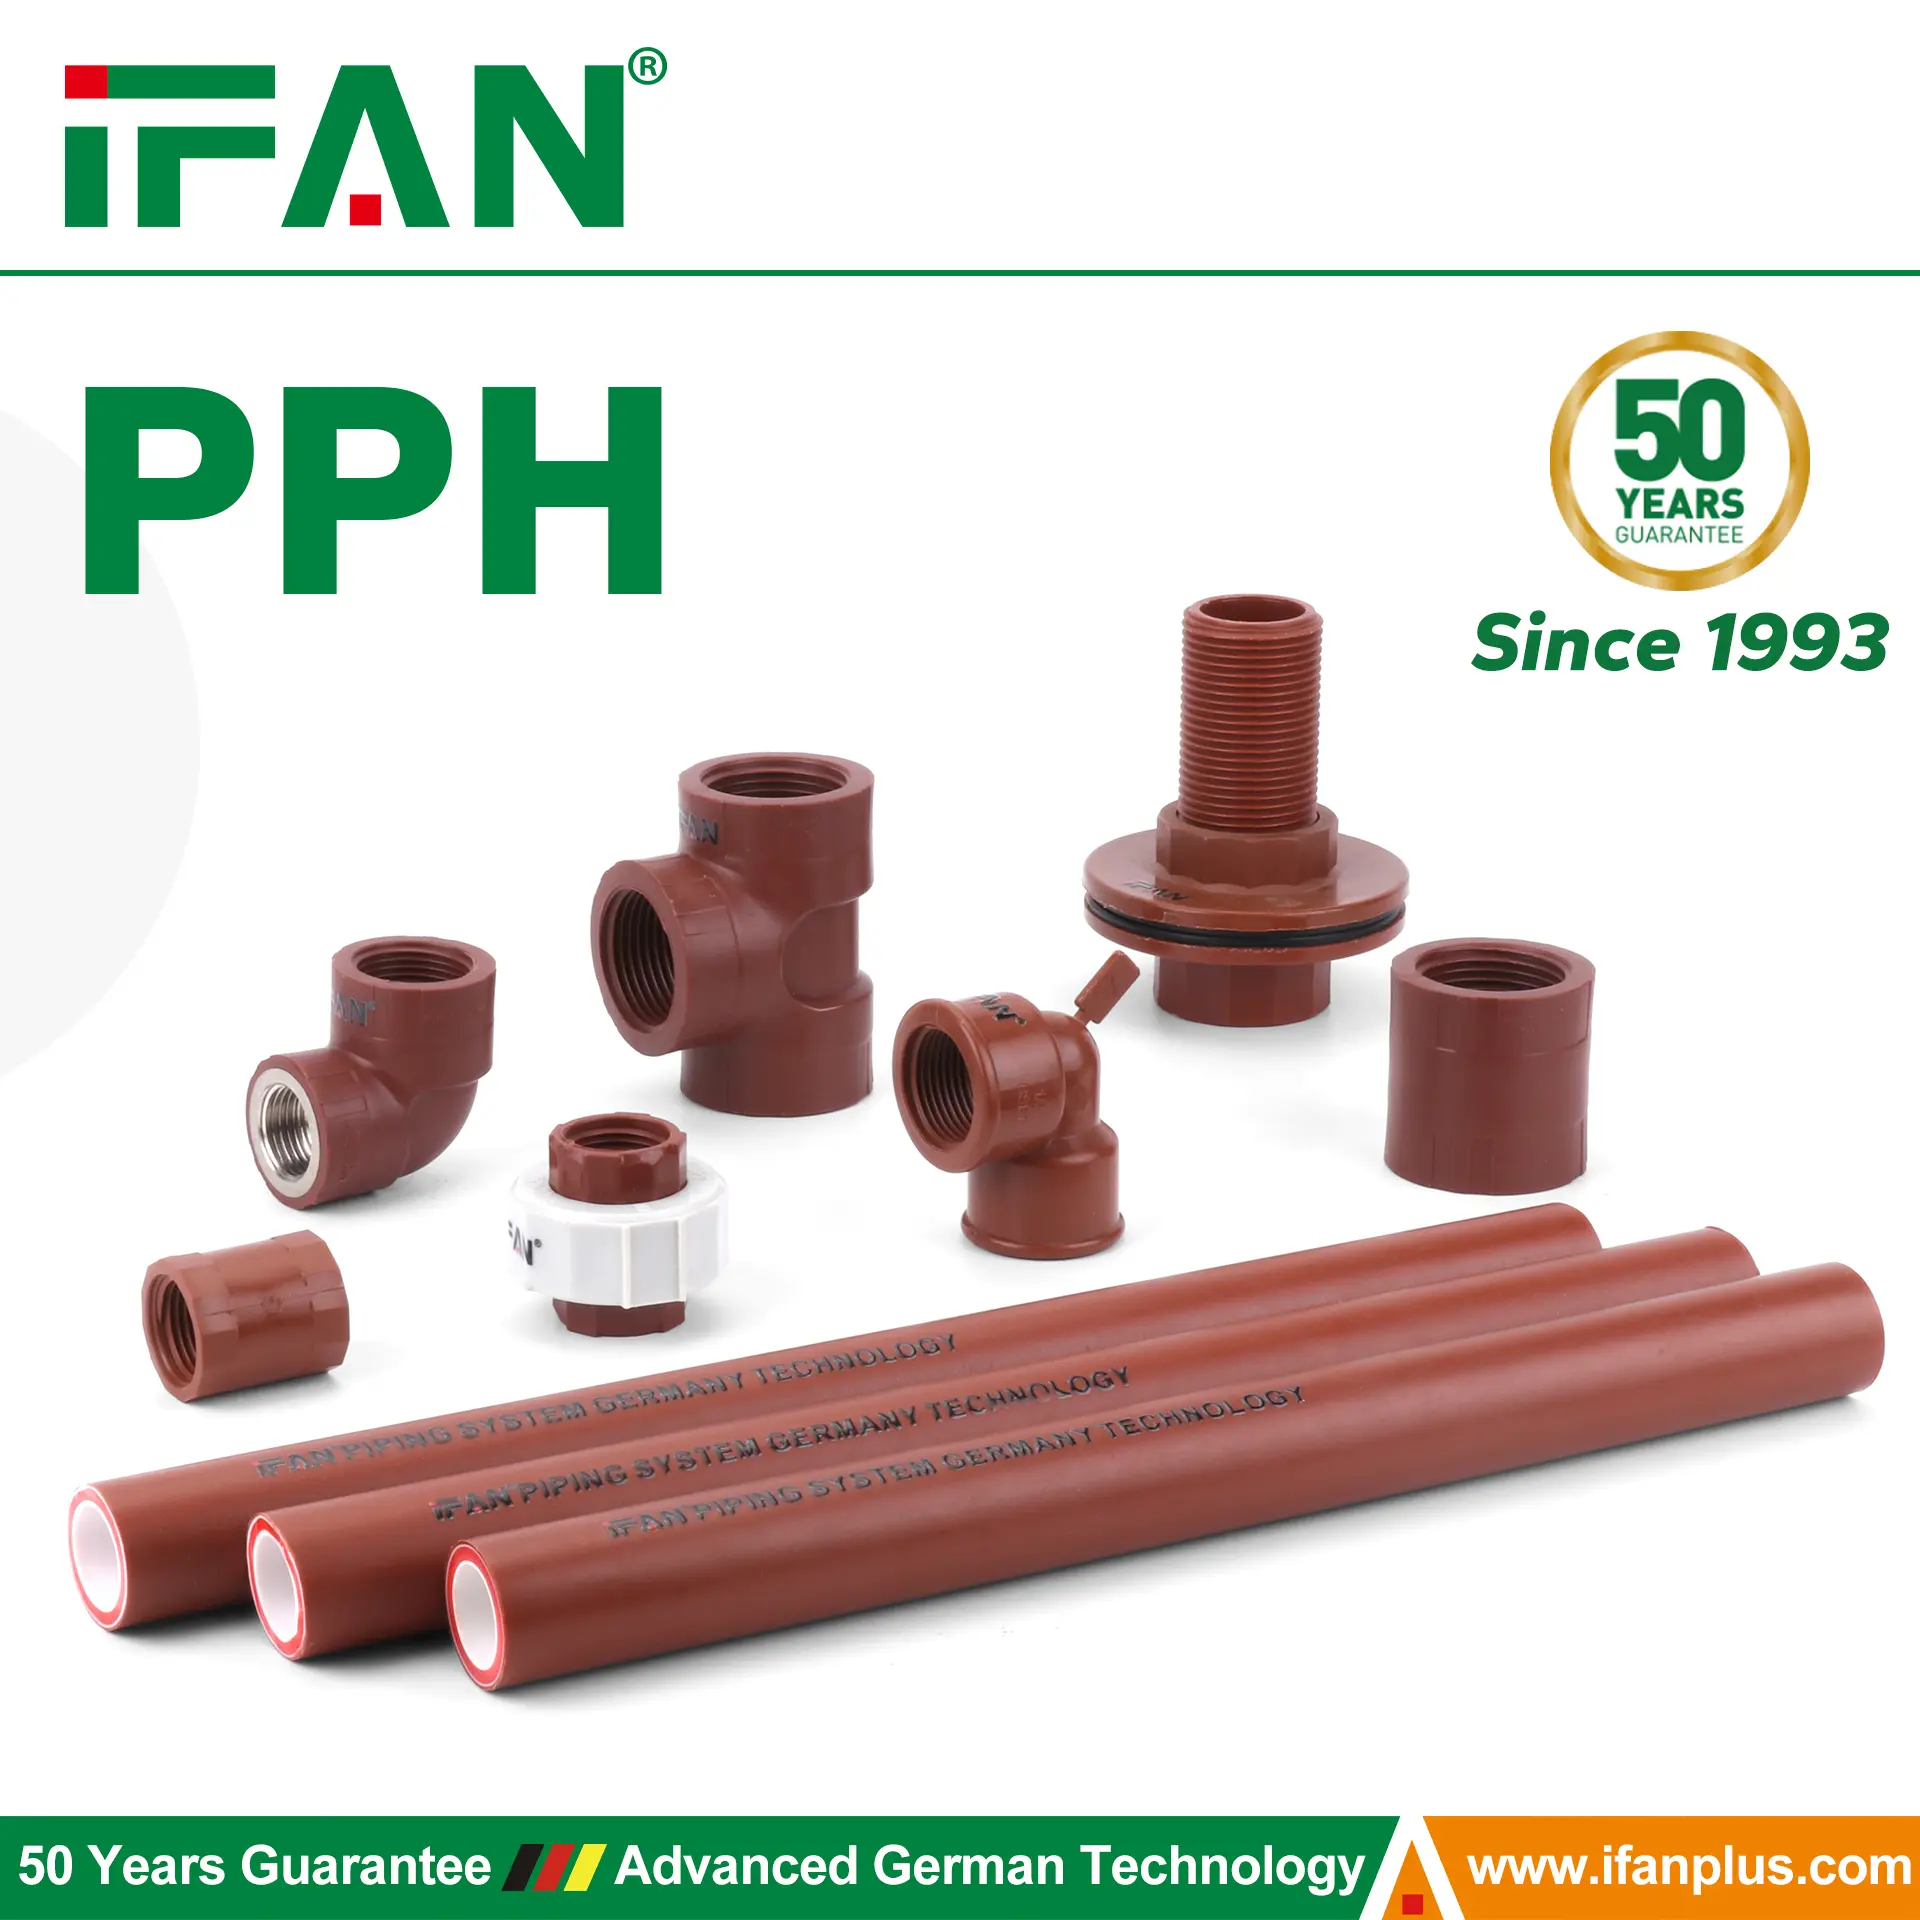
PPH pipes are thermoplastic pipes known for their high resistance to chemicals, corrosion, and high temperatures. They are commonly used in industries such as chemicals, food processing, water treatment, and pharmaceuticals. These pipes are also lightweight, easy to handle, and capable of withstanding a wide range of harsh conditions. Understanding the characteristics of PPH piping helps ensure the right installation techniques and tools are used, maximizing its benefits.
Preparing for Installation
Before starting the installation process, it is important to prepare the work area and gather the necessary materials and tools. Adequate preparation ensures a smooth and efficient installation process.
Site Assessment
Assess the installation site to identify any obstacles or challenges that might affect the pipe layout or accessibility. Consider environmental factors such as temperature extremes, potential exposure to UV rays, and proximity to other systems. Address these factors early to avoid complications during installation.
Material Check
Ensure that the PPH pipes, fittings, and any other materials meet the specifications required for the project. Inspect the pipes for any damage during transport. Confirm that the pipe sizes, pressure ratings, and types of fittings align with the project requirements.
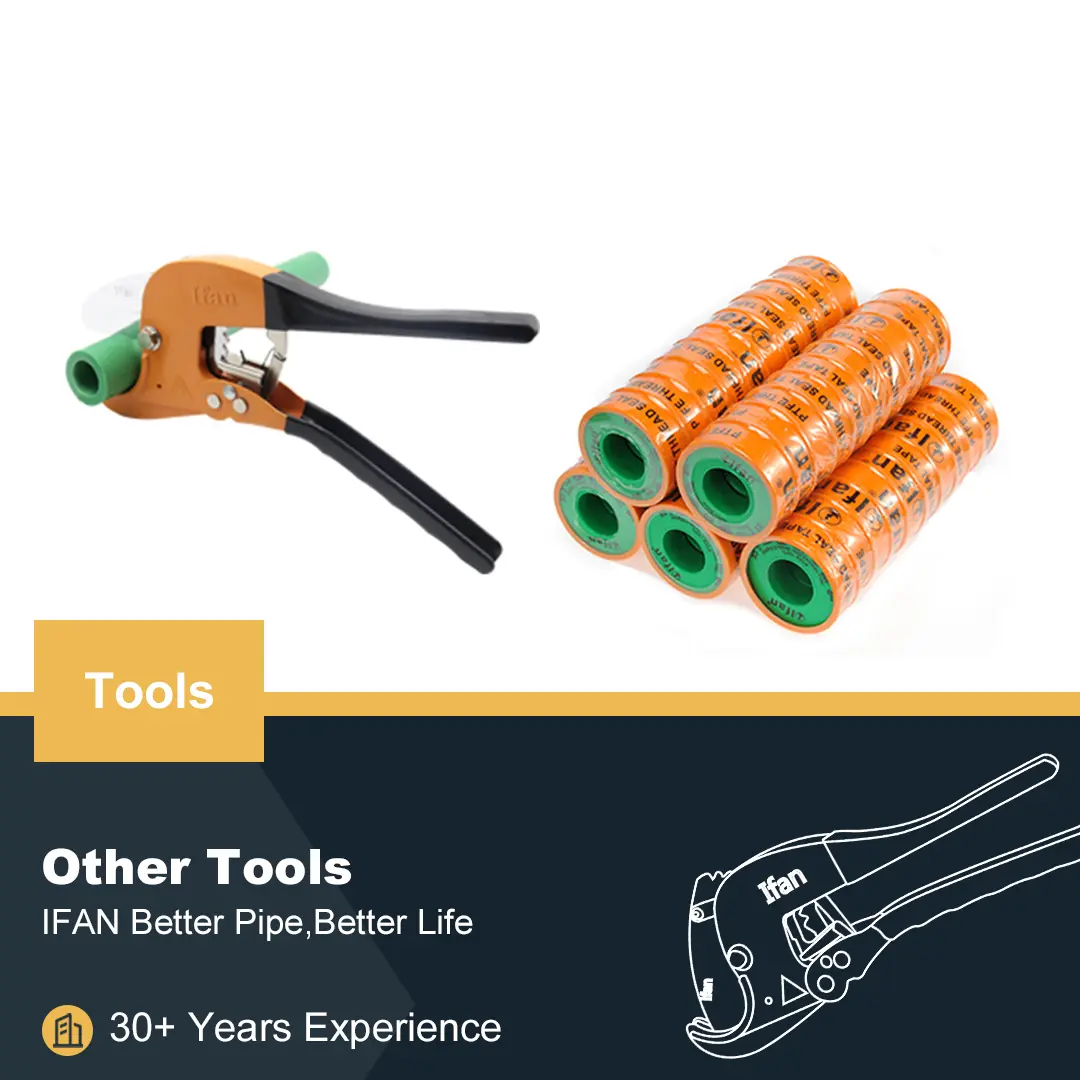
Tools and Equipment
Gather the required tools, including a pipe cutter, deburring tool, measuring tape, fusion machine (if using heat fusion), and other necessary hand tools. For mechanical connections, you will need wrenches, pliers, and tightening tools. For heat fusion, ensure that the fusion machine is calibrated correctly.
Safety Considerations
Safety is paramount during installation. Always wear appropriate personal protective equipment (PPE), such as gloves, safety glasses, and protective clothing. Ensure that the work area is well-lit and free of hazards that might cause accidents.
Step-by-Step PPH Piping Installation Process
The process of installing PPH piping can vary based on the type of system and whether you are using mechanical fittings or heat fusion welding. Below is an overview of the general steps involved in PPH pipe installation.
Step 1: Measuring and Cutting the Pipes
Accurate measurements are critical to ensure that the pipes fit properly and reduce the risk of leaks. Use a measuring tape to mark the required pipe length. Use a pipe cutter to make clean, straight cuts. Avoid jagged edges, as these can make fitting the pipes difficult. After cutting, use a deburring tool to remove any sharp edges and create a smooth surface.
Step 2: Preparing the Pipe Ends
Once the pipes are cut, it’s essential to prepare the ends for fitting or fusion. Clean the edges to ensure there is no dust, dirt, or debris. This step prevents contamination that could affect the quality of the joint. For mechanical fittings, ensure the pipe end aligns with the fitting perfectly, creating a snug and secure connection.
Step 3: Fitting the Pipes Together
PPH pipes are often joined using mechanical fittings or heat fusion welding. Both methods require precision to ensure a reliable, long-lasting joint.
Mechanical Fittings: Align the pipe with the fitting and tighten it using appropriate tools. It’s crucial not to overtighten the fitting, as this could damage the pipe or fitting.
Heat Fusion: Heat the pipe ends using a fusion machine until they reach the specified temperature. Once heated, quickly join the pipe ends together, applying the correct pressure. Allow the joint to cool and solidify, ensuring a strong and leak-free connection.
Step 4: Pipe Installation
Once the pipes are prepped and ready, install them into the piping system according to the layout plan. Lay the pipes in their designated position, ensuring that they are properly supported. Use pipe brackets, hangers, or clamps to secure the pipes and prevent them from sagging. Proper support ensures the pipes maintain their alignment, reducing the risk of strain or failure at the joints.
Step 5: Testing the System
After installation, thoroughly test the piping system to check for leaks or weak points. Perform a pressure test to ensure the system holds up under normal operating conditions. Check each joint and fitting to confirm that they are secure and that no water or chemical leakage occurs. Make any necessary adjustments before putting the system into full operation.
Best Practices for PPH Piping Installation
By following some key best practices, you can improve the efficiency and longevity of your PPH piping system.
Proper Alignment and Support
Ensure that PPH pipes are aligned correctly and properly supported throughout the installation. Misalignment can cause strain at the joints, leading to premature wear or failure. Install support brackets at regular intervals to prevent sagging and to distribute the weight of the pipes evenly.
Control Temperature During Heat Fusion
When using heat fusion to join PPH pipes, precise temperature control is vital. Overheating can weaken the pipes, while underheating can result in a poor bond. Ensure that the fusion machine is calibrated to the correct temperature and follow the manufacturer’s guidelines for heating times.
Avoid Over-Tightening Mechanical Fittings
For mechanical fittings, tighten the connections carefully. Over-tightening can damage the pipe, lead to cracks, or stress the fitting. Follow the manufacturer’s instructions for torque specifications to ensure a secure connection without over-stressing the materials.
Use Compatible Fittings
Always use fittings that are compatible with PPH pipes. Mismatched fittings can cause leaks, poor performance, and system failure. Confirm that all components, including valves, seals, and pipe connectors, are specifically designed for use with PPH piping.
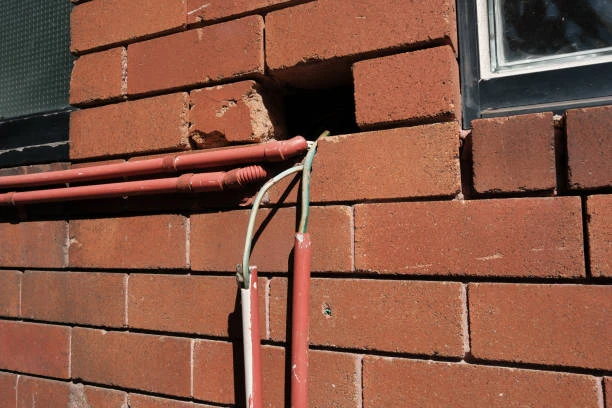
Protect Pipes from UV Exposure
PPH pipes can degrade when exposed to UV rays for extended periods. If the pipes are exposed to direct sunlight, consider using UV-resistant coatings or protective covers. Alternatively, install the pipes underground or in shaded areas to limit exposure.
Troubleshooting Installation Issues
Despite proper preparation, issues may arise during installation. Addressing these issues promptly can prevent long-term complications.
Leaks at Joints
Leaks at joints often occur due to improper fusion or misaligned fittings. Inspect the joint for any signs of inadequate fusion or misalignment. If the joint was fused incorrectly, reheat and rejoin the pipe ends. For mechanical fittings, check that the seal is intact and that the fitting is tightened correctly.
Pipe Misalignment
Misaligned pipes can cause leaks, system inefficiency, or pipe stress. If misalignment occurs, loosen the pipes and reposition them. Use support brackets to help maintain proper alignment throughout the system.
Excessive Pipe Movement
PPH pipes can expand or contract with changes in temperature. To accommodate this, install expansion loops or flexible joints to allow for pipe movement. This prevents undue stress at the joints, which could lead to leaks or damage.
Improper Pipe Support
Insufficient pipe support can lead to sagging or uneven pressure distribution. Reassess the placement of support brackets or hangers, ensuring that they are spaced correctly. Proper support helps maintain the integrity of the system, reducing the risk of failure.
Conclusion
Proper installation of PPH piping systems ensures maximum performance, durability, and longevity. By following the outlined steps and best practices, you can avoid common issues and build a reliable piping system that will serve its intended purpose for years. A successful PPH installation relies on accurate measurements, the right tools, proper techniques, and attention to safety. By adhering to these principles, you will create an efficient system with minimal need for future repairs or replacements.
IFAN international standard
IFAN’s PPH pipes comply with multiple international and national standards, ensuring high quality and reliability. These standards include ISO 15494 Series standards, EN ISO 15494, DIN 8077/8078, ASTM F2389, GB/T 19472 Series standards, and NBR 15494. Each standard defines specific requirements for material properties, dimensions, performance, and testing methods. By adhering to these standards, IFAN guarantees durability, chemical resistance, and safety in various applications, including industrial piping, water treatment, and chemical transport systems. These certifications demonstrate IFAN’s commitment to excellence and global compatibility.
Contact
IFAN is a professional manufacturer with of experience, dedicated to producing high-quality plastic pipes, fittings, and valves. Our products include brass valves, PPR valves, as well as various pipes and fittings to meet different customer needs. Whether you need plumbing and drainage pipes or valve products, IFAN can provide a diverse range of high-quality, cost-effective products to support your projects. Below is our contact information.
We will reply your email or fax within 24 hours.
You can call us at any time if there is any question on our production.
For more information,pls visit our webside https://www.ifanplus.com/
Pls Mailto: [email protected]
Whatsapp: + 86 19857948982