Introduction
PPR pipe and fittings have become increasingly popular due to their versatility. If you’re considering using them in your next project, this article will provide you with insights into how PPR piping systems are installed and the preparations required. Let’s dive deeper into the world of PPR piping systems.
Pre-Installation Preparation
Before installing PPR pipes, it’s crucial to consider the following:
- Check the product quality assurance certificate to ensure compliance with relevant standards.
- Inspect the pipes for defects such as bubbles, cracks, or grooves on the surface.
- Ensure the pipe ends are intact, smooth, and evenly colored.
- Verify that the pipe sizes and quantities meet the requirements.
- Ensure the pipe wall thickness and roundness meet the installation’s water tightness requirements.
- Avoid excessively thin pipe walls to prevent compromising pressure resistance and causing cracking.
- Pay attention to deviations in pipe material sizes to avoid affecting sealing and connection strength, thus preventing leakage issues.
How Should Technical Personnel Prepare Before Installing PPR Pipes?
Understanding the Design
To ensure a seamless installation process, technical personnel must gain a comprehensive understanding of the design drawings. It’s essential to engage with project owners, supervisors, and designers to address any uncertainties or clarifications needed. This proactive approach helps prevent issues during installation.
Thorough Material Inspection
Before proceeding with installation, conduct a detailed inspection of all pipes, fittings, and related components. Confirm that each item adheres to project specifications, is free from defects, and comes with reliable warranties. Examine both the inner and outer surfaces of pipes and fittings to ensure they are smooth and free from imperfections such as bubbles, cracks, or peeling.
Proper Storage Practices
To preserve the integrity of PPR pipes and fittings, store them in a dry, well-ventilated area, shielded from direct sunlight and heat sources. Keep the materials on a flat surface to avoid bending and ensure the stack does not exceed 1.5 meters in height to prevent any potential damage.
The Importance of Layout Planning in PPR Pipe Installation
Layout planning is a crucial first step in any PPR (Polypropylene Random Copolymer) pipe installation. It plays a pivotal role in ensuring the entire system functions effectively and efficiently. Here’s why it matters:
- Accurate Measurements: Precise layout planning helps in mapping out the dimensions of the area where pipes will be installed. This eliminates the risk of incorrect sizing, which could lead to costly delays and repairs.
- Efficient Resource Utilization: By carefully planning the pipe routes, you can identify the shortest and most effective paths for the installation. This minimizes waste of materials and reduces costs, all while maintaining optimal flow rates.
- Prevention of Structural Complications: Proper layout planning takes into consideration the necessary bends and fittings. This foresight helps avoid unnecessary strain on the pipes, which could lead to premature wear or system failures.
- Simplified Installation Process: Mapping out the pipe layout in advance provides a clear blueprint for installers to follow, which streamlines the installation process. This ensures each component is correctly positioned and securely installed.
- Future Maintenance and Scalability: A well-thought-out layout design makes future maintenance easier. It also allows for simple scaling of the system, should expansions or modifications be needed.
In conclusion, meticulous layout planning is fundamental to successful PPR pipe installation, influencing everything from material efficiency to long-term system reliability.
How to Properly Store PPR Pipes and Fittings Before Installation
To ensure the longevity and performance of PPR pipes and fittings, careful storage is essential. Here’s a simple guide to help you store these materials correctly:
- Choose the Right Location
Store the pipes and fittings in a space that is well-ventilated, like a warehouse or shed. This helps prevent moisture accumulation, which can damage the materials over time. - Avoid Direct Sunlight
Keep the pipes and fittings away from direct sunlight and heat sources. Excessive heat can lead to warping or degradation, compromising their structural integrity. - Positioning Matters
Lay the pipes flat during storage. This prevents bending and maintains their shape. Avoid stacking them too high; a maximum height of 1.5 meters is recommended to prevent unnecessary stress that could lead to deformation. - Organizational Tips
Use shelving or racks if available. This not only optimizes space but also allows for easy access during installation. Clearly label and sort different sizes and types to streamline the installation process later.
Following these simple storage tips will help ensure that your PPR pipes and fittings remain in excellent condition until you’re ready to use them.
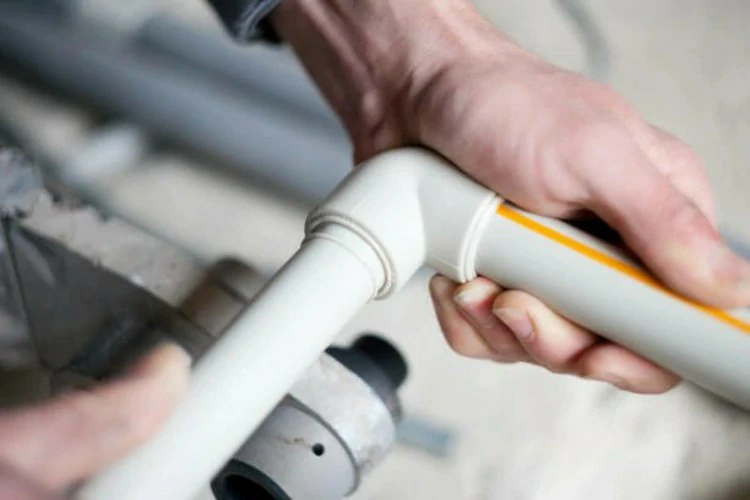
Installation Process
The installation of PPR pipes involves utilizing a heat fusion connection method, and it allows for a single connection between pipes and fittings. Hence, accurate construction according to design requirements and specific site conditions is essential when installing supply water pipes inside walls. If pipes are buried underground, the number of joints in the underground portion should be minimized as much as possible. To prevent damage to pipes during secondary renovations, use colored paint to mark the pipe’s location on the walls or floors after installation. Additionally, proper installation of pipe supports according to specifications is crucial for PPR pipe installation.
Why is Record-Keeping Important in the PPR Pipe Installation Process?
Record-keeping plays a crucial role in the PPR pipe installation process, providing numerous benefits that ensure efficiency and reliability.
Facilitates Future Maintenance and Repairs
- Comprehensive Documentation: By keeping thorough documentation of every installation, including details about materials used and the procedures followed, you create a valuable reference. This can expedite troubleshooting and streamline future maintenance efforts.
- Issue Tracking: Documenting any issues that arise during the installation allows you to identify recurring problems and address them proactively, minimizing potential downtime.
Ensures Quality and Compliance
- Test Results: Recording test results ensures that the installation meets industry standards and regulations. This enhances the overall quality of the work and helps in maintaining compliance with safety guidelines.
Assists in Inventory Management
- Material Tracking: By logging the materials used, you can manage inventory more effectively, preventing shortages and ensuring that you always have the right supplies on hand for future projects.
Enhances Transparency and Accountability
- Team Coordination: Clear records help keep all team members informed and accountable, ensuring that everyone is on the same page, which is especially beneficial when working on larger projects that require collaboration across multiple teams.
In essence, meticulous record-keeping isn’t merely about jotting down details—it’s about creating a foundation for efficient, compliant, and high-quality installations.
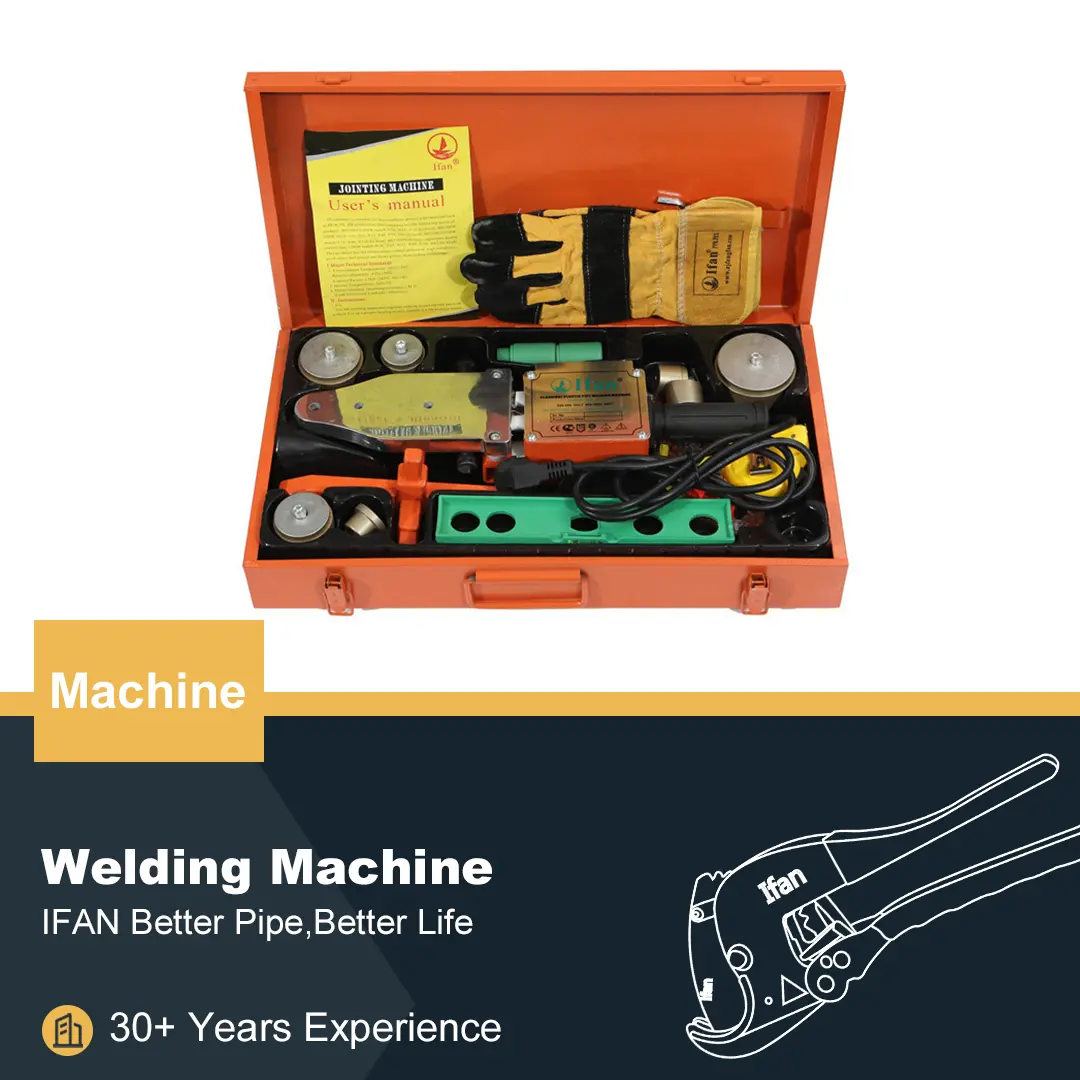
Heat Fusion Connection Procedure
- Ensure the welding machine temperature reaches 260°C, confirm the light bulb is off, and clean the welding tool.
- Use pipe scissors to cut the pipe vertically along the axis.
- Insert the pipe into the dedicated welding tool. The tool is designed to prevent errors that operators may make.
- Immediately connect the pipe and fitting removed from the welding tool without wasting time. Do not twist the pipe and fitting.
Steps to Pressure Test PPR Pipe Systems
Pressure testing is a crucial step to ensure the integrity and safety of PPR (Polypropylene Random Copolymer) pipe systems. Here’s a detailed guide on how to perform a pressure test:
- Preparation:
- Seal All Openings: Ensure all open ends and joints of the pipe system are sealed tightly. Cap any outlets using appropriate fittings to prevent leaks.
- Clean the System: Remove any debris or dirt that might obstruct the pressure test by flushing the system lightly beforehand.
- Filling the System:
- Choose Your Medium: Depending on your requirements, fill the pipe system with water or air. Water is typically preferred as it reduces the risk of pipe damage.
- Ensure Complete Filling: For water testing, make sure the entire system is filled to avoid air pockets, which can affect test results.
- Applying Pressure:
- Utilize Appropriate Equipment: Use a calibrated pressure pump to gradually increase pressure within the system. This helps avoid sudden surges that might damage the pipes.
- Reach Required Pressure: Consult relevant standards or project specifications to determine the necessary pressure level. Typically, this is 1.5 times the operating pressure of the system.
- Monitoring:
- Inspect for Leaks: Once the system reaches the required pressure, keep it stable for an observation period, generally 30 minutes to an hour.
- Check for Pressure Drops: Use gauges to monitor any drops in pressure. An unchanged reading indicates a leak-free system.
- Documentation:
- Record Results: Document the test results, including initial and final pressure readings, duration of the test, and any observations made during the process.
By meticulously following these steps, you can ensure that your PPR pipe system is properly tested for leaks and structural integrity, safeguarding against future failures.
Warning:
- If the operating environment temperature is below 5°C, the heating time should be extended by 50%.
- Before stabilizing the welded pipe, remove the aluminum cap to adapt to the welding depth.
Important Note: Before operation, ensure your welding machine is in good working condition.
Steps to Commission a PPR Pipe System After Pressure Testing
Once your PPR (Polypropylene Random) pipe system successfully passes the pressure test, it’s time to commission it for use. Here’s what you need to do:
- Inspect Valves and Fittings:
- Check Functionality: Ensure that all valves and fittings operate smoothly. They should allow for easy opening and closing without any unusual resistance.
- Look for Leaks: Reinspect connections for leaks even if the pressure test was successful. Sometimes, minor leaks can go unnoticed under pressure.
- Review System Design Compliance:
- Cross-Verify Specifications: Double-check that the installed system aligns with the original design requirements. This includes pipe size, flow rate capabilities, and any specific configuration that was planned for the setup.
- Cleanse the System:
- Flush Pipes: Rinse out any debris or residues that might have accumulated during installation. This step is crucial to prevent contamination or clogging once the system is in use.
- Document and Record:
- Log Test Results: Maintain comprehensive records of pressure test results and any adjustments made during the commissioning process. Accurate documentation helps in future maintenance and troubleshooting.
- Final Inspection and Approval:
- Conduct a Walkthrough: Execute a final physical inspection to ensure everything is in place and ready for operation.
- Sign Off: Obtain approval from a qualified inspector or relevant authority to officially commission the system for use.
By following these steps, you can confidently commission your PPR pipe system, ensuring it is fully operational and meets all necessary standards.
Conclusion
PPR piping systems are favored for their easy installation, long service life, corrosion resistance, and resistance to scaling. Therefore, proper preparation is essential before installing PPR pipes, and the heat fusion connection procedure must be strictly followed to ensure the quality and effectiveness of the piping system. After installation, correct placement of pipe supports and using colored paint to mark pipe locations are necessary. In summary, proper installation of PPR pipes is key to ensuring their stable operation and prolonging their service life.
Contact
IFAN is a professional manufacturer with of experience in producing plastic pipes, fittings, and valves in China. If you’re interested in IFAN’s copper valves, PPR valves, pipes, and fittings, feel free to contact us. IFAN provides various standard pipes to meet your specific needs. Click below to learn more about IFAN’s diverse range of cost-effective valve products and related piping system products.
We will reply your email or fax within 24 hours.
You can call us at any time if there is any question on our production.
For more information,pls visit our webside https://www.ifanplus.com/
Pls Mailto: [email protected]
Whatsapp: + 86 19857948982
FAQ
How should PPR pipes be supported and protected during installation?
To prevent damage to pipes during secondary renovations, use colored paint to mark the pipe’s location on the walls or floors after installation. Additionally, proper installation of pipe supports according to specifications is crucial for PPR pipe installation.
Support and Protection Guidelines for PPR Pipes:
- Pipe Support: Ensure pipes are adequately supported along their length, especially at bends, fittings, and where they pass through walls or floors. Utilize pipe hangers or brackets as specified in the design drawings to maintain stability and prevent sagging.
- Protection from Damage: Install metal casings or sleeves around pipes passing through foundation walls. This practice not only shields the pipes from potential harm but also allows for necessary movement. Leave sufficient clearance above the reserved holes to accommodate any shifts or expansions.
By adhering to these guidelines, you can ensure that your PPR pipes are both well-supported and protected throughout the installation process, minimizing the risk of damage and enhancing the longevity of the system.
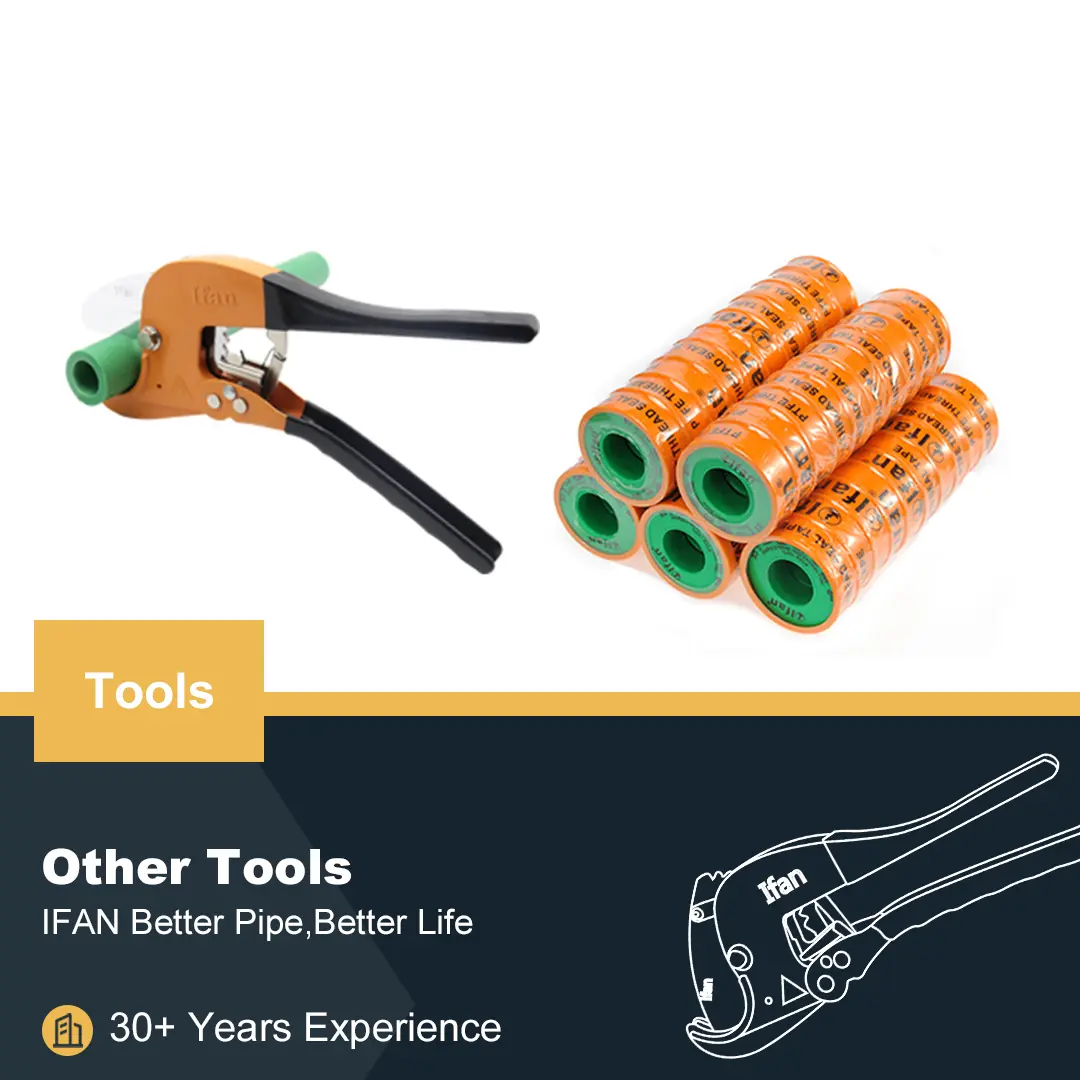
What tools should be used for cutting PPR pipes, and how should the cut ends be prepared?
Use pipe scissors to cut the pipe vertically along the axis. Ensure the cut is clean and perpendicular to maintain proper pipe alignment. For best results, you can also use pipe cutters or a saw, as these tools offer precision and ease.
After cutting, it’s essential to prepare the pipe ends by removing any burrs or rough edges. This step is crucial for achieving a smooth connection and preventing potential leaks.
What precautions should be taken to avoid improper connections in concealed PPR pipes?
To prevent damage to pipes during secondary renovations, use colored paint to mark the pipe’s location on the walls or floors after installation. Additionally, proper installation of pipe supports according to specifications is crucial for PPR pipe installation.
Avoiding Improper Connections: Concealed pipes, such as those within walls or floors, should not be joined using threaded or flange connections. These types of connections are prone to leaks and failures over time, which can lead to costly repairs and damage. Instead, ensure that connections are made using methods specifically designed for concealed applications, prioritizing long-term reliability and integrity of the piping system.
By combining these practices, you ensure both visibility and durability for your piping installations, reducing the risk of damage and improper connections.