Introduction
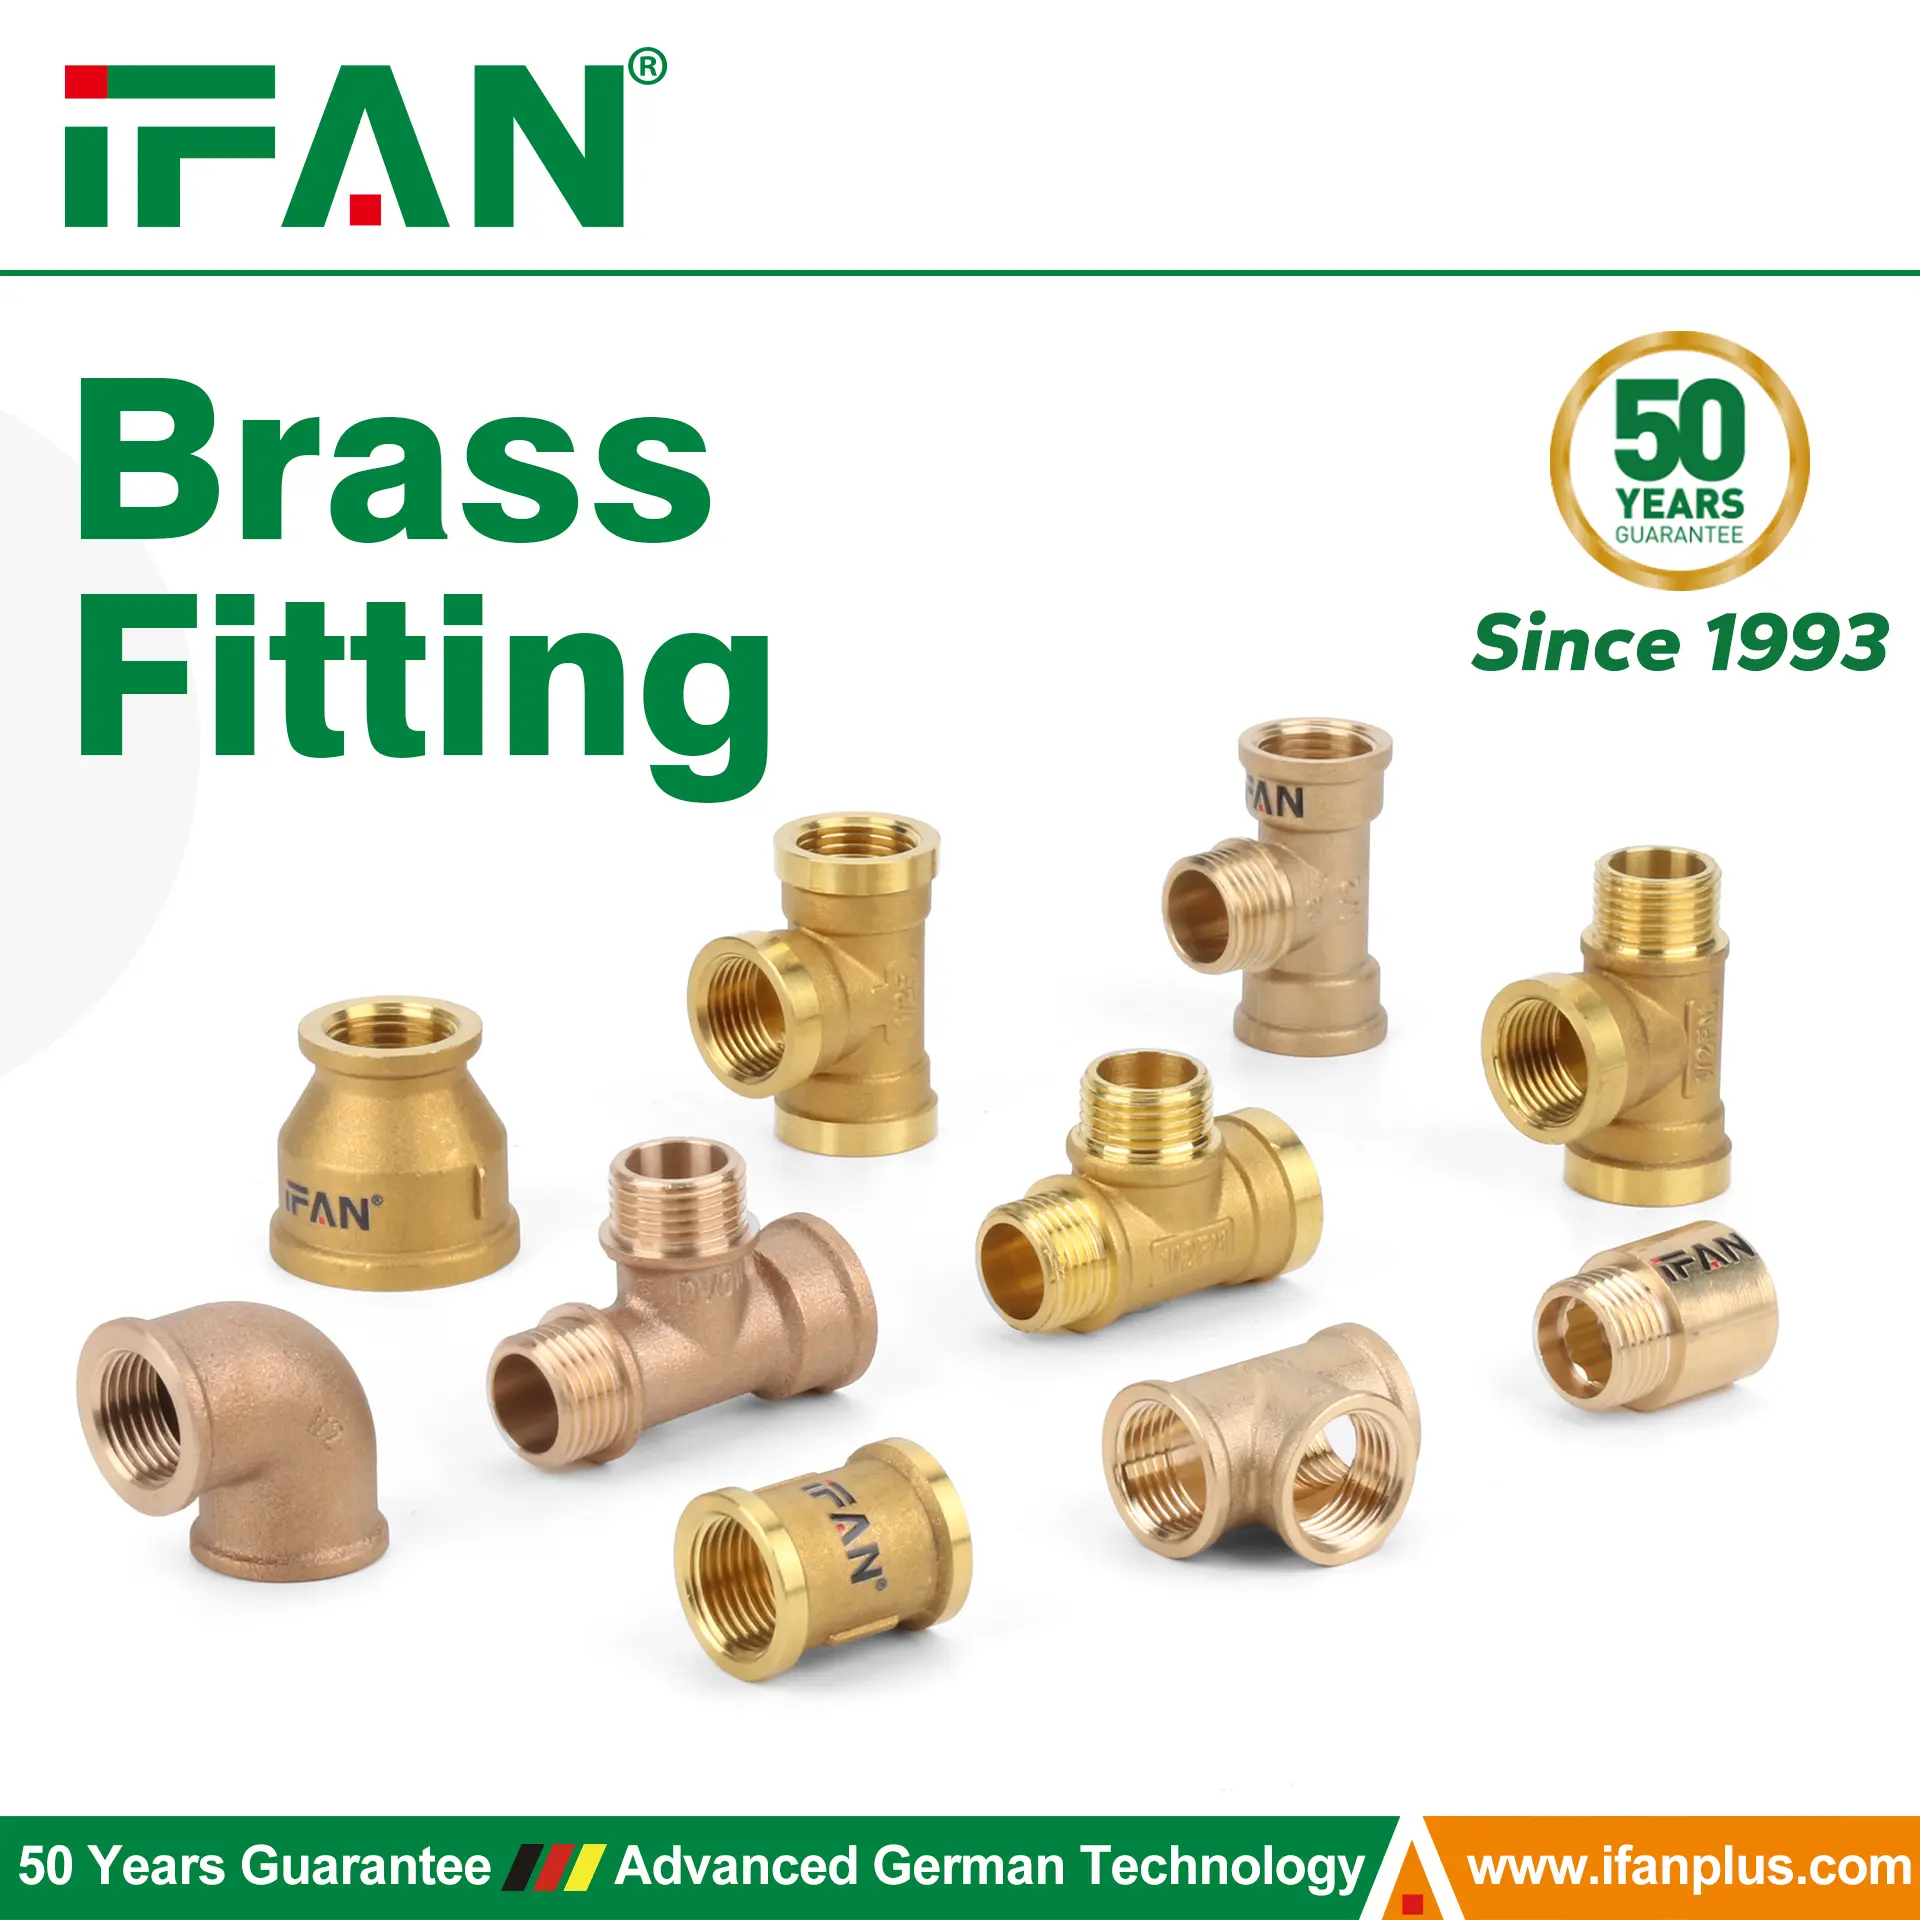
Installing copper piping fittings requires precision, the right tools, and a clear understanding of plumbing techniques. Many professionals and DIY enthusiasts choose copper for its durability, corrosion resistance, and ability to handle high temperatures and pressure. Proper installation ensures a leak-free system that lasts for decades. This guide explains every step of the installation process, from preparation to final testing.
Preparing for Installation
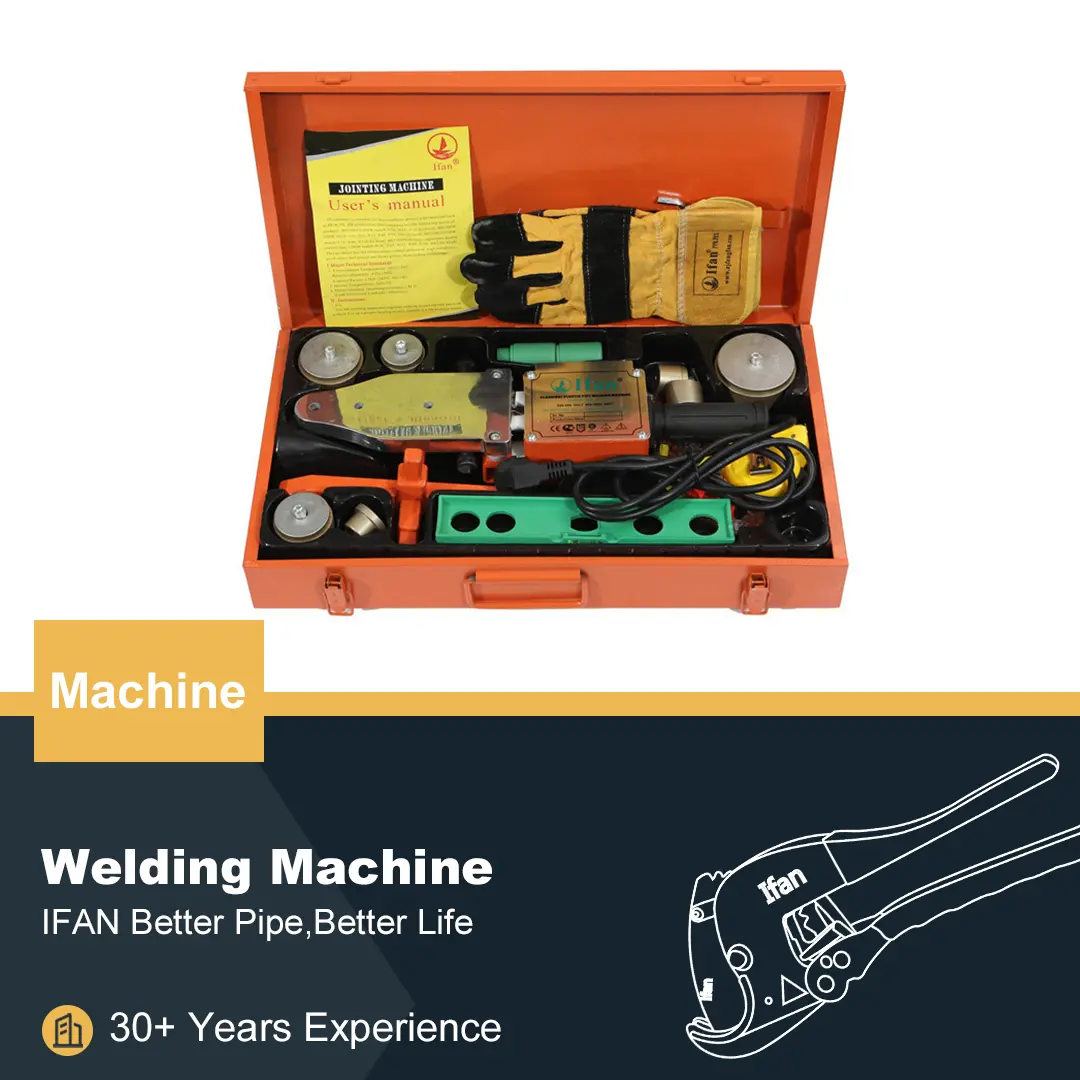
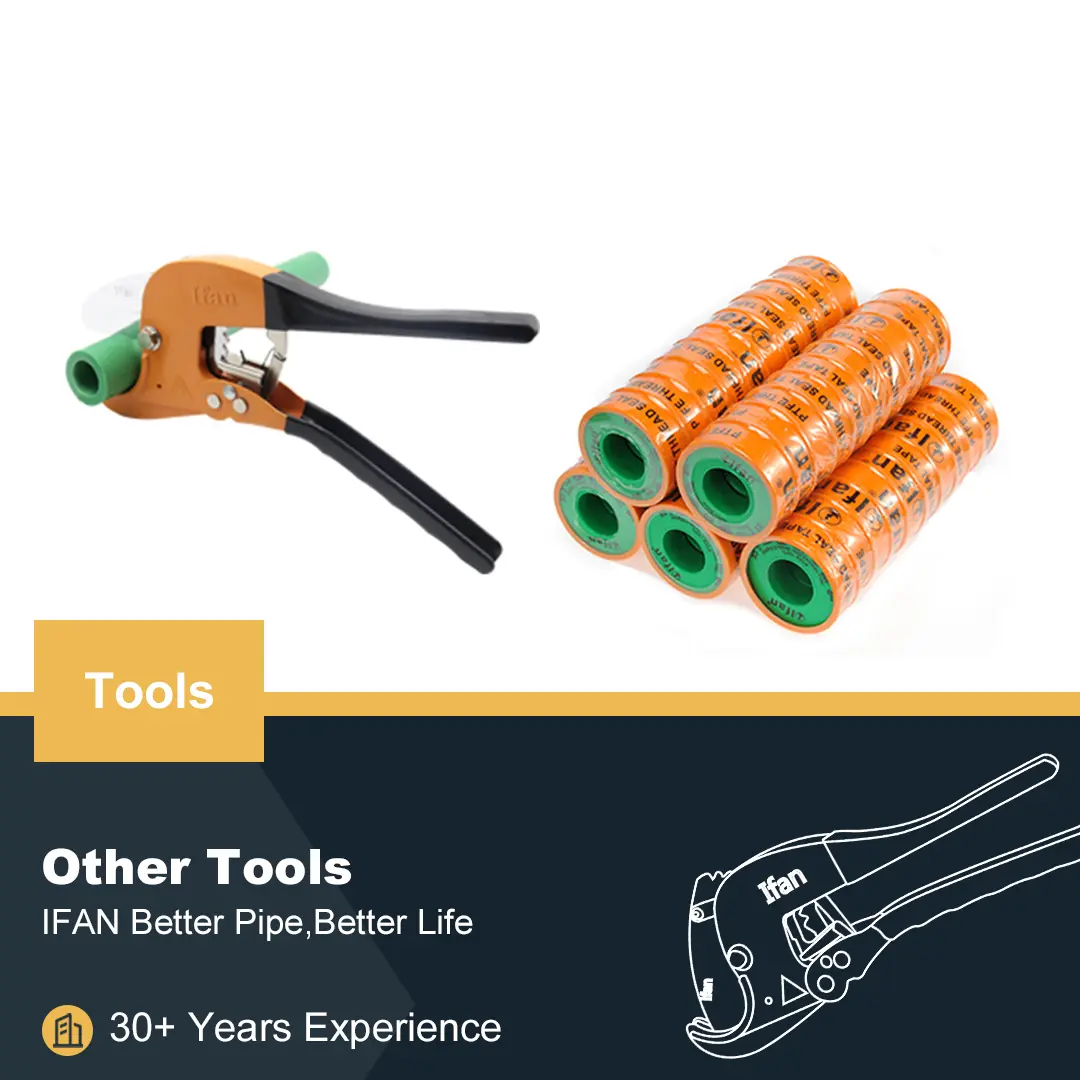
Successful installation starts with careful preparation. Before working with copper piping fittings, gather all necessary tools and materials. Essential tools include a pipe cutter, deburring tool, flux brush, propane torch, and solder. Other important items include safety gloves, eye protection, and a fire-resistant cloth to prevent accidents during soldering.
Choosing the correct type of copper pipe plays a key role in installation. Type K offers thick walls for underground or high-pressure systems, while Type L provides a balance of strength and flexibility for residential applications. Type M, with the thinnest walls, works best for low-pressure systems. Selecting the right type prevents future problems and ensures a reliable plumbing system.
Measuring and Cutting Copper Pipes
Accurate measurements contribute to a precise and secure fit. Use a measuring tape to determine the required pipe length, then mark the cutting point with a pencil or marker. To achieve a clean cut, use a pipe cutter instead of a hacksaw, as the cutter provides a smooth edge that simplifies the fitting process.
After cutting, remove any sharp edges or burrs using a deburring tool or sandpaper. This step prevents damage to fittings and ensures a proper seal. Skipping this process increases the risk of leaks and weak connections.
Cleaning and Preparing Pipe Ends
Thoroughly cleaning the pipe ends allows fittings to connect securely. Use an abrasive cloth or a wire brush to remove oxidation and dirt from the outside of the pipe. Then, clean the inside of the fittings to ensure smooth solder flow.
Applying flux to the pipe end and the inside of the fitting helps create a strong bond. Flux prevents oxidation during heating and promotes even solder distribution. Spread a thin, even layer of flux to avoid excessive buildup, which can lead to joint failure.
Assembling the Copper Fittings
Once the pipes and fittings are prepared, insert the pipe into the fitting. Rotate the pipe slightly to distribute the flux evenly. Ensure a snug fit by pushing the pipe fully into the fitting. Proper alignment at this stage prevents unnecessary adjustments later.
For multiple connections, dry-fit all components before soldering. This process helps verify alignment and prevents errors. If any sections require adjustment, mark reference points to maintain accuracy.
Soldering Copper Piping Fittings
Heating the joint correctly ensures a secure and durable connection. Position a propane torch near the fitting and apply heat evenly. Keep the flame moving to prevent overheating one area, which can cause damage or excessive solder flow.
Once the fitting reaches the correct temperature, touch the solder to the joint. The solder should melt and flow into the connection by capillary action. Avoid direct flame contact with the solder, as this can lead to improper bonding. Continue applying solder until a complete ring forms around the joint.
After soldering, allow the joint to cool naturally. Avoid disturbing the connection during cooling, as movement can weaken the bond. Once cooled, wipe away excess flux residue with a damp cloth to prevent future corrosion.
Testing the Installed Copper Pipes
After completing all connections, perform a pressure test to check for leaks. Close all valves and slowly introduce water into the system. Inspect each joint carefully for signs of dripping or moisture buildup.
If any leaks appear, drain the system and reheat the affected joint. Apply additional solder if necessary, then retest the system. Taking time to check for leaks prevents future water damage and ensures long-term reliability.
For additional security, conduct an air pressure test using a pressure gauge. This test helps identify small leaks that may not appear during a water test. Maintaining proper pressure for at least 15 minutes confirms the integrity of the system.
Securing and Supporting Copper Pipes
Proper support prevents stress on the piping system and reduces the risk of leaks. Use pipe clamps or hangers to secure pipes at regular intervals. For horizontal runs, support pipes every 3 to 4 feet. For vertical runs, place supports every 6 to 8 feet.
Avoid placing pipes under unnecessary tension or forcing fittings into position. Misaligned pipes can cause leaks over time. Making precise cuts and adjustments ensures a smooth and secure installation.
To reduce noise and thermal expansion issues, use cushioned pipe clamps. These supports minimize vibration and allow pipes to expand and contract naturally without damage.
Connecting Copper Pipes to Other Materials
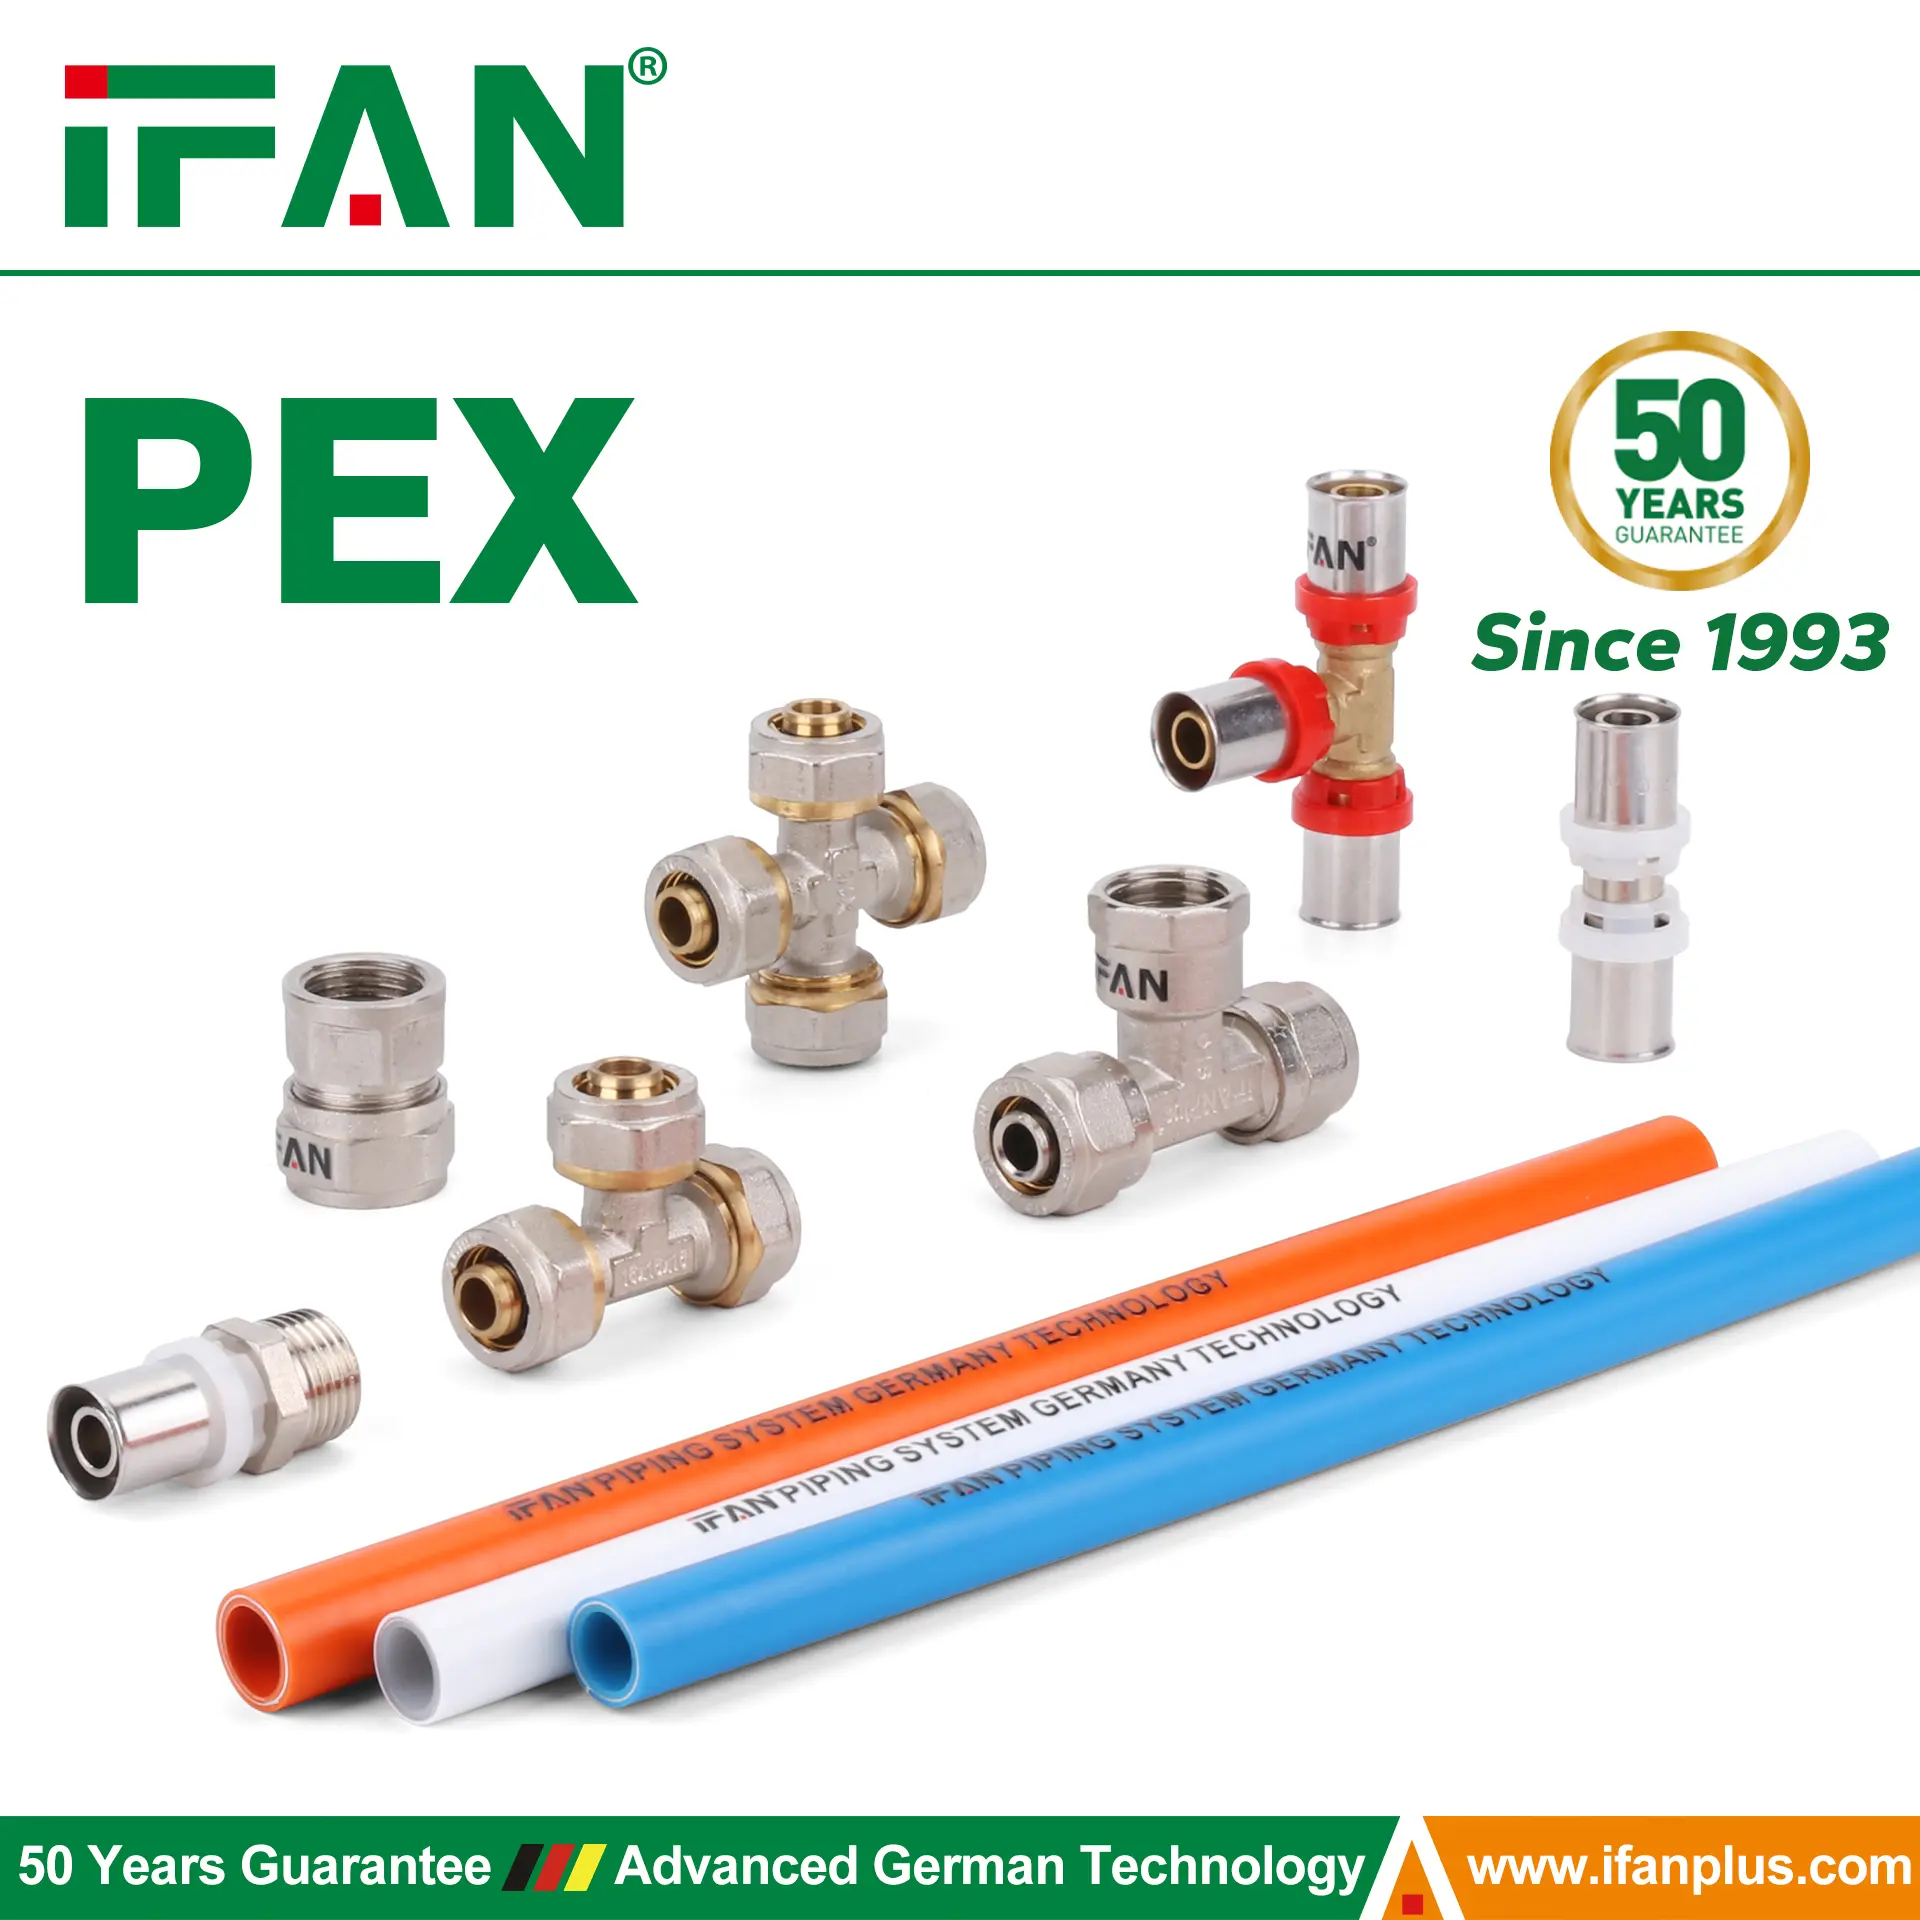
Many plumbing systems require transitions between copper pipes and other materials such as PVC, PEX, or galvanized steel. Proper adapters and fittings create secure and leak-free connections.
When connecting copper to PVC, use a threaded adapter with Teflon tape or pipe joint compound. For PEX connections, install a copper-to-PEX transition fitting, which often uses a crimp or compression method.
For connections between copper and galvanized steel, always install a dielectric union to prevent corrosion caused by dissimilar metals. Skipping this step leads to premature pipe failure and costly repairs.
Insulating Copper Pipes
Adding insulation improves energy efficiency and prevents condensation or freezing. In hot water lines, insulation reduces heat loss and improves system performance. In cold water lines, it prevents moisture buildup and protects against freezing temperatures.
Use foam or fiberglass insulation sleeves to cover exposed pipes. Secure insulation with tape or zip ties to ensure long-term protection. In outdoor or unheated areas, select thicker insulation to provide additional protection against extreme temperatures.
Common Installation Mistakes and How to Avoid Them
Avoiding common mistakes leads to a successful installation. Rushing through the process or skipping essential steps often results in leaks and system failures.
- Skipping Cleaning and Flux Application – Dirty or oxidized pipes prevent proper solder adhesion, leading to weak joints. Always clean and apply flux before assembling fittings.
- Overheating the Joint – Excessive heat burns flux and weakens the connection. Apply heat evenly and avoid direct flame contact with the solder.
- Using Too Much or Too Little Solder – Insufficient solder causes leaks, while excessive solder creates blockages. Apply the right amount to form a complete seal.
- Failing to Support Pipes Properly – Inadequate support leads to stress on joints and potential leaks. Secure pipes at recommended intervals.
- Neglecting to Test for Leaks – Skipping a pressure test increases the risk of undetected leaks. Always test the system before completing the project.
Conclusion
Installing copper piping fittings requires careful planning, precise execution, and attention to detail. By following proper techniques, measuring accurately, and using the right tools, anyone can create a reliable and long-lasting plumbing system.
From cutting and cleaning pipes to soldering and testing connections, each step plays a crucial role in ensuring a secure installation. Taking the time to perform quality work prevents future problems and increases the longevity of the plumbing system.
Whether working on a residential or commercial project, following best practices guarantees success. With proper installation, copper piping fittings provide decades of reliable service, making them an excellent choice for any plumbing application.
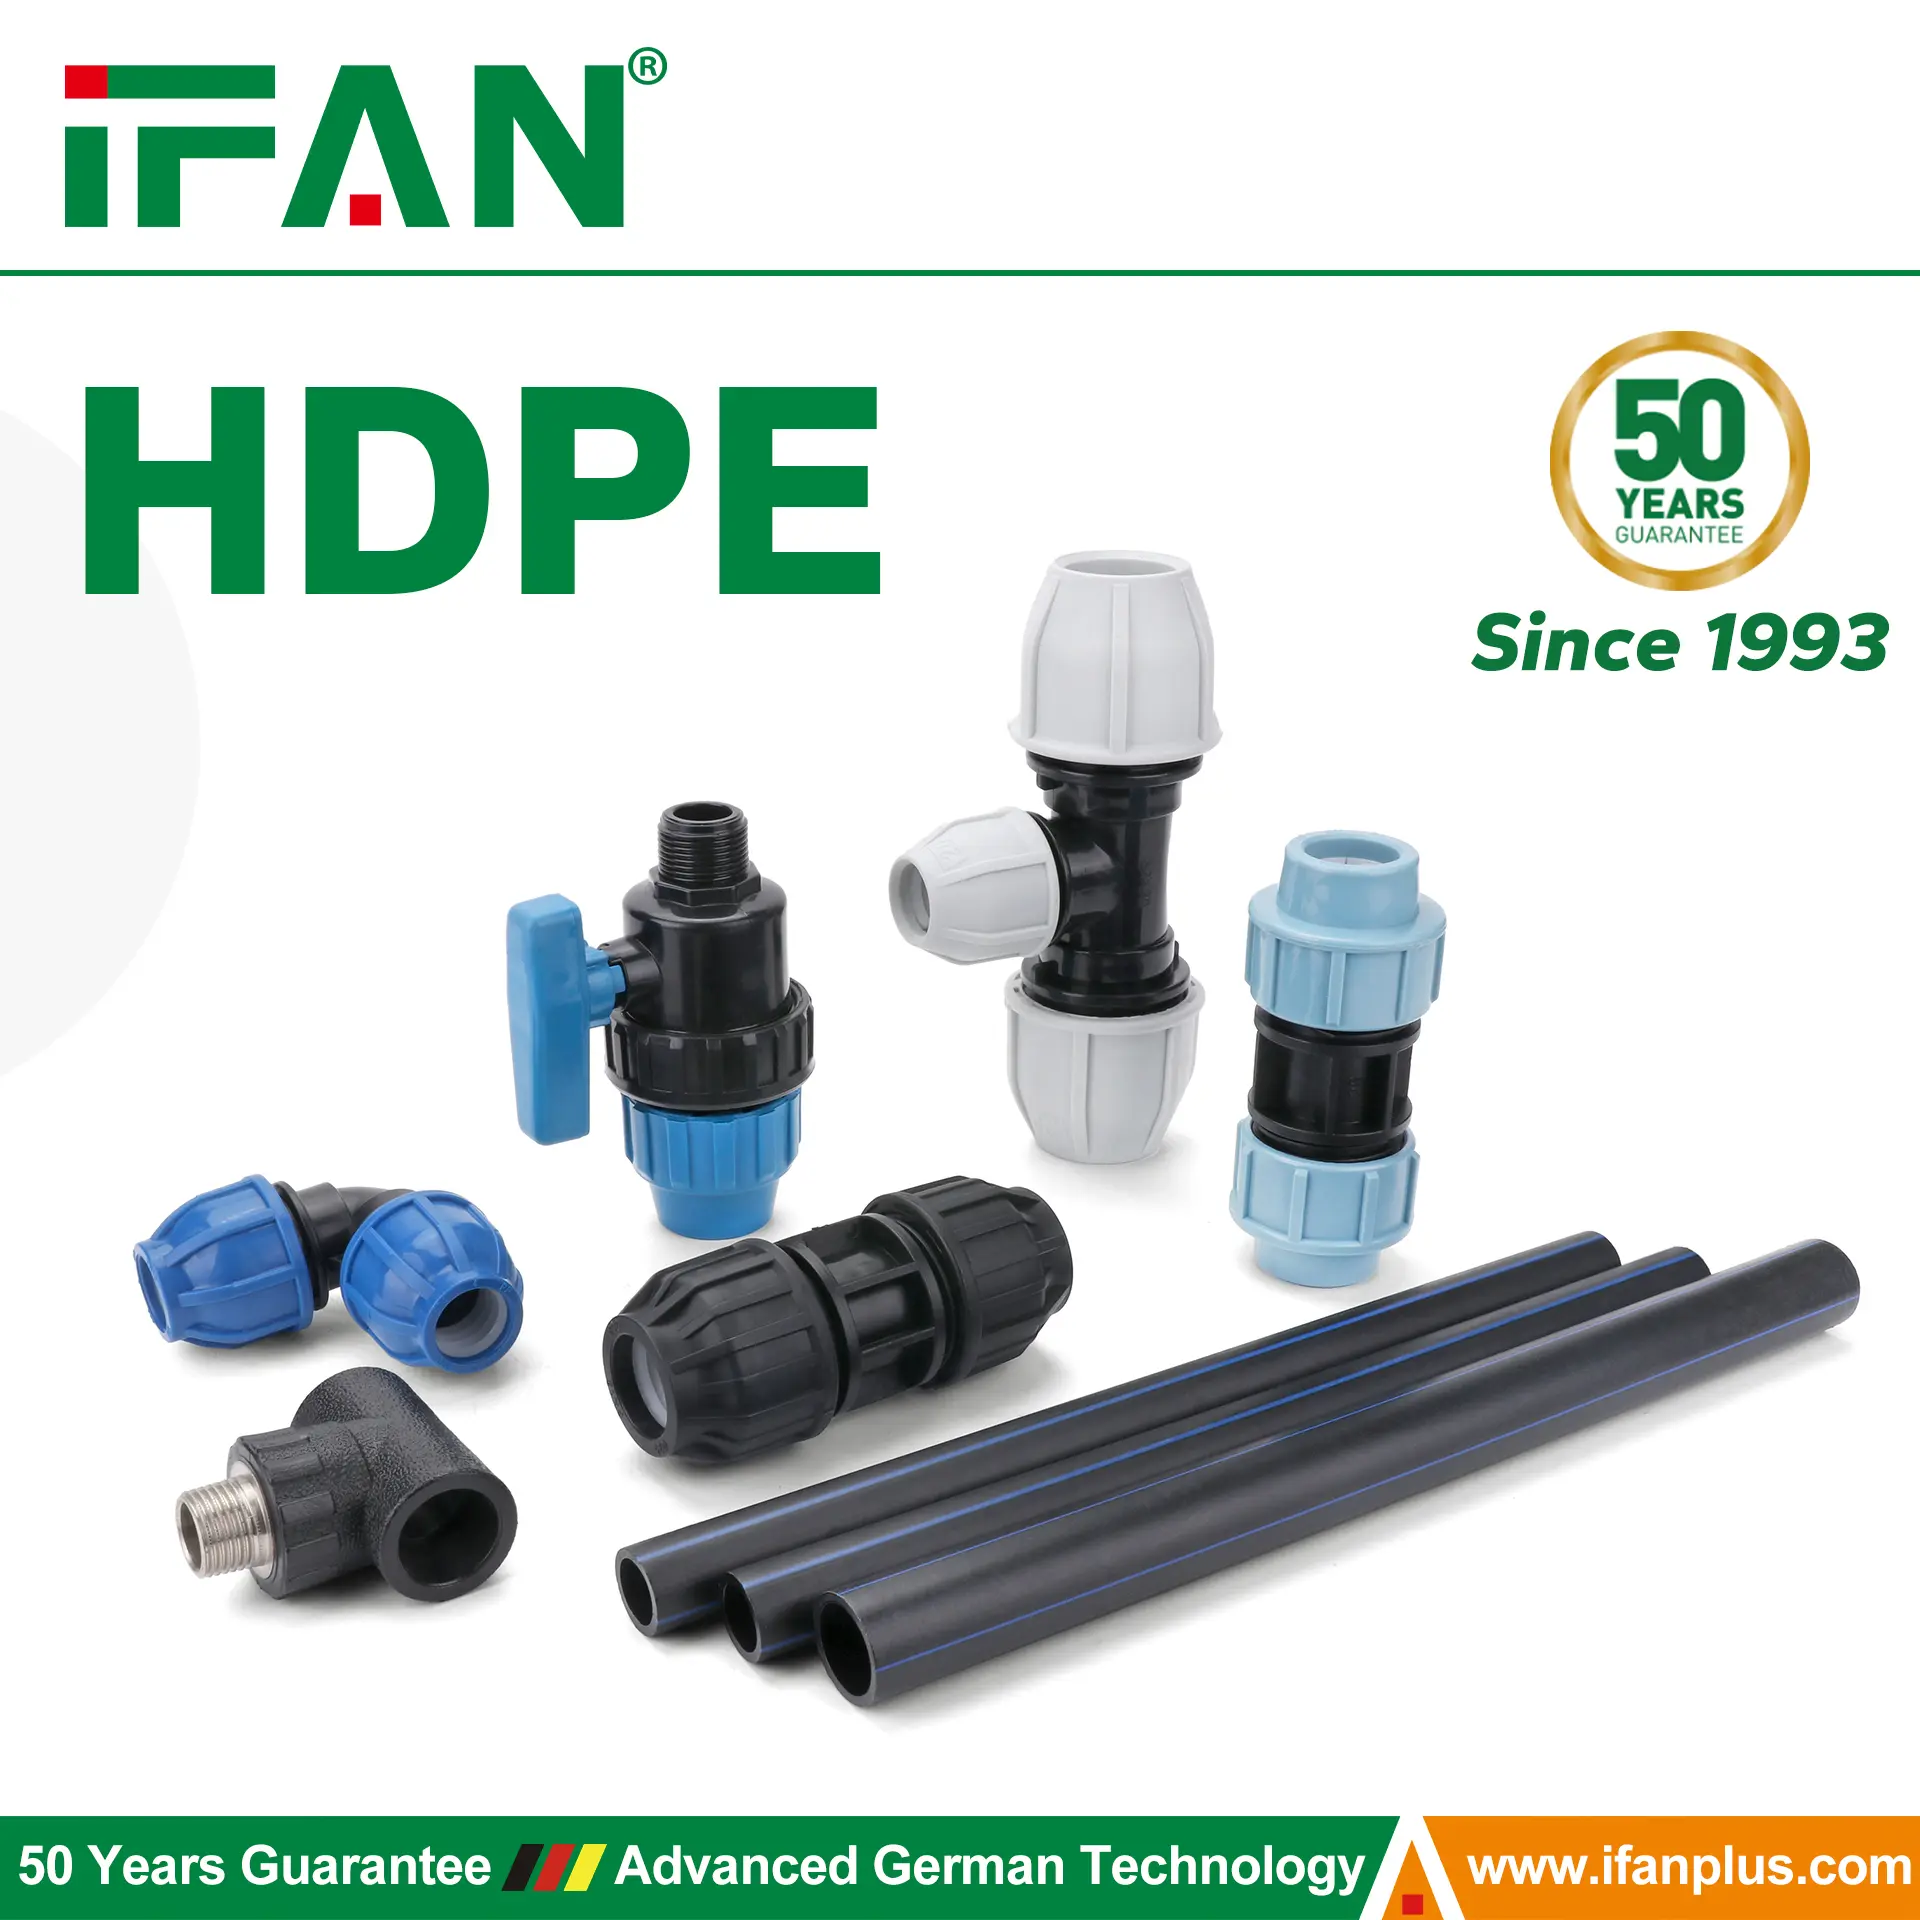
IFAN international standard
IFAN’s HDPE products comply with various international standards, ensuring quality, durability, and reliability. These standards include ASTM D3035 and ASTM D3350, which define specifications for polyethylene (PE) pipes and materials. The ISO 4427 and EN 12201 series set global benchmarks for PE pipes used in water supply systems. Additionally, DIN 8074/8075 and GB/T 13663 establish performance and dimension requirements for HDPE pipes in European and Chinese markets. Other recognized standards, such as AS/NZS 4130 (Australia/New Zealand), JIS K6760 (Japan), BS 6572 (UK), and CSA B137.1 (Canada), further demonstrate IFAN’s commitment to meeting industry regulations worldwide.
Contact
IFAN is a professional manufacturer with of experience, dedicated to producing high-quality plastic pipes, fittings, and valves. Our products include brass valves, PPR valves, as well as various pipes and fittings to meet different customer needs. Whether you need plumbing and drainage pipes or valve products, IFAN can provide a diverse range of high-quality, cost-effective products to support your projects. Below is our contact information.
We will reply your email or fax within 24 hours.
You can call us at any time if there is any question on our production.
For more information,pls visit our webside https://www.ifanplus.com/
Pls Mailto: [email protected]
Whatsapp: + 86 19857948982