Brass water taps, renowned for their durability, functionality, and aesthetic appeal, are an excellent choice for both residential and commercial plumbing systems. Whether you’re replacing an old tap, installing a new fixture, or upgrading your existing plumbing, the process of installing a brass water tap is relatively straightforward with the right tools, preparation, and attention to detail. This guide provides a step-by-step explanation of how to install a brass water tap, explores the tools and materials required, and offers practical tips to ensure a successful and leak-free installation.
Why Choose a Brass Water Tap?
Before diving into the installation process, it’s essential to understand why brass water taps are an excellent choice for various applications.
- Durability: Brass is highly durable and resistant to corrosion, making it ideal for long-term use in wet environments.
- Aesthetic Appeal: The golden hue of brass adds a touch of elegance and sophistication to kitchens, bathrooms, and outdoor spaces.
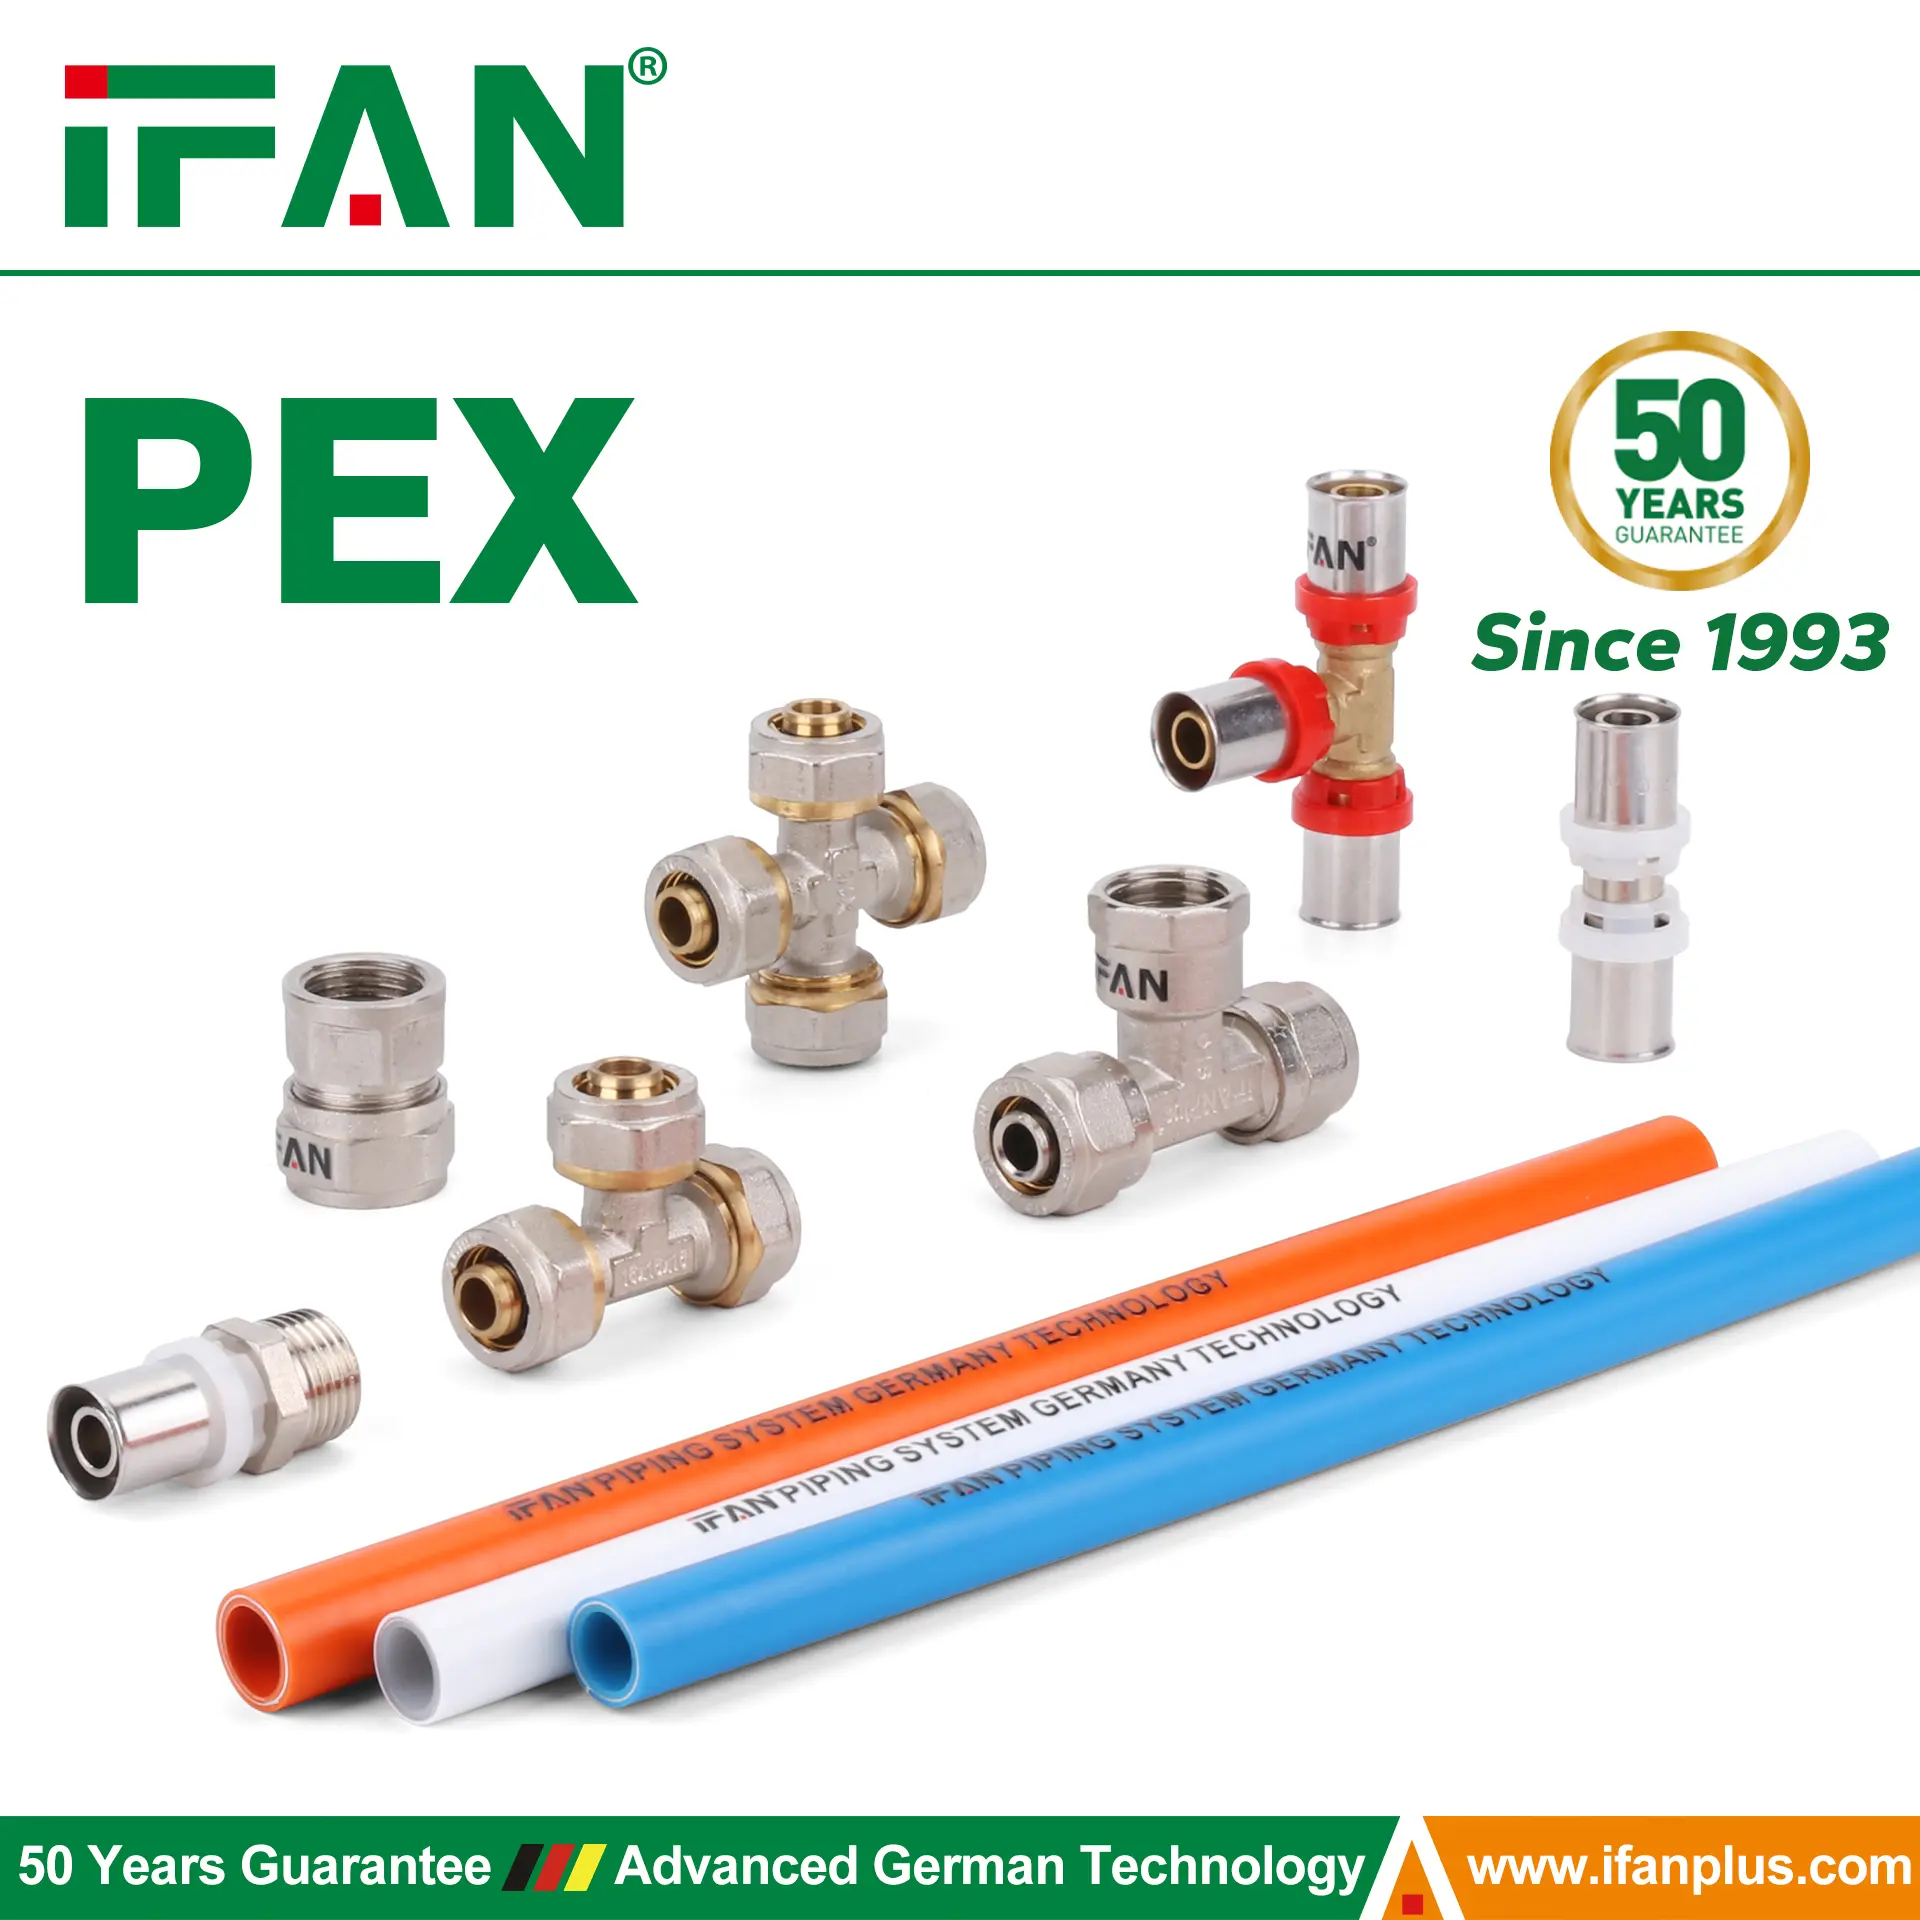
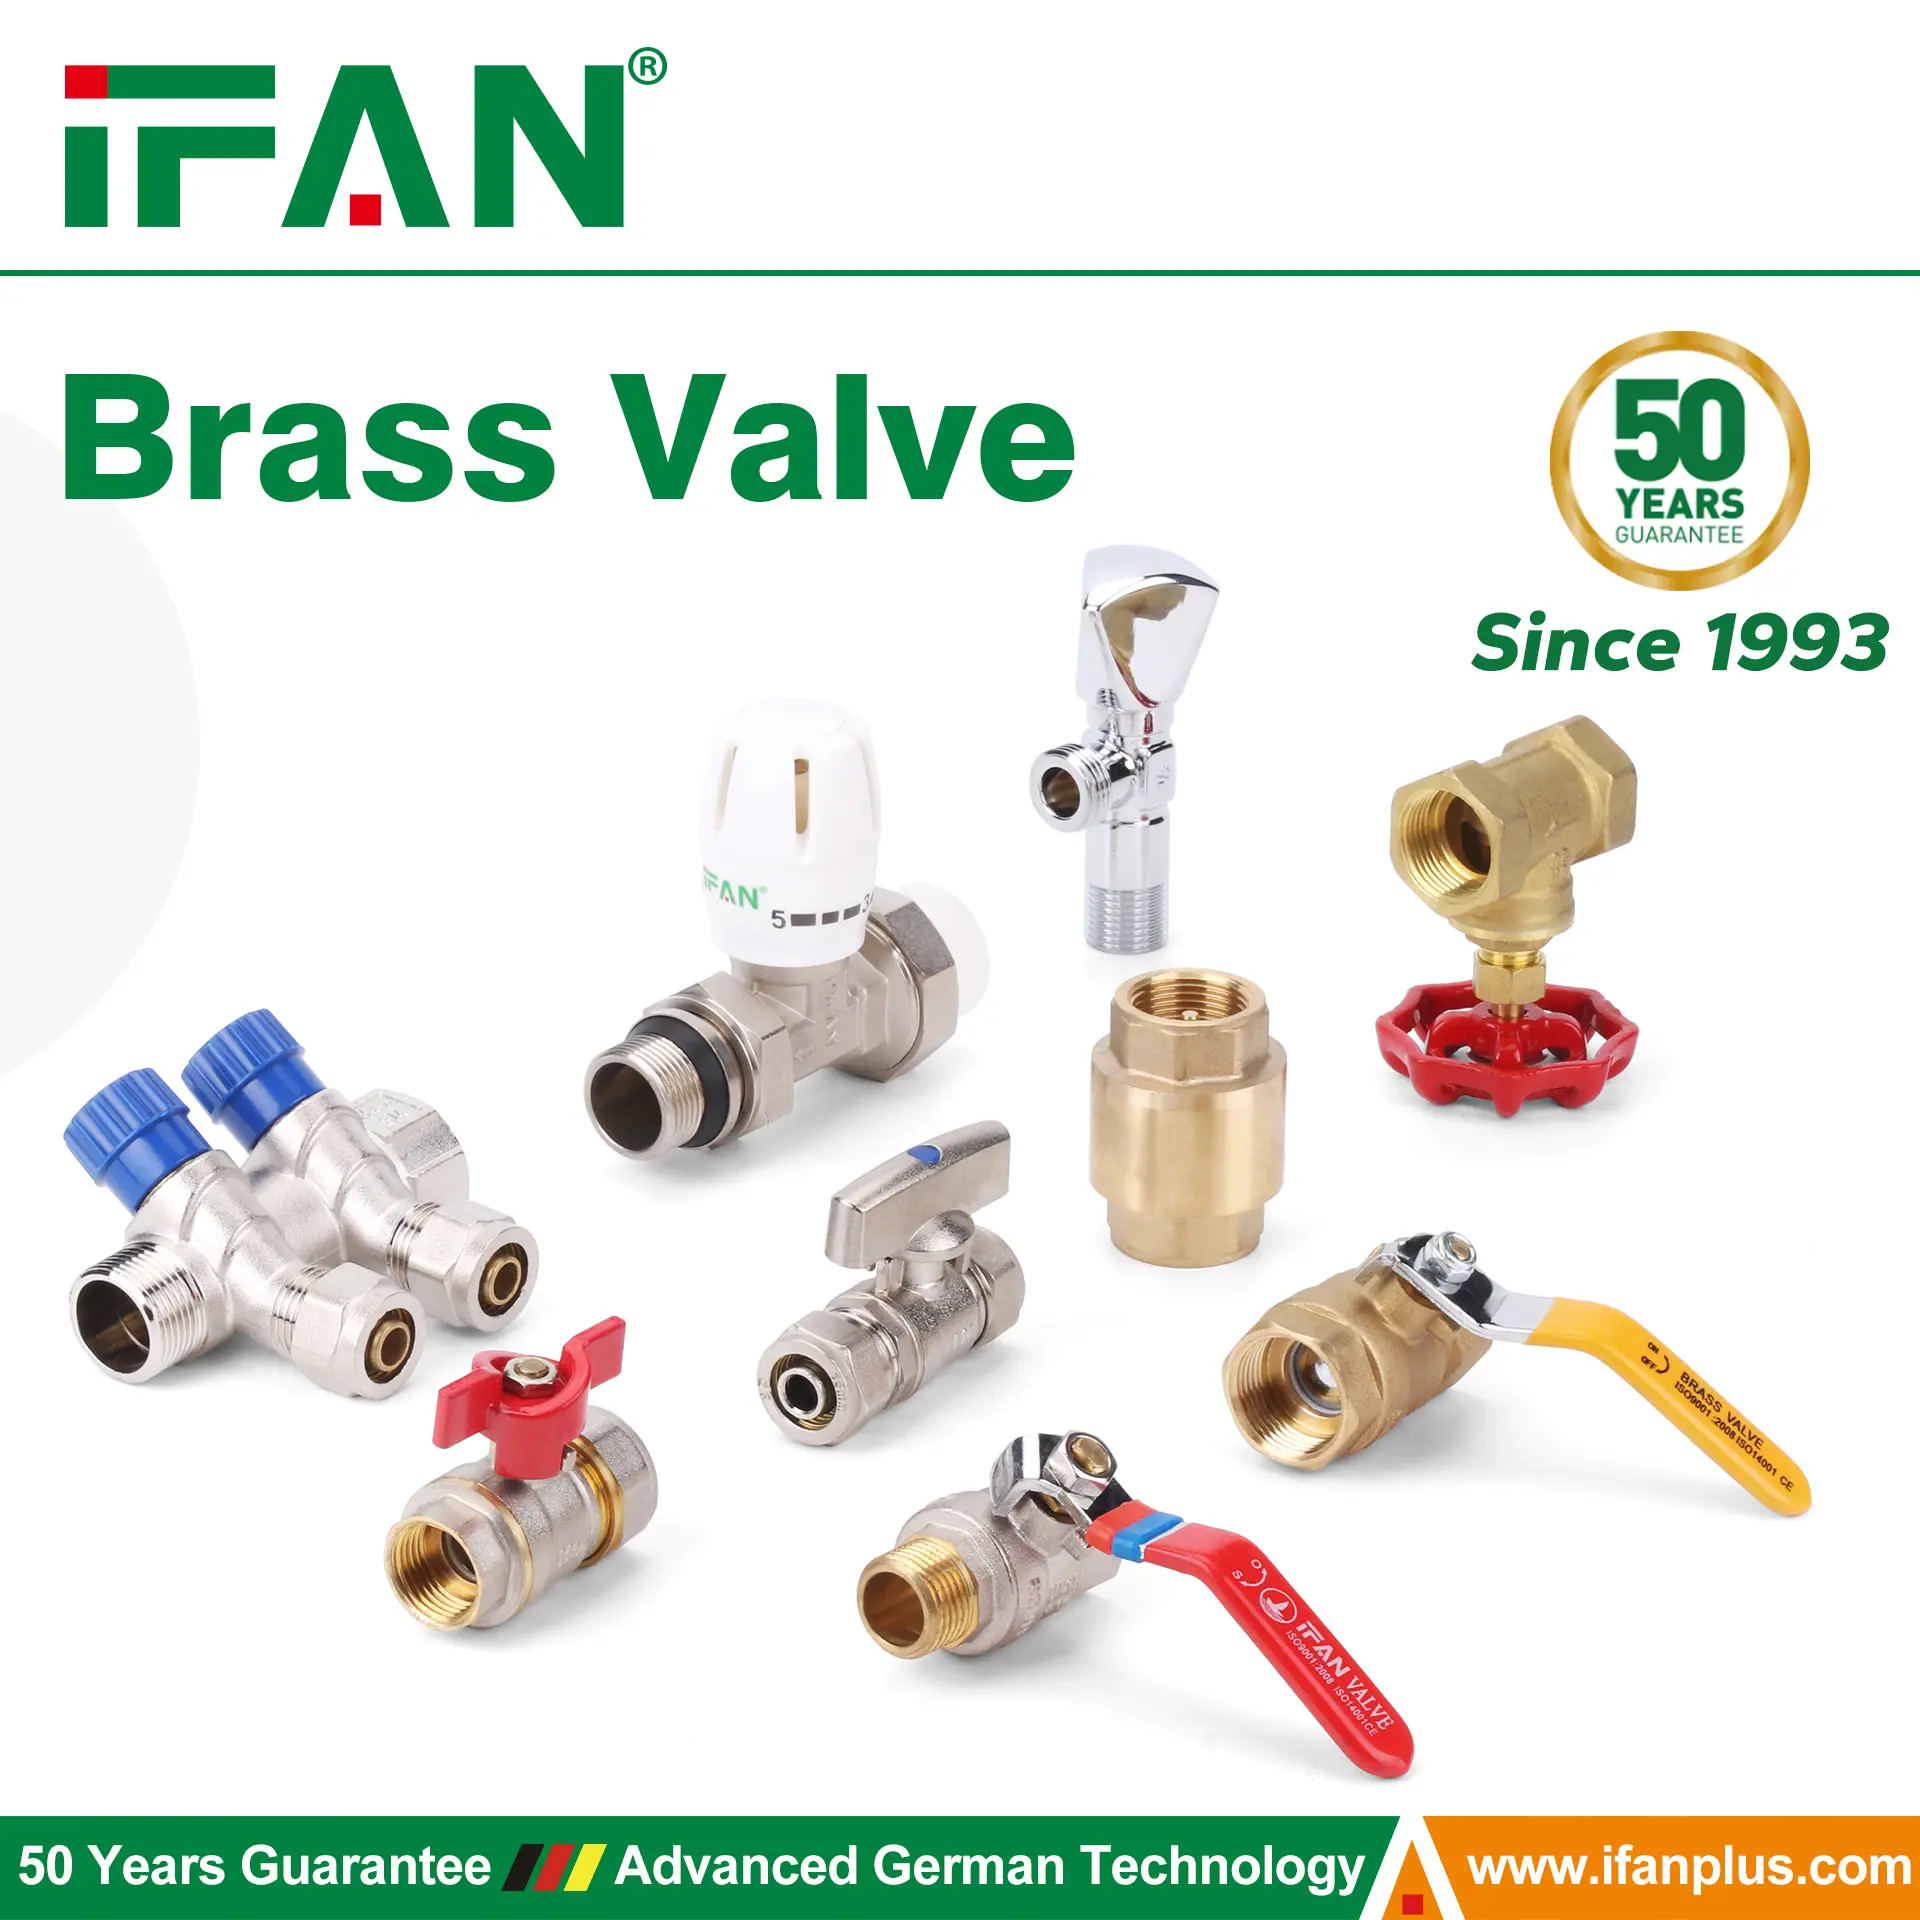
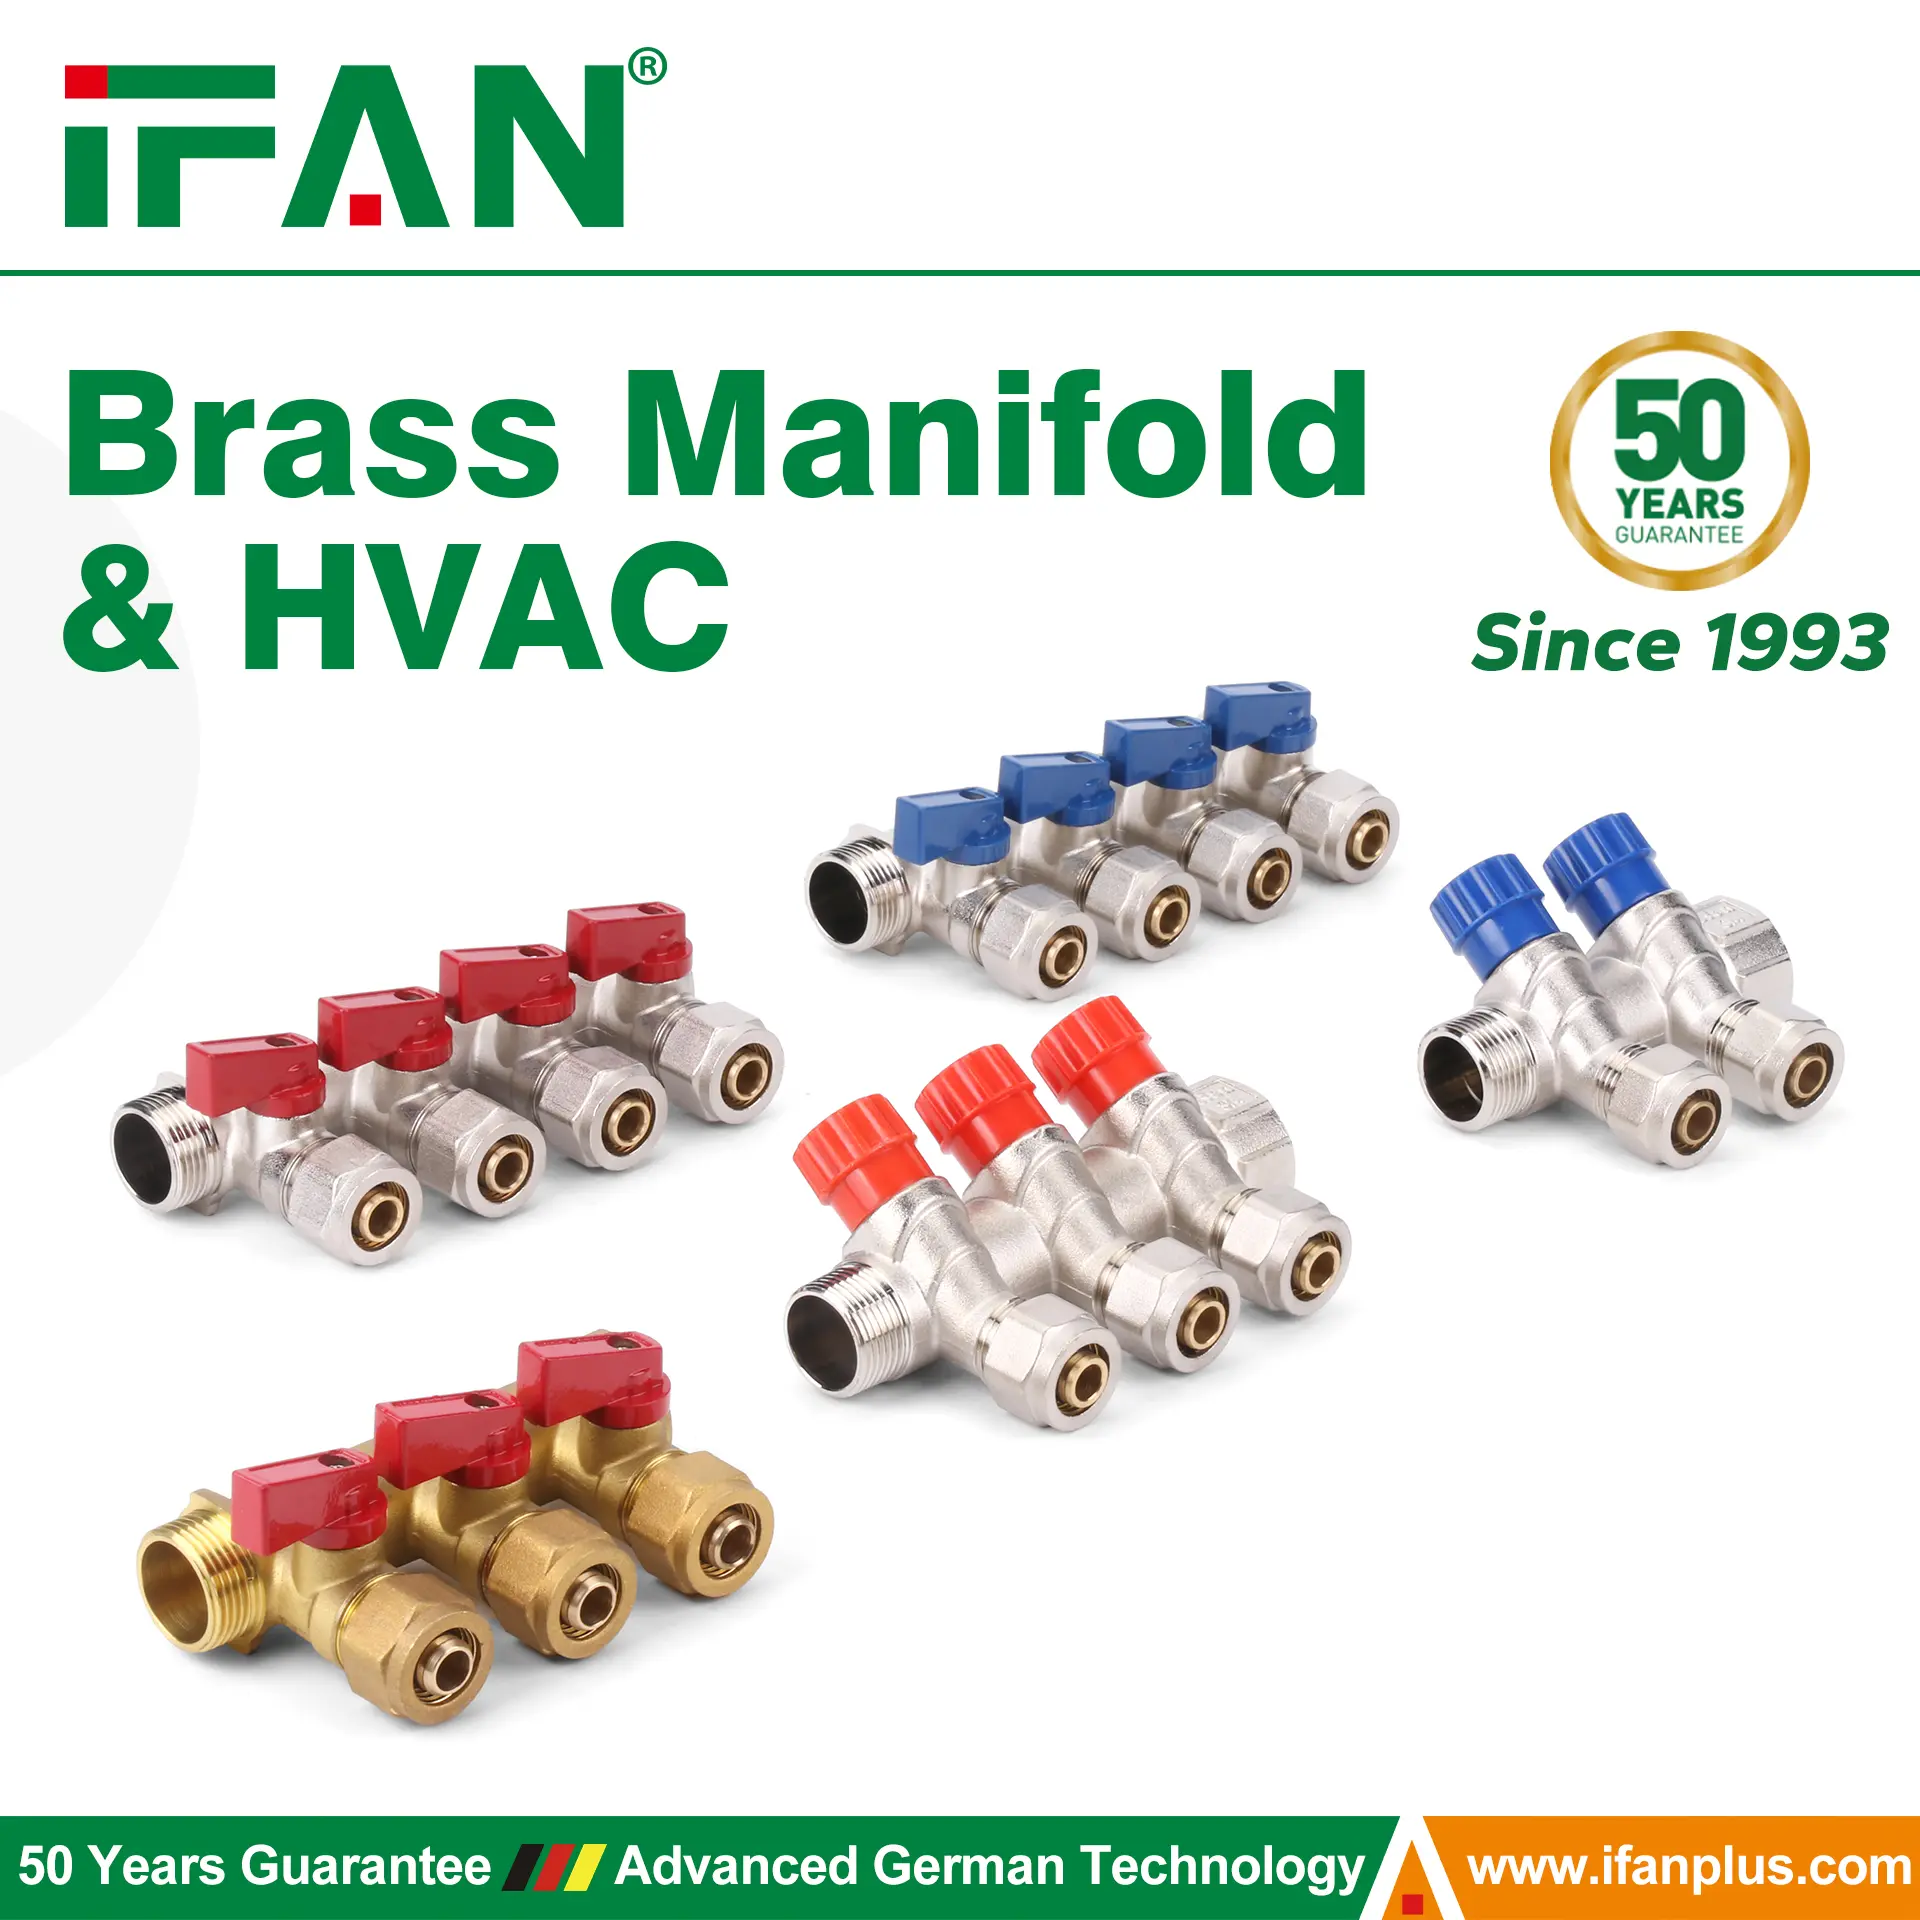
- Versatility: Brass taps come in various designs and styles, making them suitable for diverse applications, including sinks, bathtubs, outdoor faucets, and utility areas.
- Safety: Modern brass water taps are lead-free or low-lead, ensuring they meet safety standards for potable water.
- Ease of Maintenance: Brass is easy to clean and maintain, retaining its appearance and functionality over time.
Tools and Materials Required for Installation
To install a brass water tap efficiently, you’ll need the following tools and materials:
- Brass water tap
- Adjustable wrench or spanner
- Basin wrench (for hard-to-reach areas)
- Teflon tape (PTFE tape)
- Plumber’s putty or silicone sealant
- Pipe connectors (if needed)
- Supply hoses or flexible connectors
- Bucket or towel (to catch any residual water)
- Screwdriver (for securing fixtures or handles)
- Cleaning cloth
Having these tools and materials ready before starting the installation will save time and ensure a smooth process.
Preparing for Installation
Preparation is a critical step in installing a brass water tap. Proper preparation minimizes the risk of errors, leaks, or damage to the plumbing system.
- Turn Off the Water Supply
Locate the water shut-off valve under the sink or near the installation site and turn it off. If no local shut-off valve exists, turn off the main water supply to the property. This step ensures no water flows during the installation process. - Release Residual Water
Open the existing tap to release any remaining water in the pipes. Use a bucket or towel to catch the water and prevent spills. - Inspect the Installation Area
Check the sink, countertop, or mounting area for any damage, debris, or old sealant. Clean the surface thoroughly to ensure a proper seal during installation. - Measure and Verify Fit
Confirm that the brass water tap fits the existing mounting holes and connections. If necessary, adjust the fittings or prepare adapters to ensure compatibility.
Step-by-Step Installation Process
Installing a brass water tap involves several steps, from mounting the tap to connecting the water supply lines. Follow these steps carefully for a successful installation.
1. Remove the Old Tap
If replacing an existing tap, begin by removing it. Use an adjustable wrench or spanner to loosen the nuts securing the old tap to the sink or countertop. Disconnect the water supply lines and lift the old tap out of the mounting hole.
2. Apply Sealant or Gasket
Before installing the new brass water tap, apply plumber’s putty or silicone sealant to the base of the tap. This step ensures a watertight seal between the tap and the sink or countertop, preventing leaks.
3. Position the Brass Tap
Insert the brass water tap into the mounting hole on the sink or countertop. Ensure the tap is properly aligned and sits flush with the surface.
4. Secure the Tap
Use the mounting hardware provided with the tap to secure it in place. Tighten the nuts or fasteners underneath the sink using a basin wrench or adjustable wrench. Avoid overtightening, as this may damage the tap or the sink.
5. Connect the Water Supply Lines
Attach the supply hoses or flexible connectors to the tap’s inlet ports. Wrap Teflon tape around the threaded ends of the connectors to create a leak-proof seal. Tighten the connections using an adjustable wrench, ensuring they are secure but not overtightened.
6. Test the Water Flow
Turn on the water supply and open the tap to check for proper water flow. Observe all connections for leaks and tighten them if necessary. If you notice any leaks at the base of the tap, adjust the sealant or mounting hardware.
7. Final Adjustments and Cleaning
Once the tap is securely installed and functioning correctly, clean the installation area to remove any excess sealant or debris. Polish the brass tap with a soft cloth to enhance its appearance.
Special Considerations for Outdoor Brass Water Taps
Installing an outdoor brass water tap involves additional considerations to ensure durability and functionality.
- Frost Protection
In cold climates, install a frost-proof brass tap to prevent freezing and damage during winter. These taps feature a design that keeps the water supply line inside the house, where it is less likely to freeze. - Securing to Exterior Walls
Use wall brackets or mounting plates to secure the outdoor tap to the exterior wall. Ensure the tap is tightly fastened to prevent movement or leaks. - Drainage for Winterization
Install a shut-off valve inside the property to isolate the outdoor tap during winter. Drain any remaining water from the tap and supply line to prevent freezing.
Tips for a Successful Installation
- Always use Teflon tape on threaded connections to ensure a tight and leak-proof seal.
- Avoid overtightening connections, as this may strip threads or damage the brass components.
- Double-check alignment and positioning before securing the tap to avoid misalignment.
- Test for leaks at every stage of installation and address them promptly.
- Keep a clean work area to prevent debris from entering the water lines or connections.
Maintaining Your Brass Water Tap After Installation
Proper maintenance ensures the longevity and performance of your brass water tap. Regular care helps prevent corrosion, mineral buildup, and operational issues.
- Clean Regularly
Wipe the tap with a soft cloth and mild soap to remove dirt, grime, and water spots. Avoid abrasive cleaners, which can damage the brass finish. - Prevent Hard Water Deposits
If you live in an area with hard water, clean the tap periodically with a vinegar solution to remove limescale deposits. - Check for Leaks
Inspect the tap and connections regularly for signs of leaks or wear. Tighten loose connections or replace worn components as needed. - Polish the Brass
Use a brass polish to maintain the tap’s shine and protect it from tarnishing. Apply the polish sparingly and buff the surface with a clean cloth. - Winterize Outdoor Taps
In colder climates, disconnect garden hoses and drain outdoor taps before winter to prevent freezing and damage.
Applications of Brass Water Taps
Brass water taps are versatile and suitable for a wide range of applications, including:
- Kitchens: Brass taps add elegance and functionality to kitchen sinks, offering hot and cold water control.
- Bathrooms: Use brass taps for sinks, bathtubs, and showers to enhance the aesthetic and performance of your bathroom fixtures.
- Outdoor Faucets: Install brass taps in gardens, patios, or driveways for reliable water access in outdoor areas.
- Commercial Spaces: Brass taps are durable and ideal for use in commercial kitchens, restrooms, and utility areas.
Conclusion
Installing a brass water tap is a rewarding project that enhances the functionality and appearance of your plumbing system. By following the steps outlined in this guide and using the right tools and materials, you can achieve a professional-quality installation. The durability, versatility, and aesthetic appeal of brass water taps make them an excellent choice for a wide range of applications.
Whether installing a kitchen sink tap, an outdoor faucet, or a commercial fixture, brass water taps provide reliable performance and timeless style. Proper installation and regular maintenance will ensure that your brass water tap serves you well for years to come.
Top Brass Water Tap Suppliers
| Company Name | Location | Years Of Experience | Certificates |
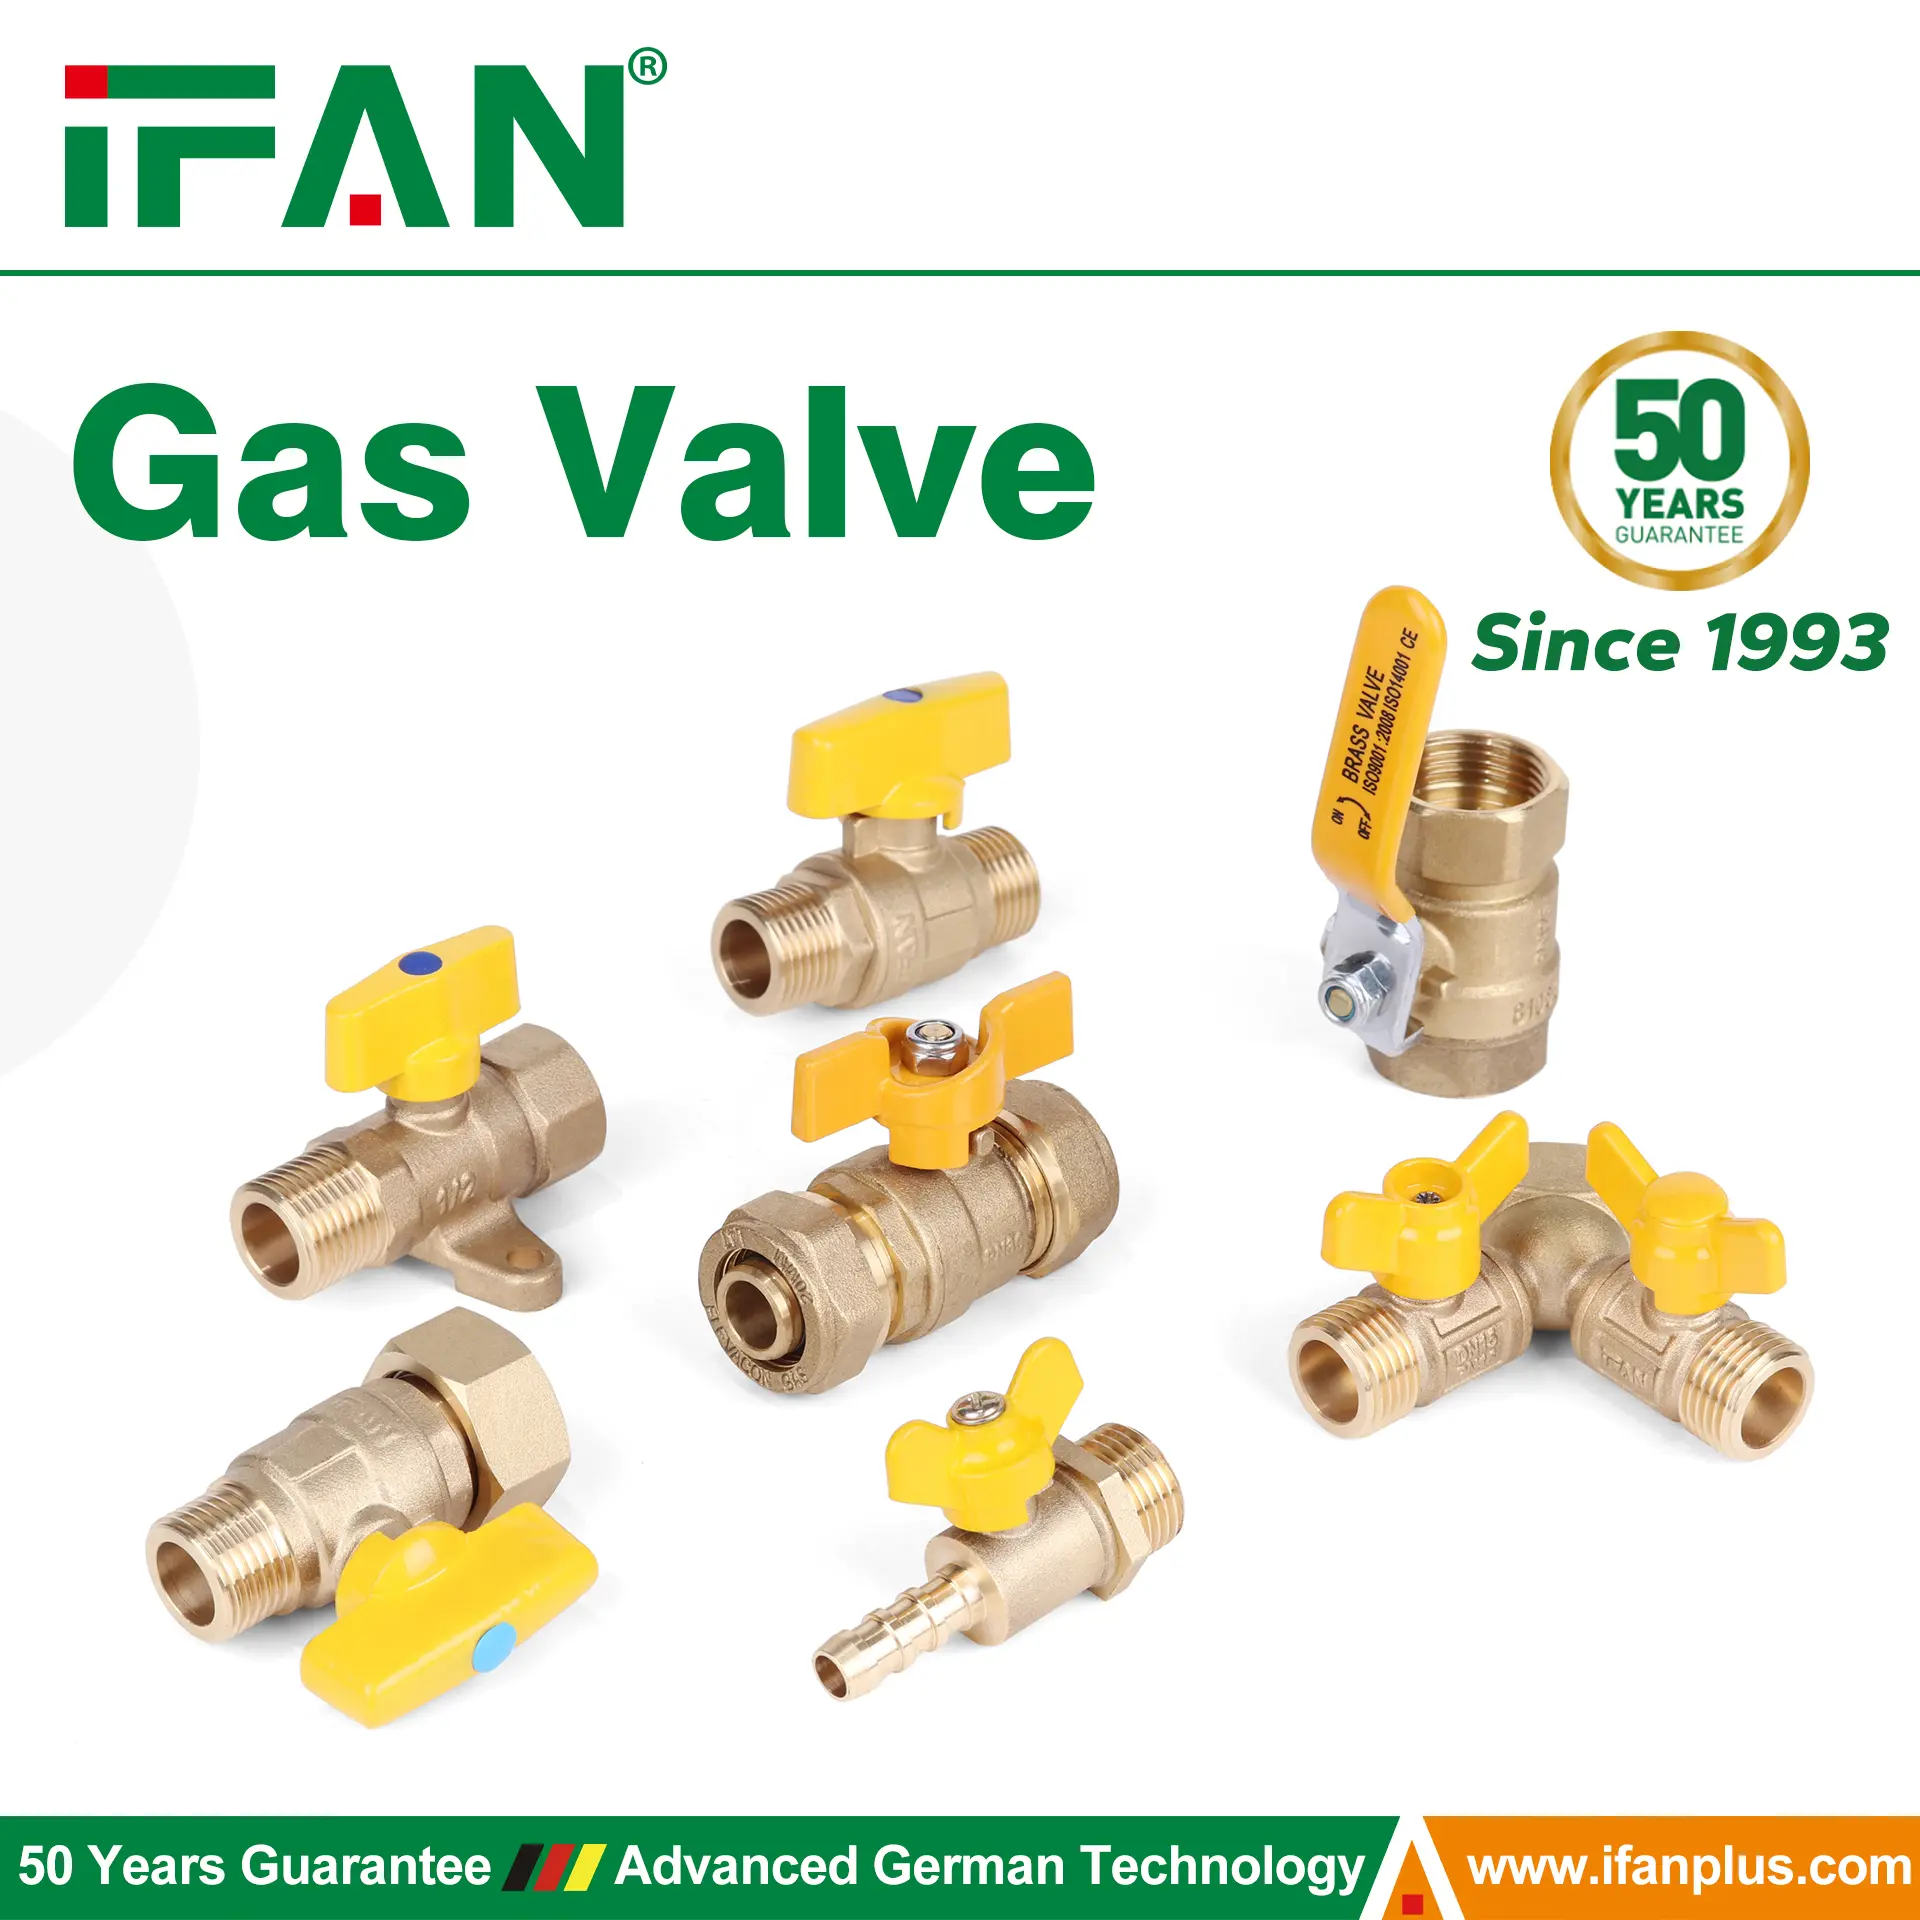
| IFAN | Zhuji, China | 1993 | ISO certification |
| ASC Engineered Solutions | USA | 2019 | ISO certification |
| Patel Precision Works | India | over 21 years | ISO certification |
| RED-WHITE VALVE CORP | USA | 1971 | ISO certification |
| SVF Flow Controls | USA | 1988 | ISO certification |
| Soval | USA | 1971 | ISO certification |
IFAN international standard
IFAN products comply with a wide range of international standards, ensuring their quality, reliability, and suitability for various applications across the globe. These standards include ASTM D3035, ASTM D3350, ISO 4427 Series standards, EN 12201 Series standards, DIN 8074/8075, GB/T 13663 Series standards, AS/NZS 4130, JIS K6760, BS 6572, and CSA B137.1, among others. Adherence to these standards guarantees that IFAN products meet the stringent requirements for safety, performance, and durability in diverse industries and markets.
Contact
IFAN is a professional manufacturer with of experience, dedicated to producing high-quality plastic pipes, fittings, and valves. Our products include brass valves, PPR valves, as well as various pipes and fittings to meet different customer needs. Whether you need plumbing and drainage pipes or valve products, IFAN can provide a diverse range of high-quality, cost-effective products to support your projects. Below is our contact information.
We will reply your email or fax within 24 hours.
You can call us at any time if there is any question on our production.
For more information,pls visit our webside https://www.ifanplus.com/
Pls Mailto: [email protected]
Whatsapp: + 86 19857948982