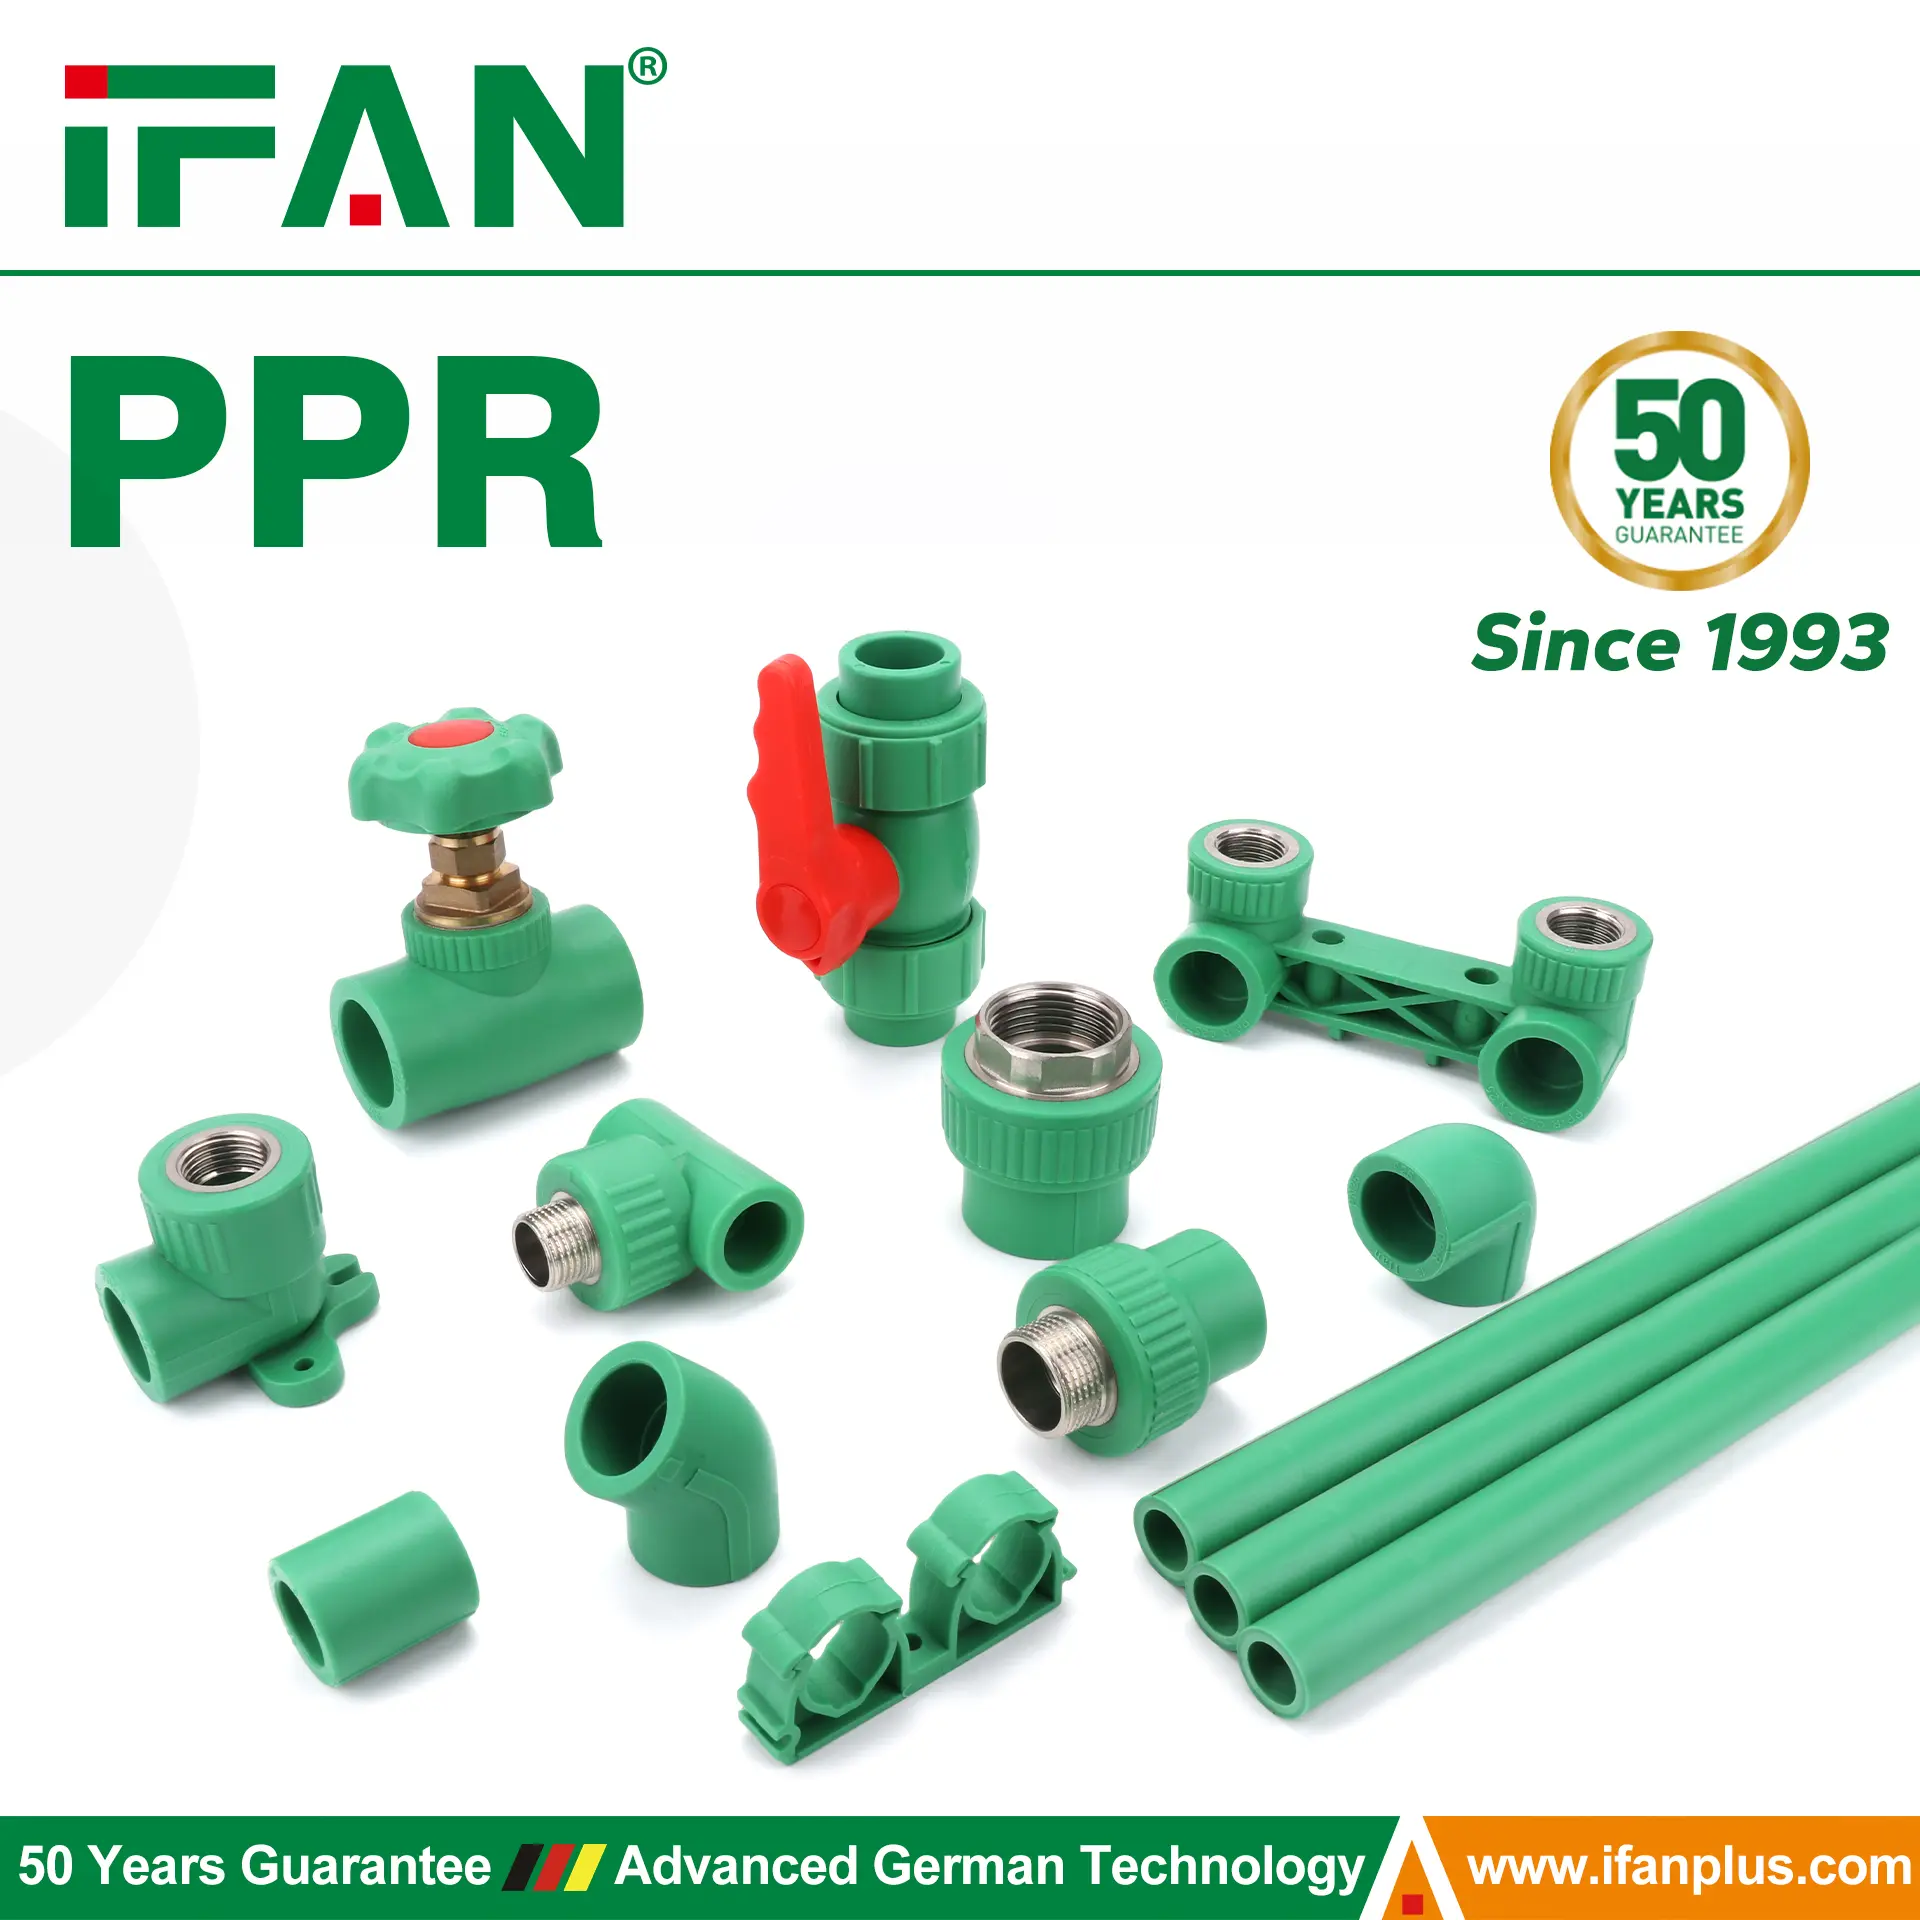
Introduction
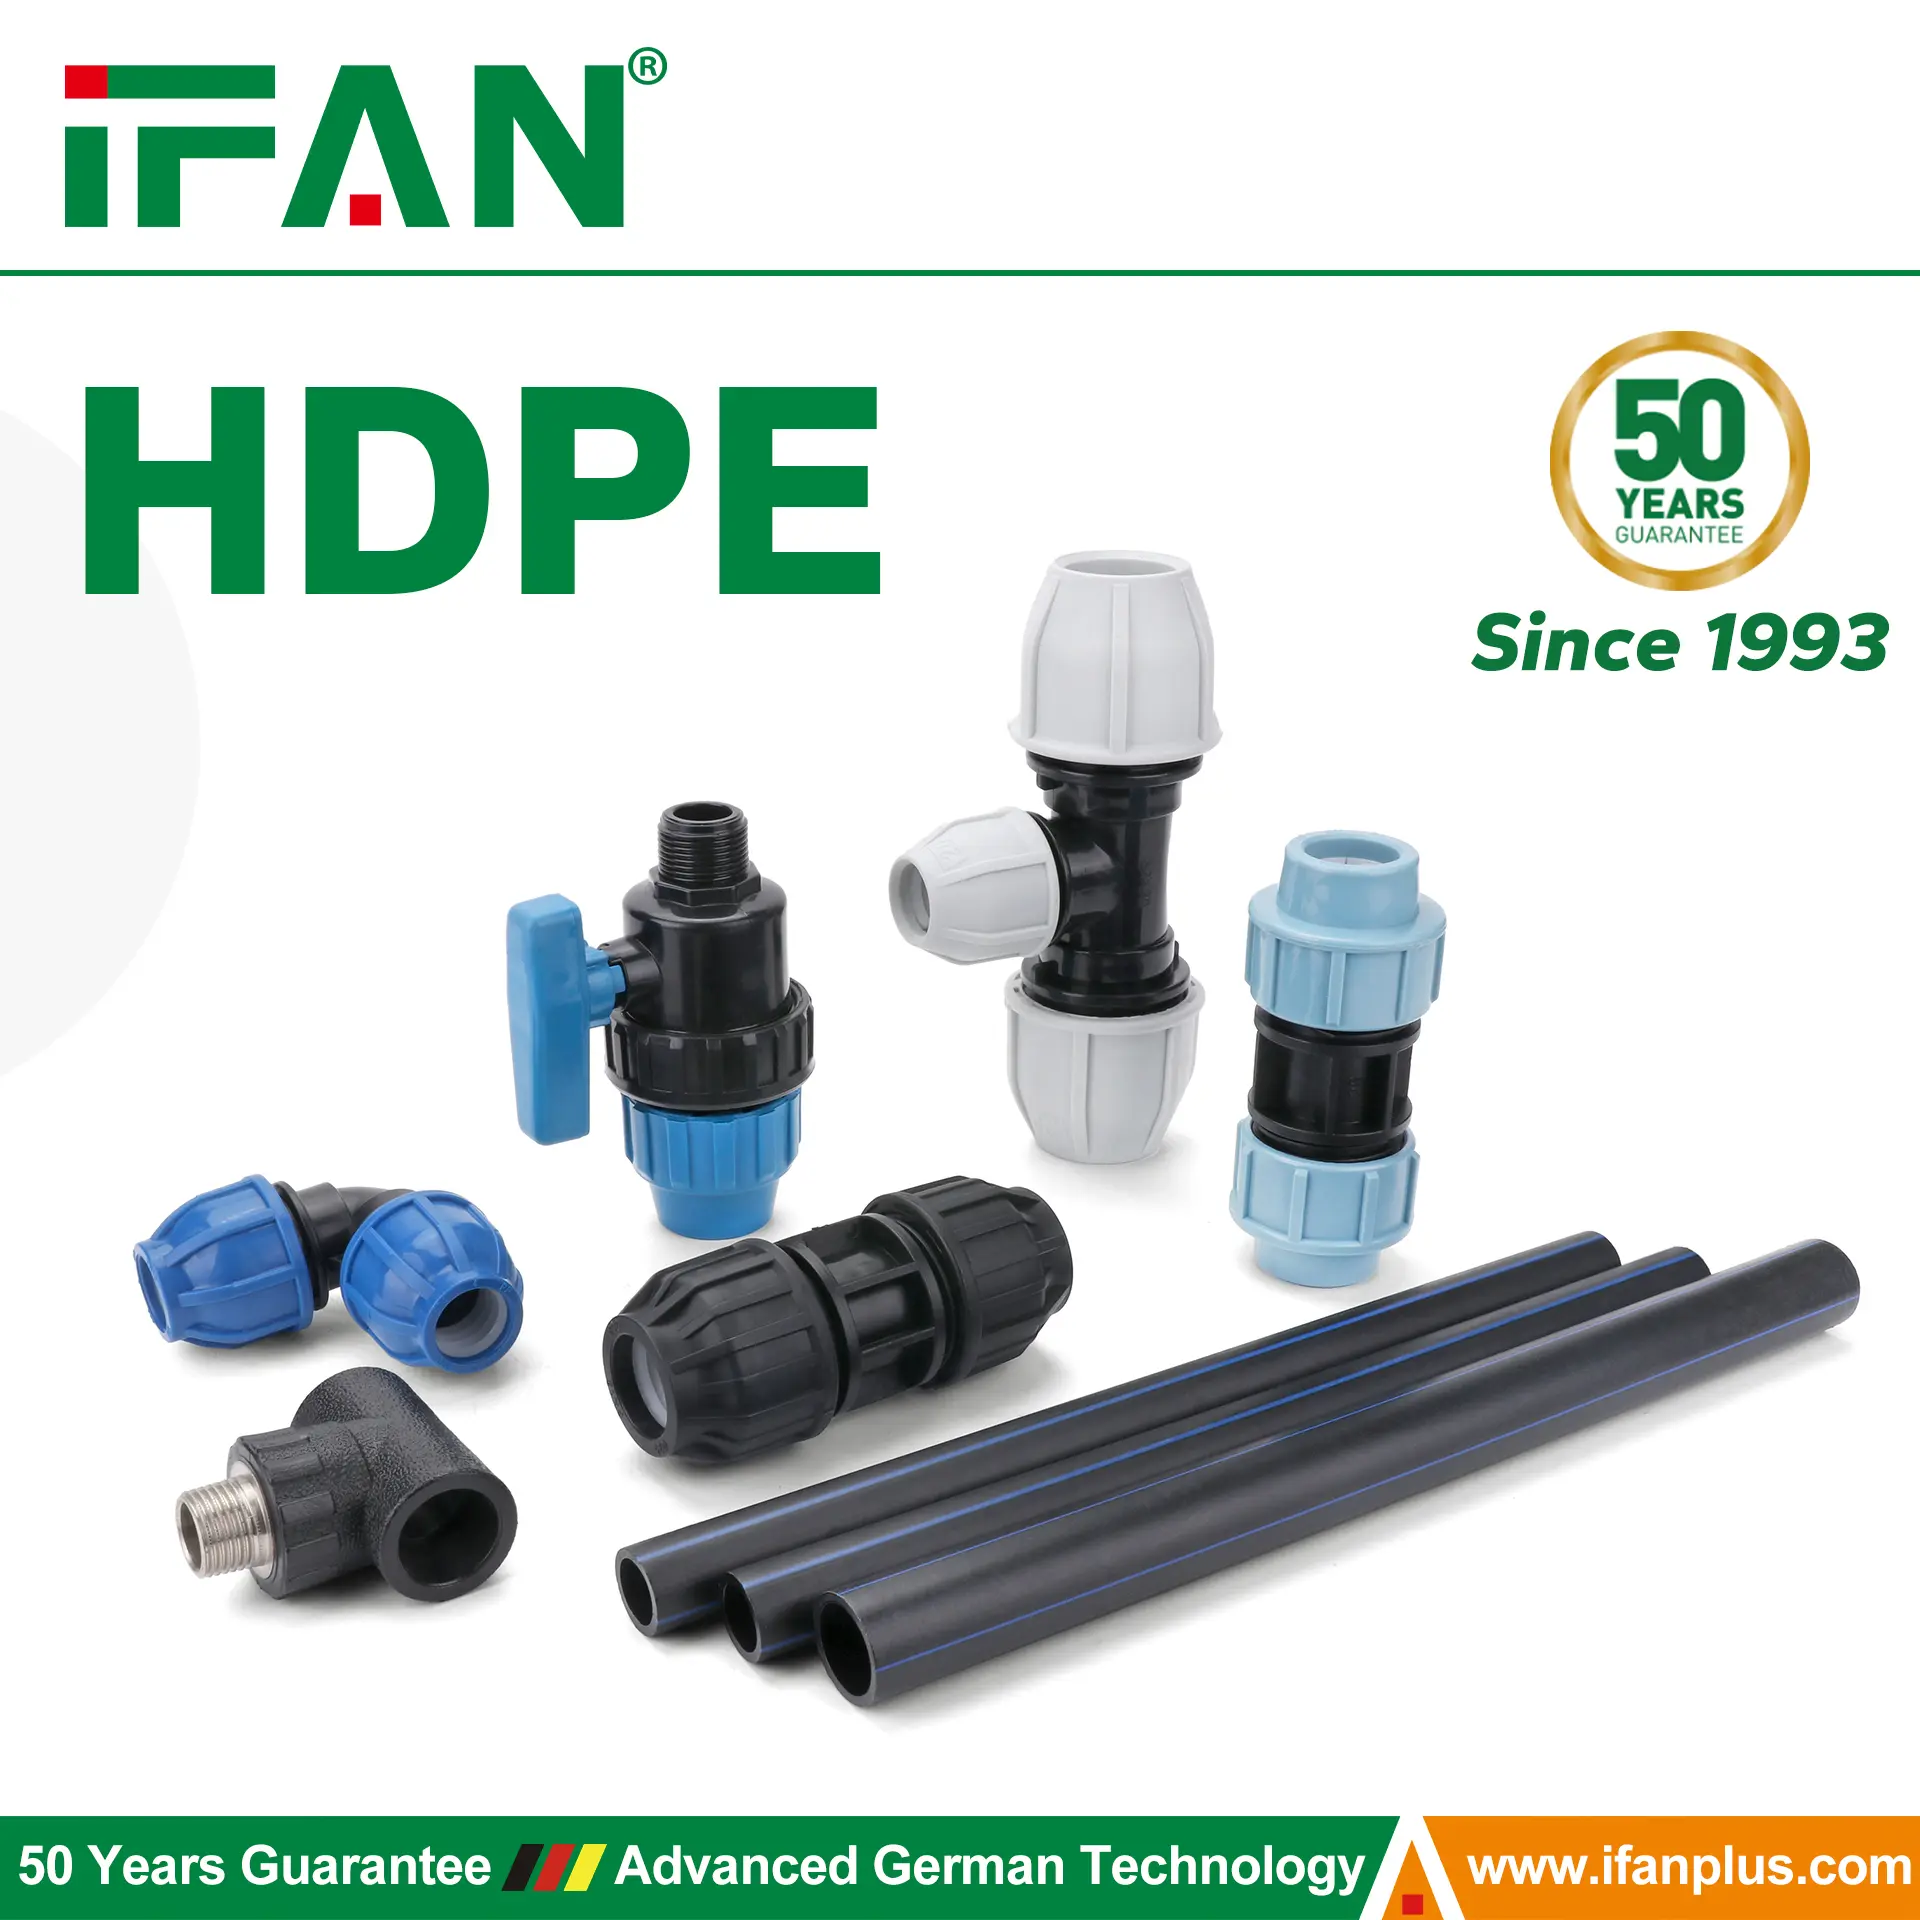
Black HDPE (High-Density Polyethylene) pipe is a widely used material in various industries for fluid transport systems, from water supply to industrial applications. Due to its flexibility, durability, and resistance to chemicals, it is a preferred choice for many installations. However, the installation of black HDPE pipes requires specific techniques and attention to detail to ensure the system operates efficiently and lasts for many years.
This article explores the step-by-step process of installing black HDPE pipe, from preparing the site to final inspections. We will also discuss important factors to consider during installation and the benefits of using this versatile material. By understanding the proper installation methods, you can optimize the performance of your HDPE piping system while avoiding common pitfalls.
Why Choose Black HDPE Pipe?
Before diving into the installation process, it’s essential to understand why black HDPE pipe is such a popular choice for plumbing, irrigation, and industrial systems. There are several reasons why black HDPE pipe stands out from other materials:
- Durability: HDPE pipe is known for its long lifespan, often exceeding when installed properly.
- Chemical Resistance: HDPE pipe is highly resistant to acids, bases, and many other chemicals, making it suitable for harsh environments.
- Flexibility: Unlike rigid pipes, HDPE is flexible and can withstand ground movement without cracking or breaking.
- UV Resistance: The black color of the HDPE pipe is due to the addition of carbon black, which gives it excellent resistance to UV radiation, making it suitable for outdoor installations.
These characteristics make black HDPE pipe a reliable and cost-effective choice for various applications.
Tools and Materials Required for Installation
To successfully install black HDPE pipe, you’ll need specific tools and materials. Having the right equipment is crucial to ensure a smooth installation process. Here’s a list of what you’ll need:
Tools:
- Pipe Cutter: A specialized tool for cutting HDPE pipe to the required length.
- Pipe Fusion Machine: Used for heat fusion welding of HDPE pipes, ensuring a strong, leak-free joint.
- Sanding Tool: To smooth the edges of the pipe after cutting.
- Measuring Tape: To ensure accurate measurements during installation.
- Trenching Tools: For digging trenches for underground pipe installation.
- Shovel or Excavator: For digging trenches of sufficient depth and width.
Materials:
- HDPE Pipes: The primary material needed for the installation.
- Fittings: Elbows, tees, couplings, and other necessary connectors.
- Fusion Equipment: For welding pipe joints together.
- Pipe Insulation (if necessary): To protect the pipe from extreme temperatures.
- Markers and Flagging: For marking pipe locations during installation.
Step-by-Step Guide to Installing Black HDPE Pipe
Now that we have the necessary tools and materials, let’s walk through the process of installing black HDPE pipe. The installation process can vary depending on the type of project, but the following steps provide a general outline that applies to most installations.
Step 1: Site Preparation
The first step in installing black HDPE pipe is preparing the installation site. This step is crucial to ensure the pipe will be installed correctly and function optimally.
- Clear the Area: Remove any obstructions, debris, or vegetation from the site where the pipe will be installed. This ensures the trench is free from anything that could damage the pipe.
- Mark the Path: Use measuring tape and flagging to mark the desired path for the pipe. This helps ensure that the pipe is installed in the correct location and that there are no conflicts with existing utilities.
- Dig the Trench: Using a shovel or excavator, dig a trench that is deep enough to accommodate the HDPE pipe, ensuring it remains below the frost line if necessary. The trench should be wide enough to allow easy access to the pipe during installation.
Step 2: Cutting and Preparing the Pipe
Once the trench is ready, the next step is to cut and prepare the HDPE pipe.
- Measure and Cut: Measure the required length of the HDPE pipe and use a pipe cutter to make clean, straight cuts. It’s essential to ensure that the cuts are straight to ensure proper joining during the fusion process.
- Deburr the Edges: After cutting, use a sanding tool to smooth the edges of the pipe. This will ensure that there are no sharp edges that could damage the fusion equipment or cause leaks at the joint.
- Check the Fittings: Before proceeding, ensure that all the necessary fittings, such as elbows and tees, are available and ready for use.
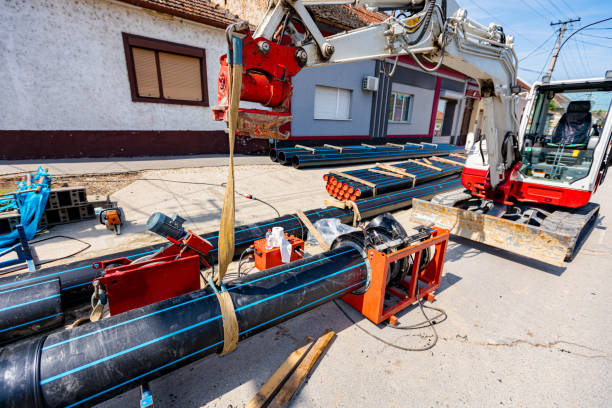
Step 3: Pipe Joining via Heat Fusion
Heat fusion is the most common method for joining HDPE pipes. This process involves melting the pipe ends and then pressing them together to form a strong, permanent bond. Follow these steps for a successful heat fusion process:
- Prepare the Fusion Machine: Set up the pipe fusion machine according to the manufacturer’s instructions. Make sure that the machine is clean and properly calibrated.
- Align the Pipe Ends: Place the ends of the pipes into the fusion machine, ensuring that they are aligned and secure.
- Heat the Pipe: Activate the fusion machine to heat the pipe ends until they become soft and molten. The heat and pressure cause the pipes to bond together as they cool and harden.
- Press the Pipes Together: After the pipes are heated, press them together using the fusion machine. Hold the pipes in place for the required time to ensure a secure bond.
- Inspect the Joint: Once the fusion process is complete, inspect the joint for any signs of misalignment or improper fusion. A properly fused joint will have a smooth, even surface.
Step 4: Installing the Pipe
After the joints are made, the next step is to install the pipe into the trench.
- Place the Pipe in the Trench: Carefully lower the HDPE pipe into the trench, ensuring that it is properly aligned with the markings. Be sure to avoid any sharp bends or twists that could damage the pipe.
- Backfill the Trench: Once the pipe is in place, backfill the trench with soil, making sure that the pipe is adequately supported and that the backfill material is compacted to prevent shifting.
- Avoid Sharp Objects: When backfilling, ensure that the soil is free from sharp objects that could puncture or damage the pipe.
Step 5: Testing the System
After installation, it’s essential to test the system to ensure that everything is working correctly and that there are no leaks.
- Pressure Test: Conduct a pressure test to verify the integrity of the pipe joints and the overall system. This test will help identify any potential leaks that could compromise the performance of the piping system.
- Check for Leaks: Inspect the joints and connections for any signs of leaks. If any leaks are detected, address them immediately by re-fusing the joints or replacing damaged sections.
Tips for Successful Installation
To ensure a smooth and successful installation of black HDPE pipe, here are some additional tips:
- Plan for Expansion and Contraction: HDPE pipe can expand and contract with temperature changes. Allow for expansion by planning for adequate space and flexibility in the system.
- Follow Manufacturer Guidelines: Always follow the manufacturer’s installation guidelines for specific instructions regarding pipe sizing, fusion temperatures, and installation techniques.
- Avoid Overloading the Pipe: Ensure that the pipe is not subjected to excessive weight or pressure, as this could cause damage to the system.
- Regular Inspections: Conduct regular inspections of the installed pipe to ensure that it remains in good condition and that no issues arise over time.
Conclusion
The installation of black HDPE pipe is a straightforward process, provided that the proper steps and precautions are taken. By following the right procedures, using the correct tools, and ensuring that the system is tested for leaks, you can ensure that the pipe performs reliably for many years. The key advantages of black HDPE pipe, such as its durability, chemical resistance, and flexibility, make it an ideal choice for a wide range of applications.
Proper installation is critical to ensuring that these benefits are fully realized. Whether you are installing a small irrigation system or a large industrial piping network, the correct installation techniques will help you achieve a safe, efficient, and long-lasting system. By following the steps outlined in this article, you can ensure that your black HDPE pipe installation is successful and that your system remains reliable and durable.
IFAN international standard
IFAN’s HDPE compression fittings and pipes comply with a wide range of international standards, ensuring high performance and global compatibility. These include ASTM D3035 and ASTM D3350 from the United States, ISO 4427 series and EN 12201 series from Europe, DIN 8074/8075 from Germany, GB/T 13663 series from China, AS/NZS 4130 from Australia and New Zealand, JIS K6760 from Japan, BS 6572 from the United Kingdom, and CSA B137.1 from Canada. Adherence to these standards guarantees excellent mechanical properties, chemical resistance, and long-term durability across diverse water supply and industrial applications.
Contact
IFAN is a professional manufacturer with of experience, dedicated to producing high-quality plastic pipes, fittings, and valves. Our products include brass valves, PPR valves, as well as various pipes and fittings to meet different customer needs. Whether you need plumbing and drainage pipes or valve products, IFAN can provide a diverse range of high-quality, cost-effective products to support your projects. Below is our contact information.
We will reply your email or fax within 24 hours.
You can call us at any time if there is any question on our production.
For more information,pls visit our webside https://www.ifanplus.com/
Pls Mailto: [email protected]
Whatsapp: + 86 19857948982