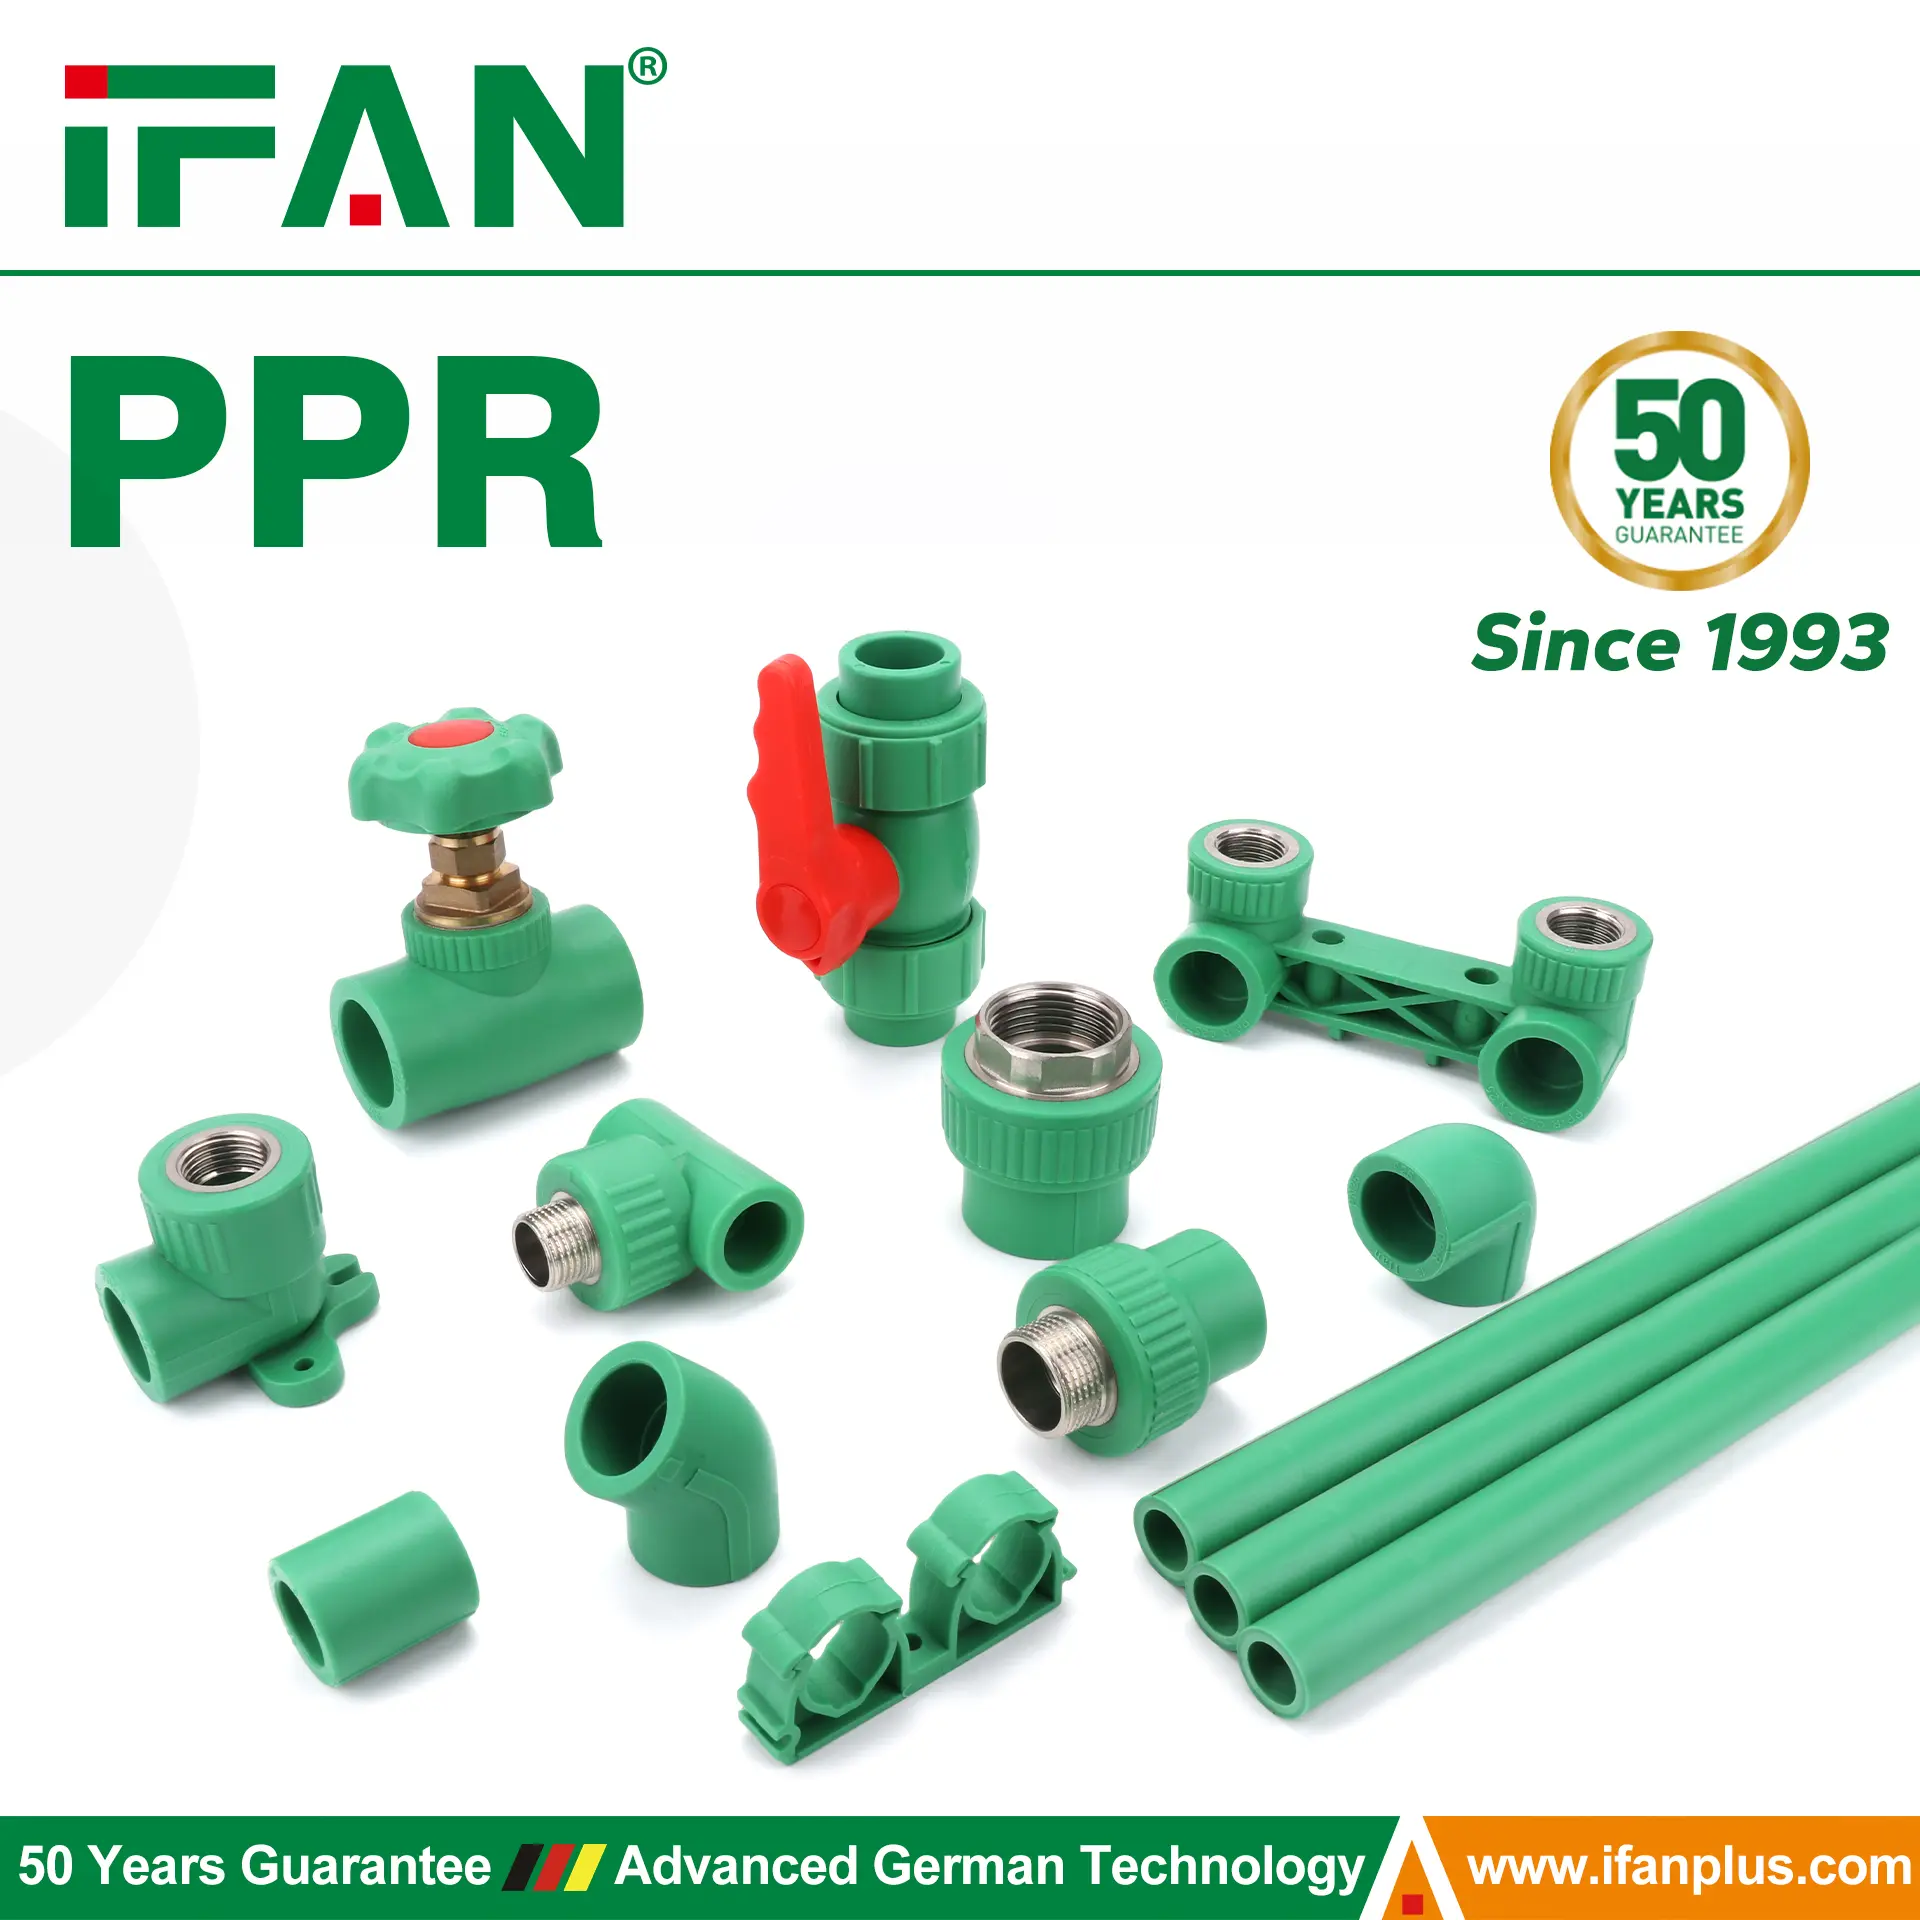
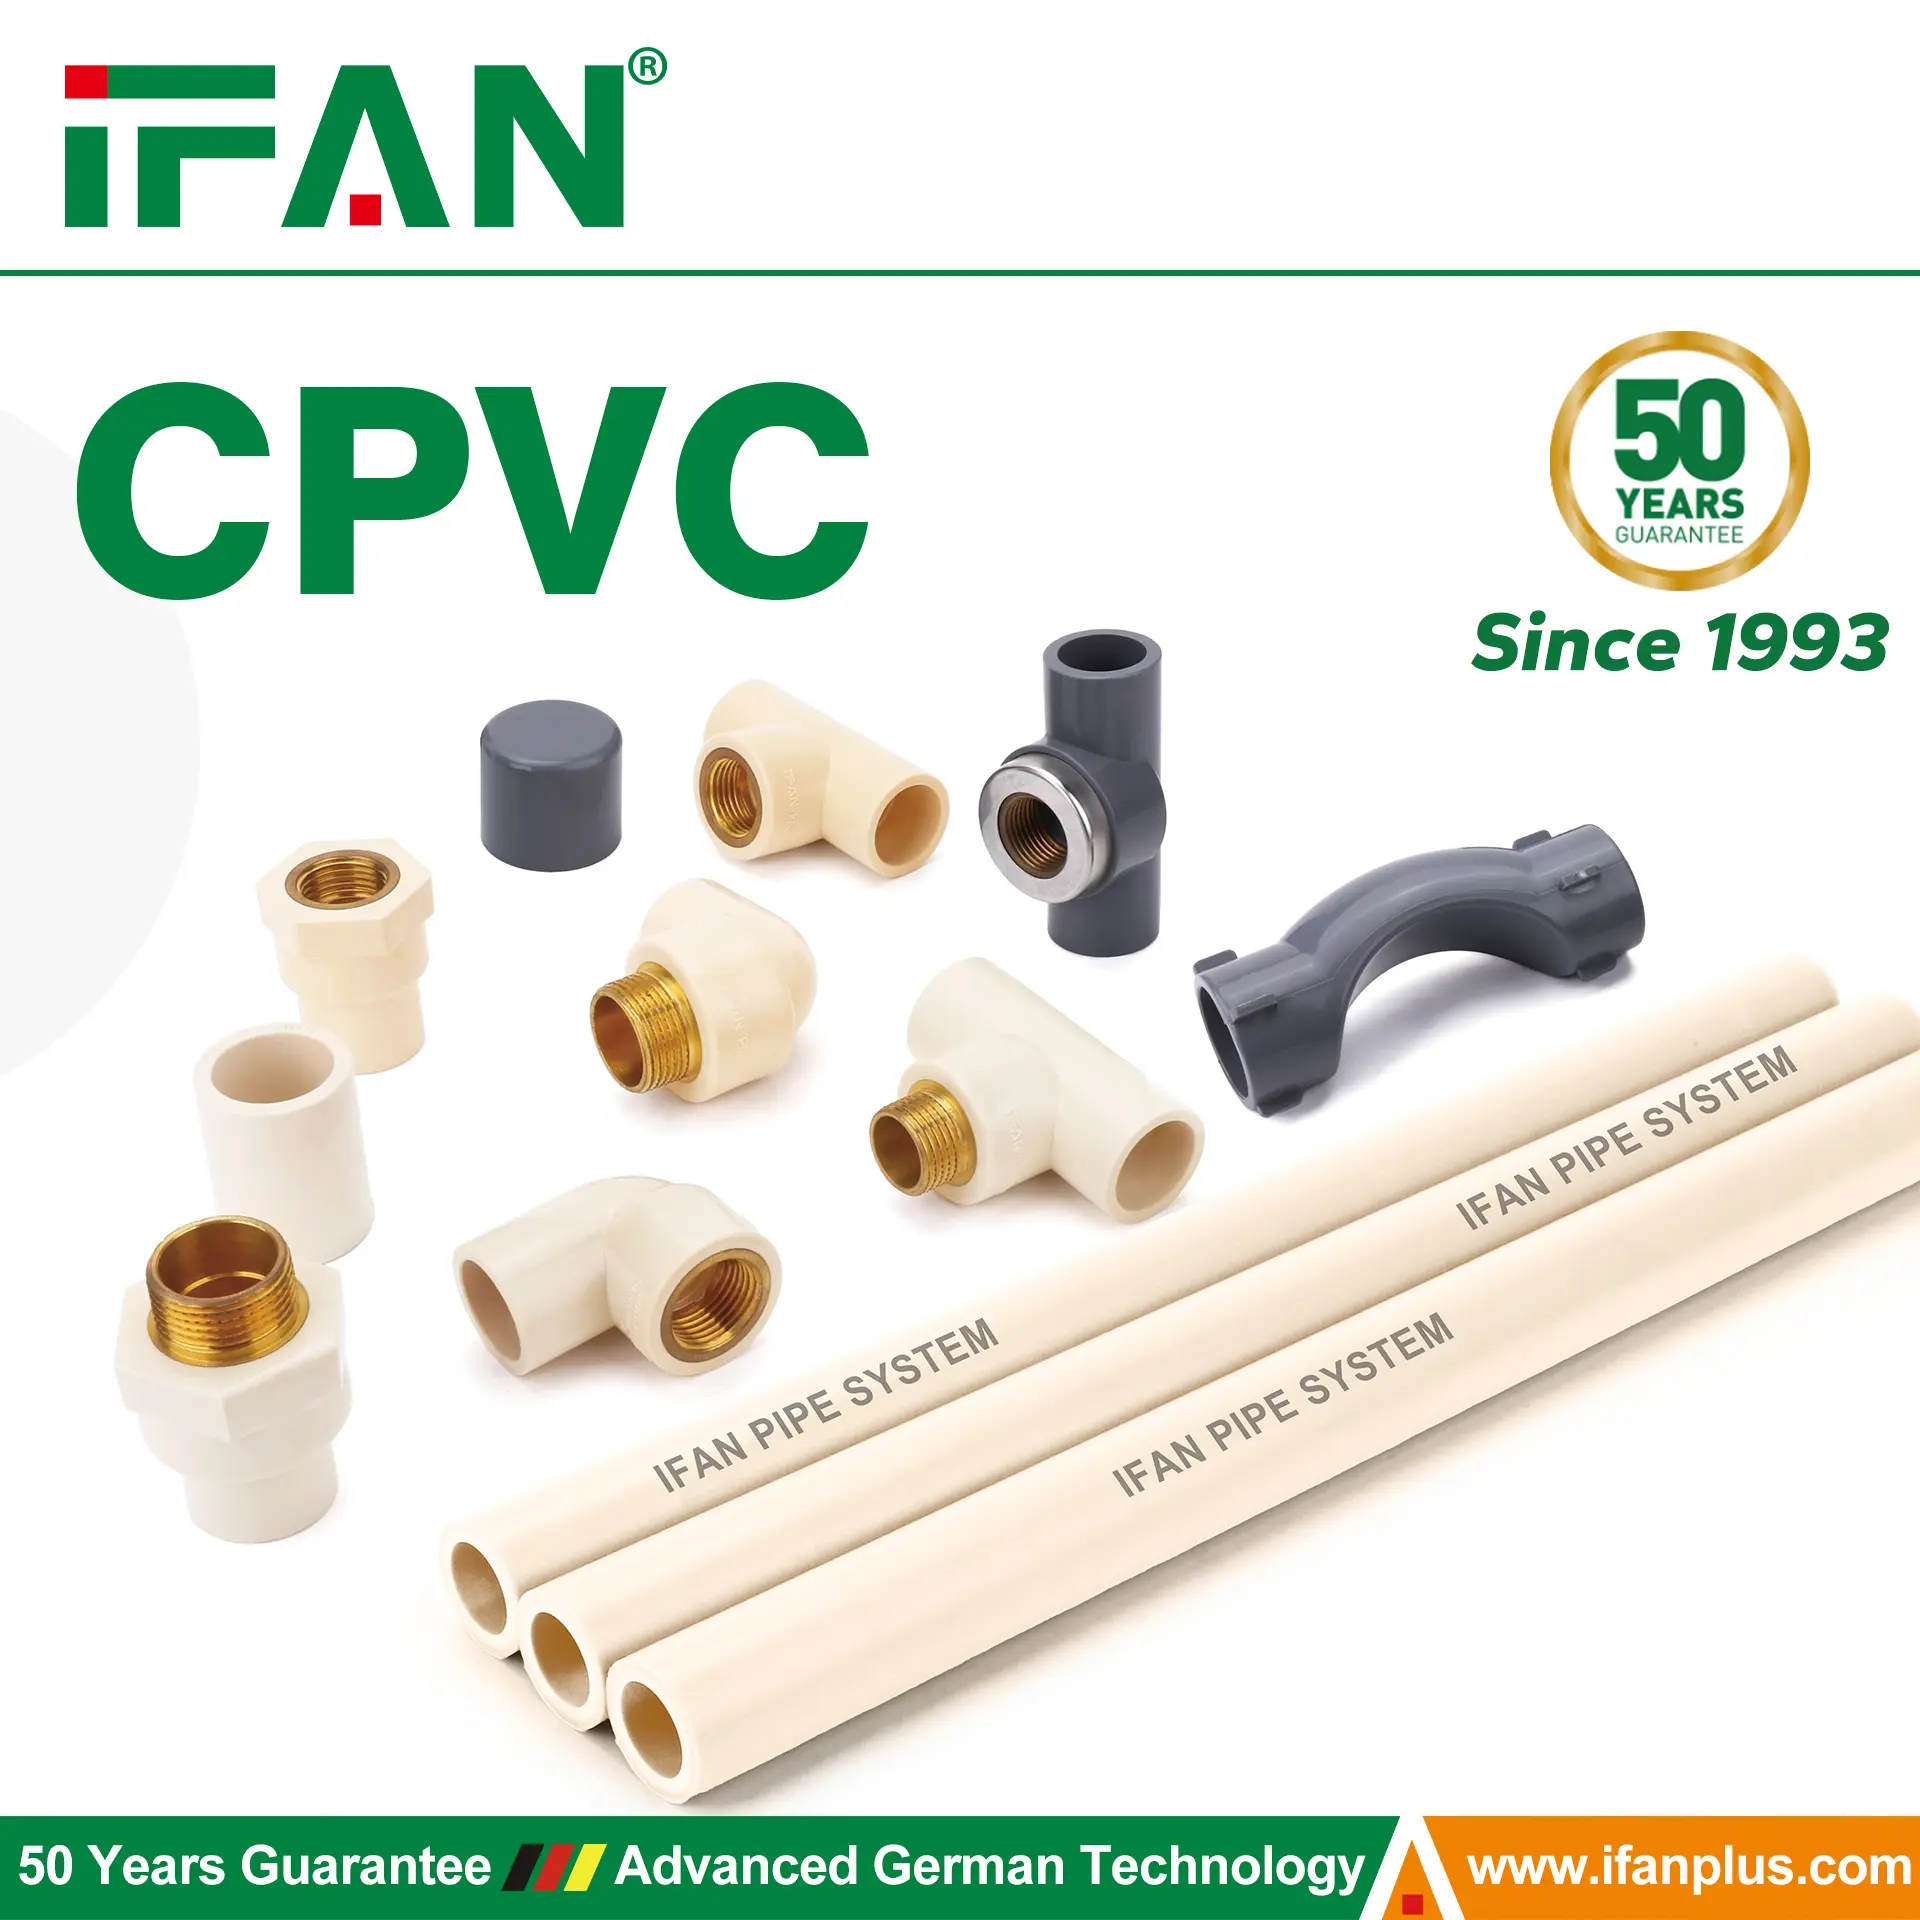
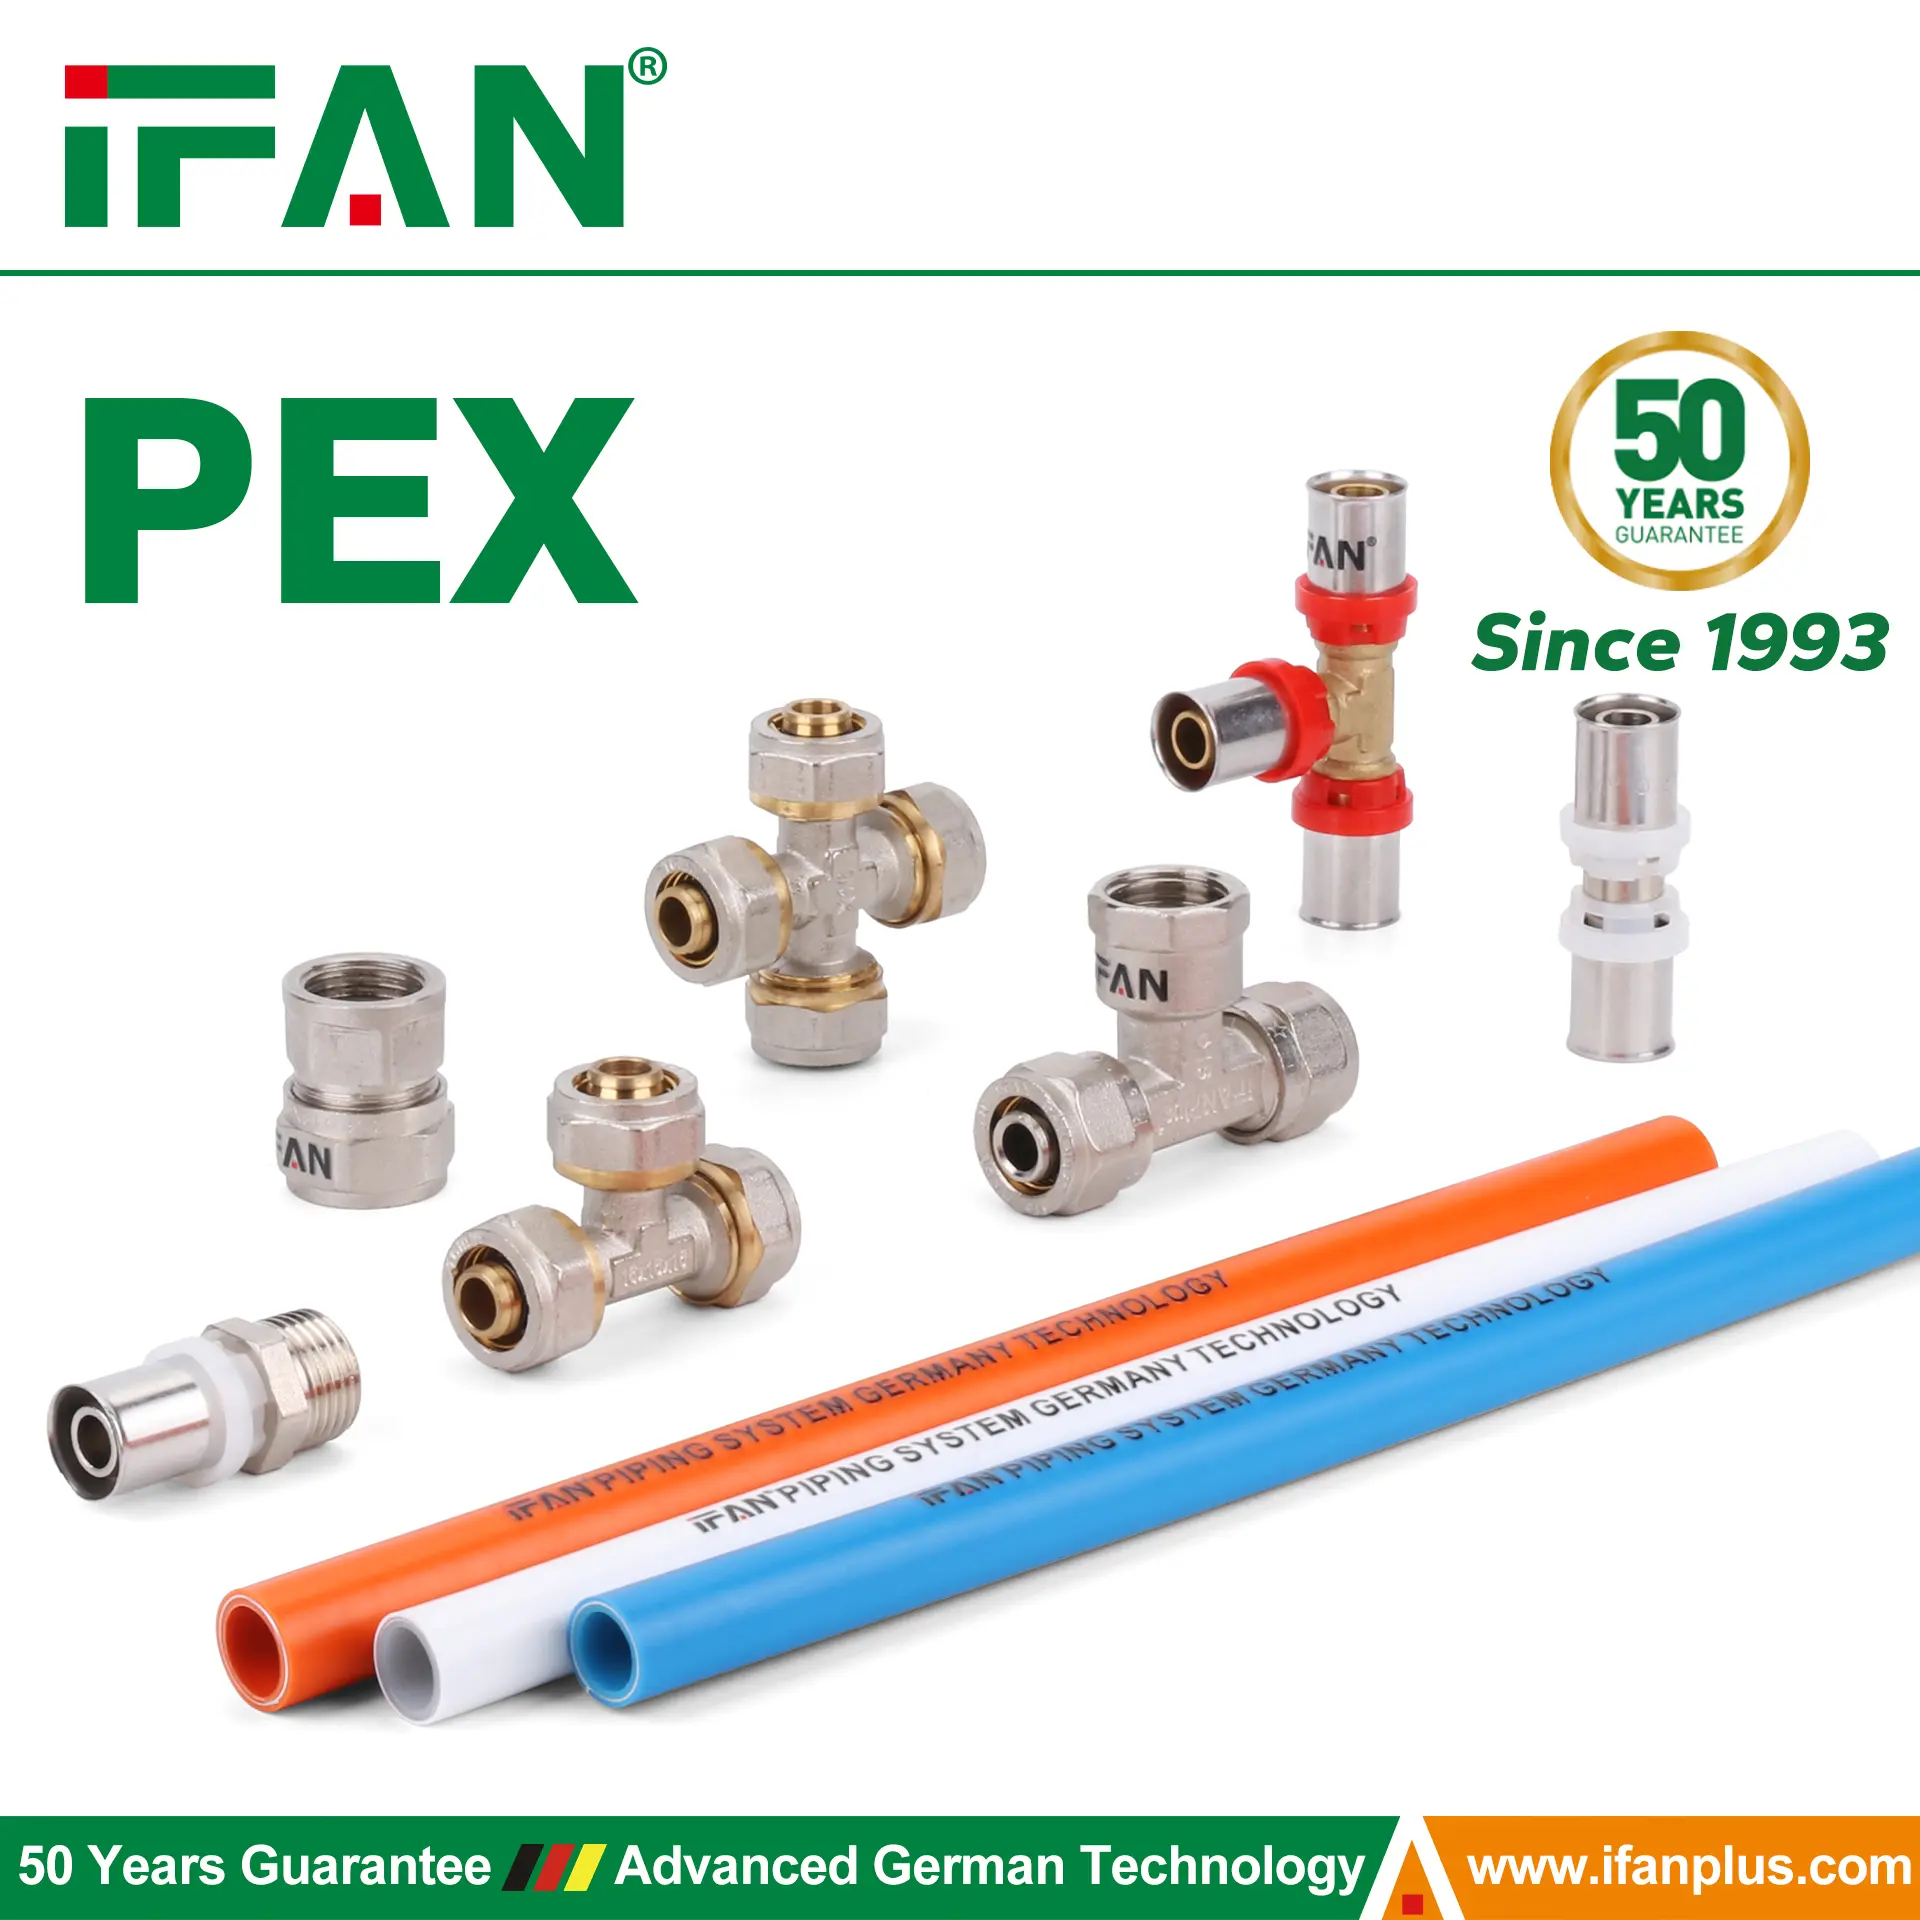
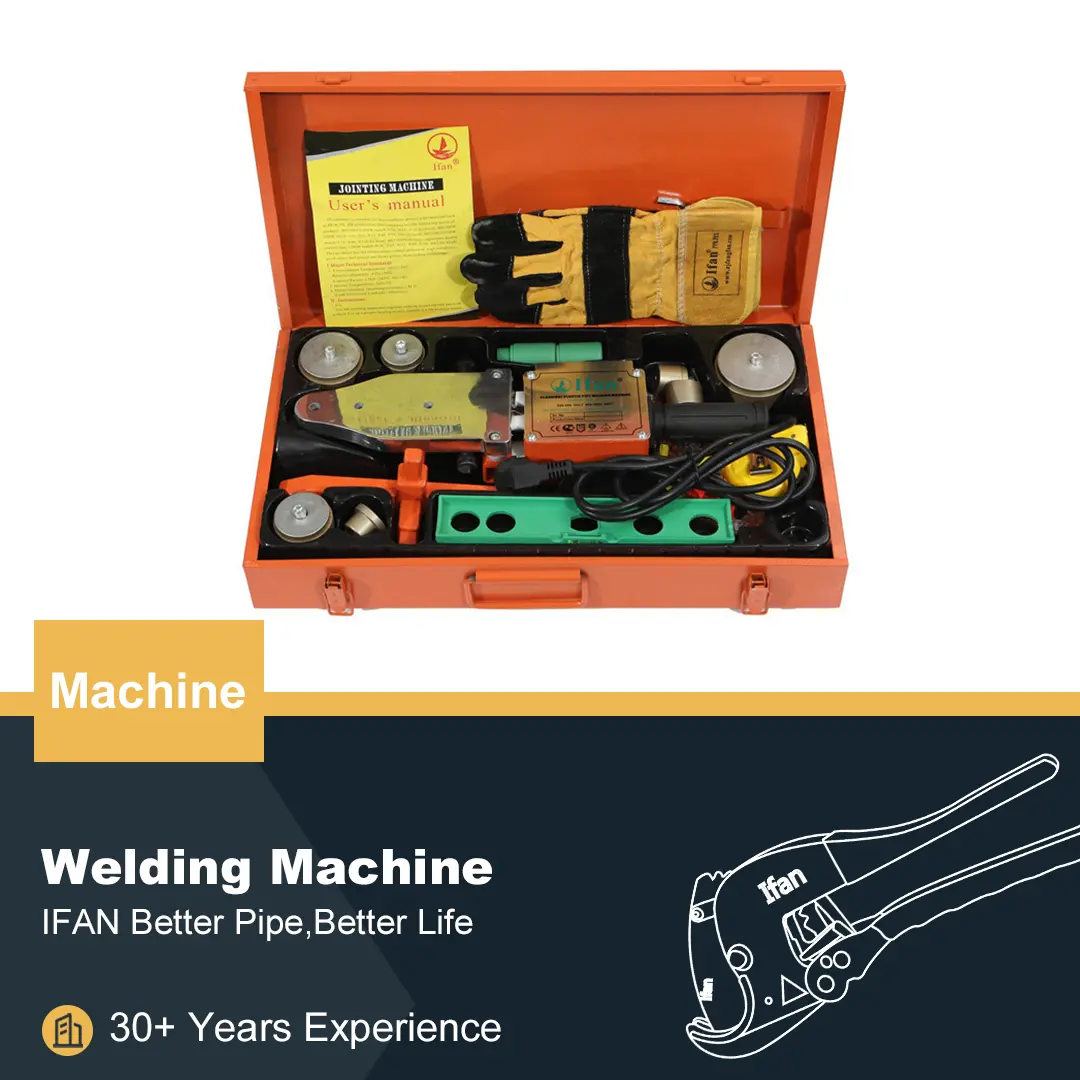
Introduction
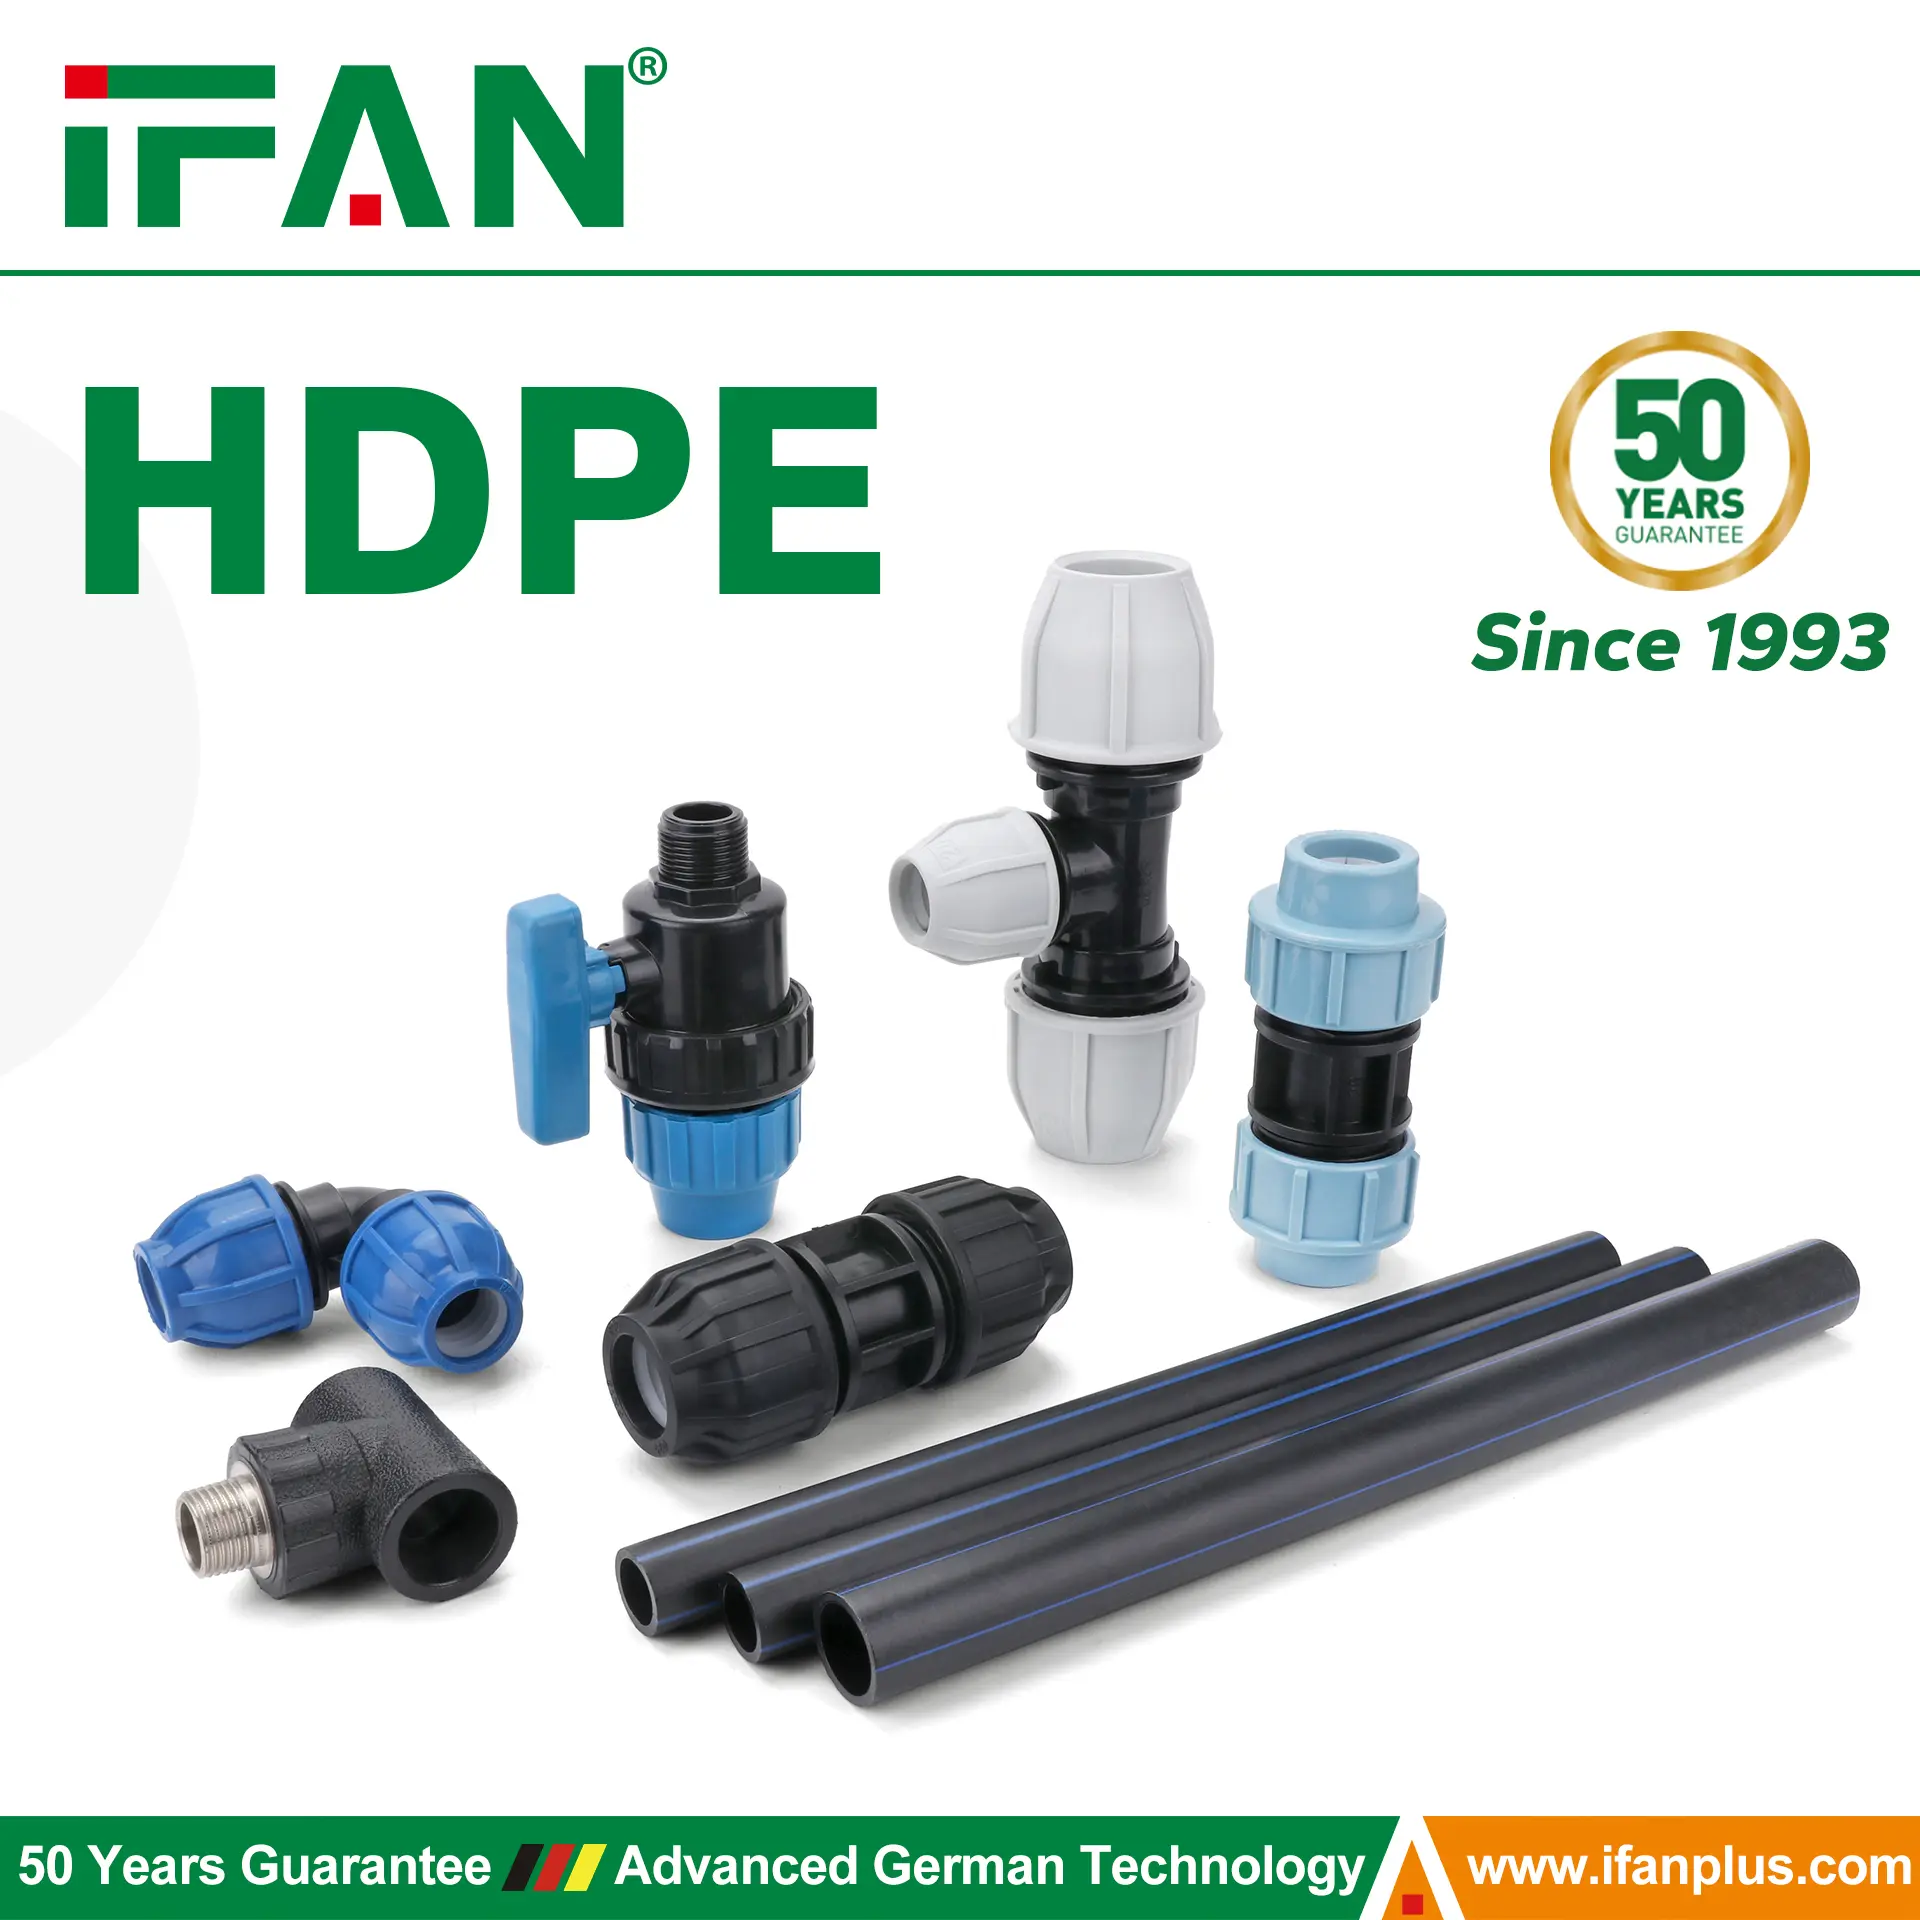
HDPE compression fittings offer a convenient and reliable way to connect polyethylene pipes without heat, glue, or complicated tools. As more industries adopt HDPE systems for water, gas, and irrigation, understanding how to install compression fittings correctly becomes essential. Although the process appears simple, every step matters. Therefore, this guide explains each installation phase in detail. Moreover, it highlights the importance of proper pipe preparation, correct tightening, and system testing.
Understanding the Structure Before Installation
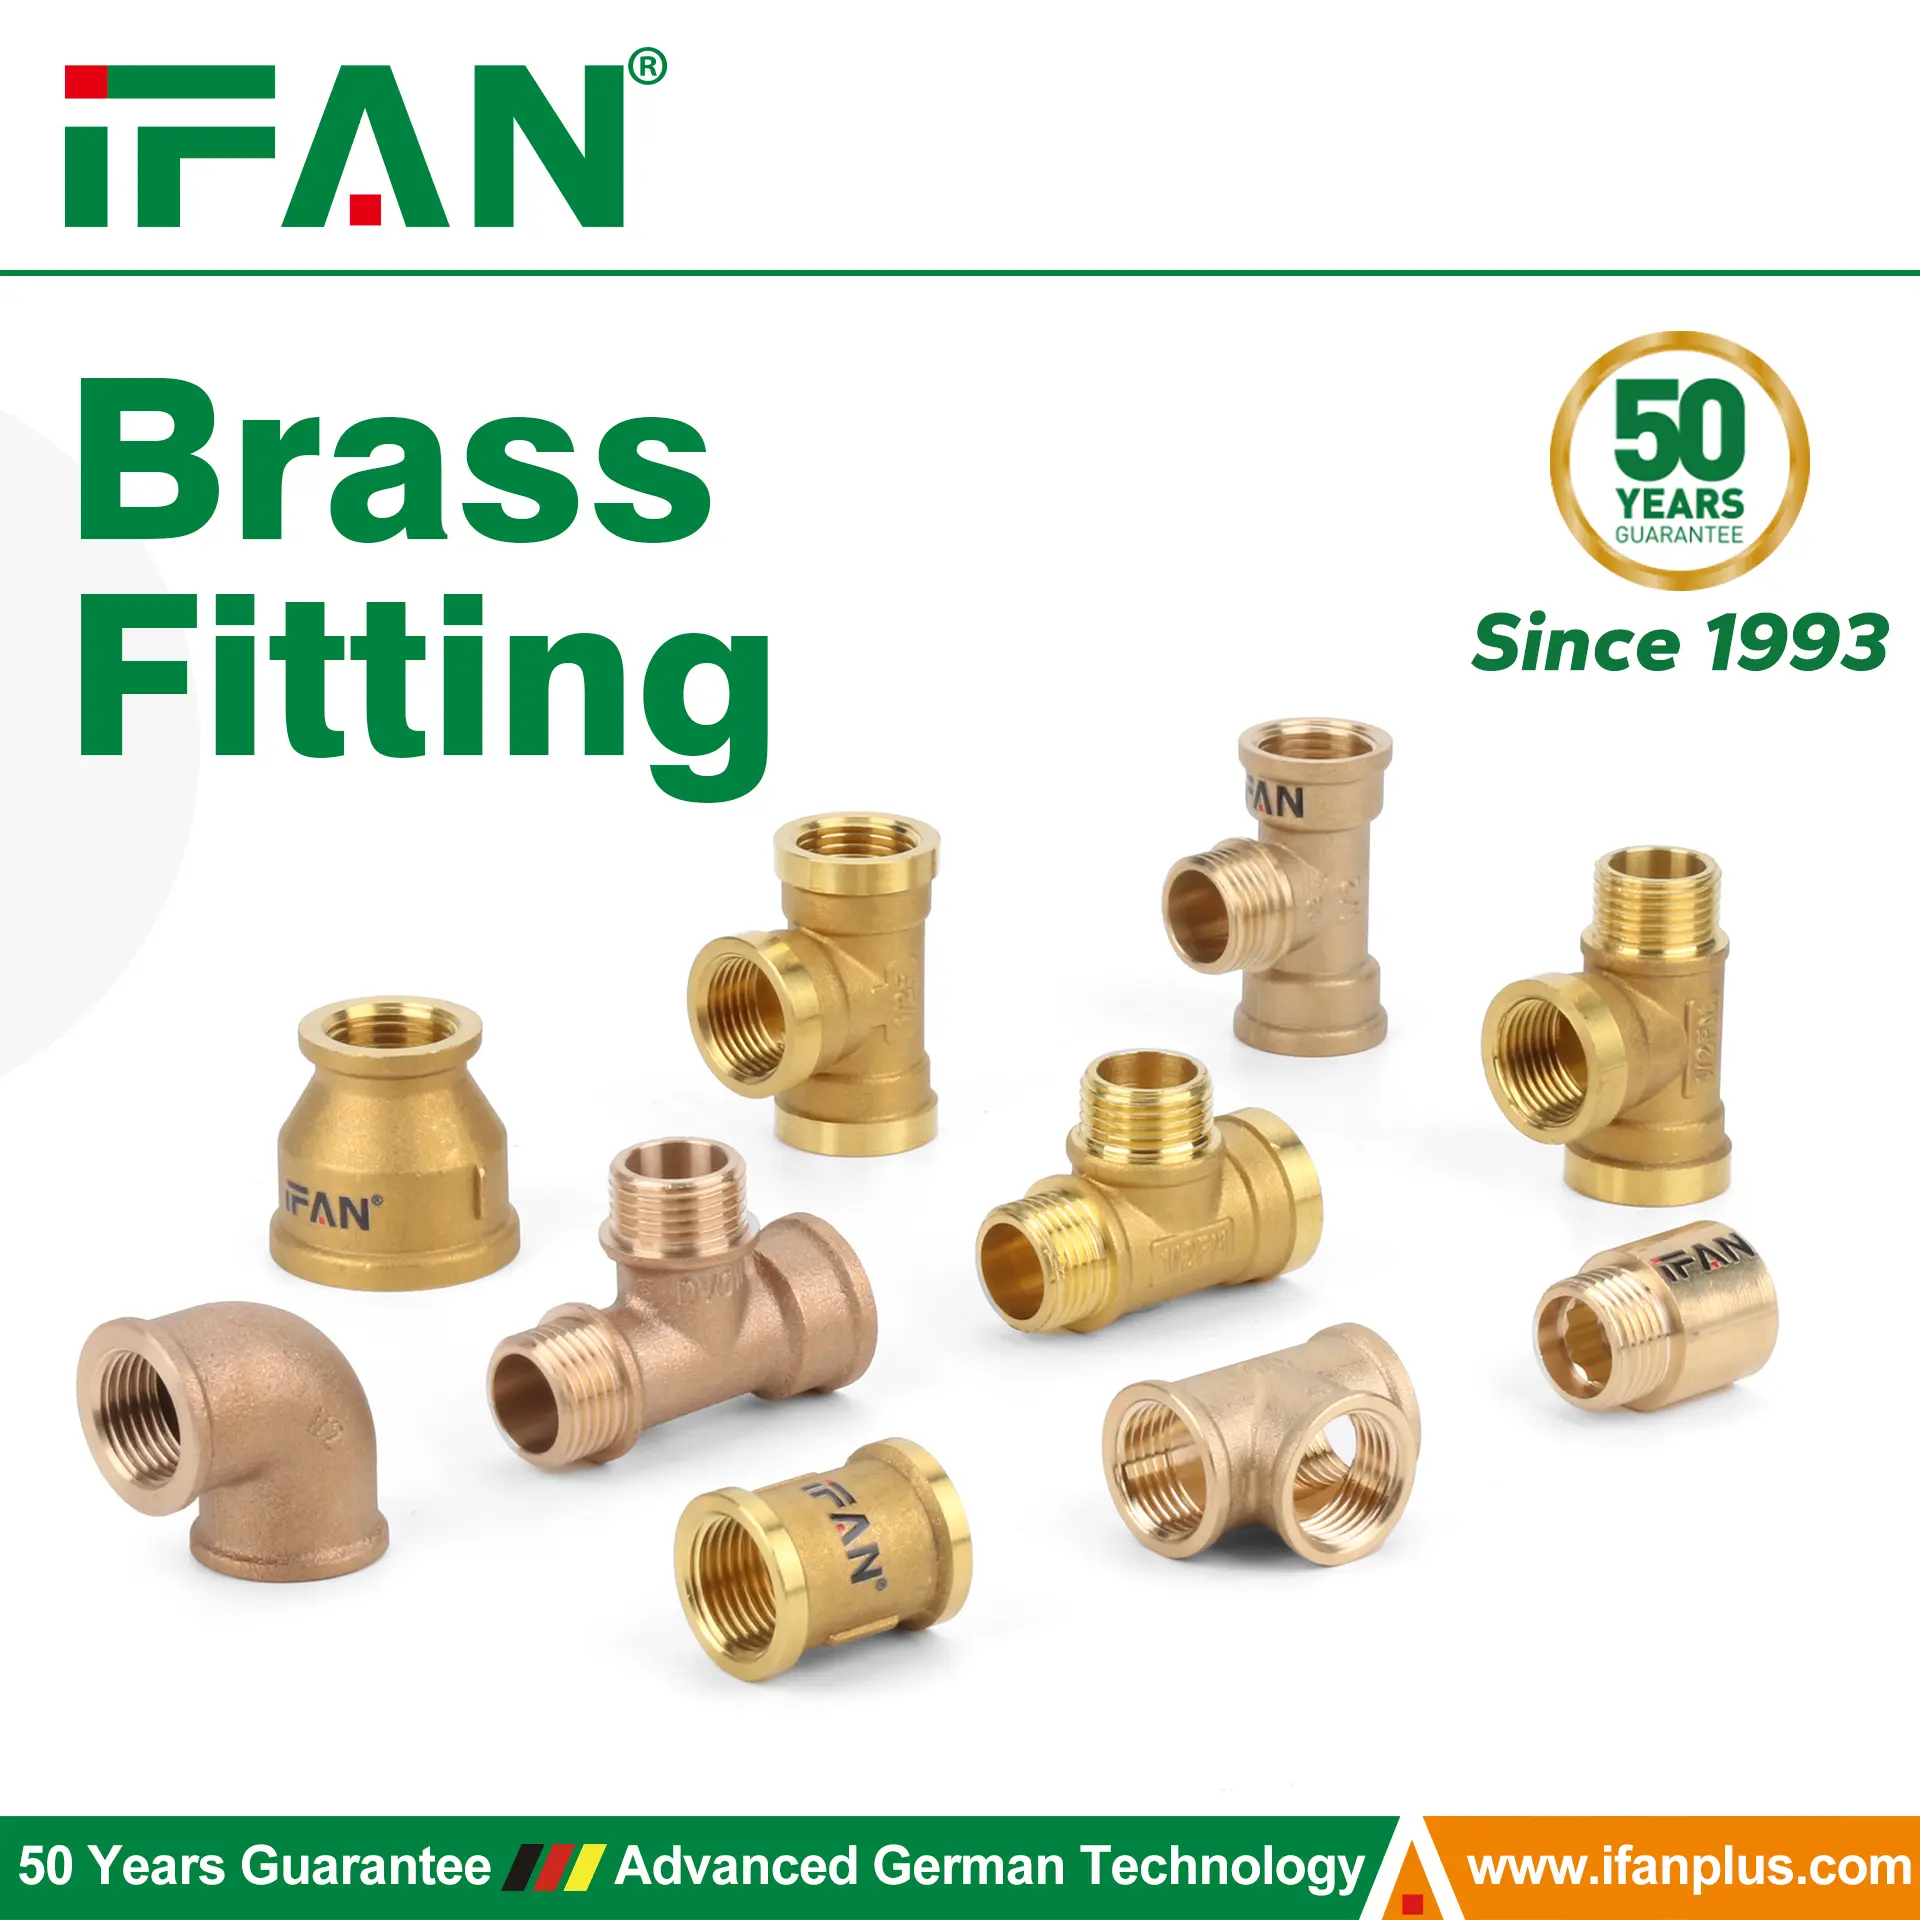
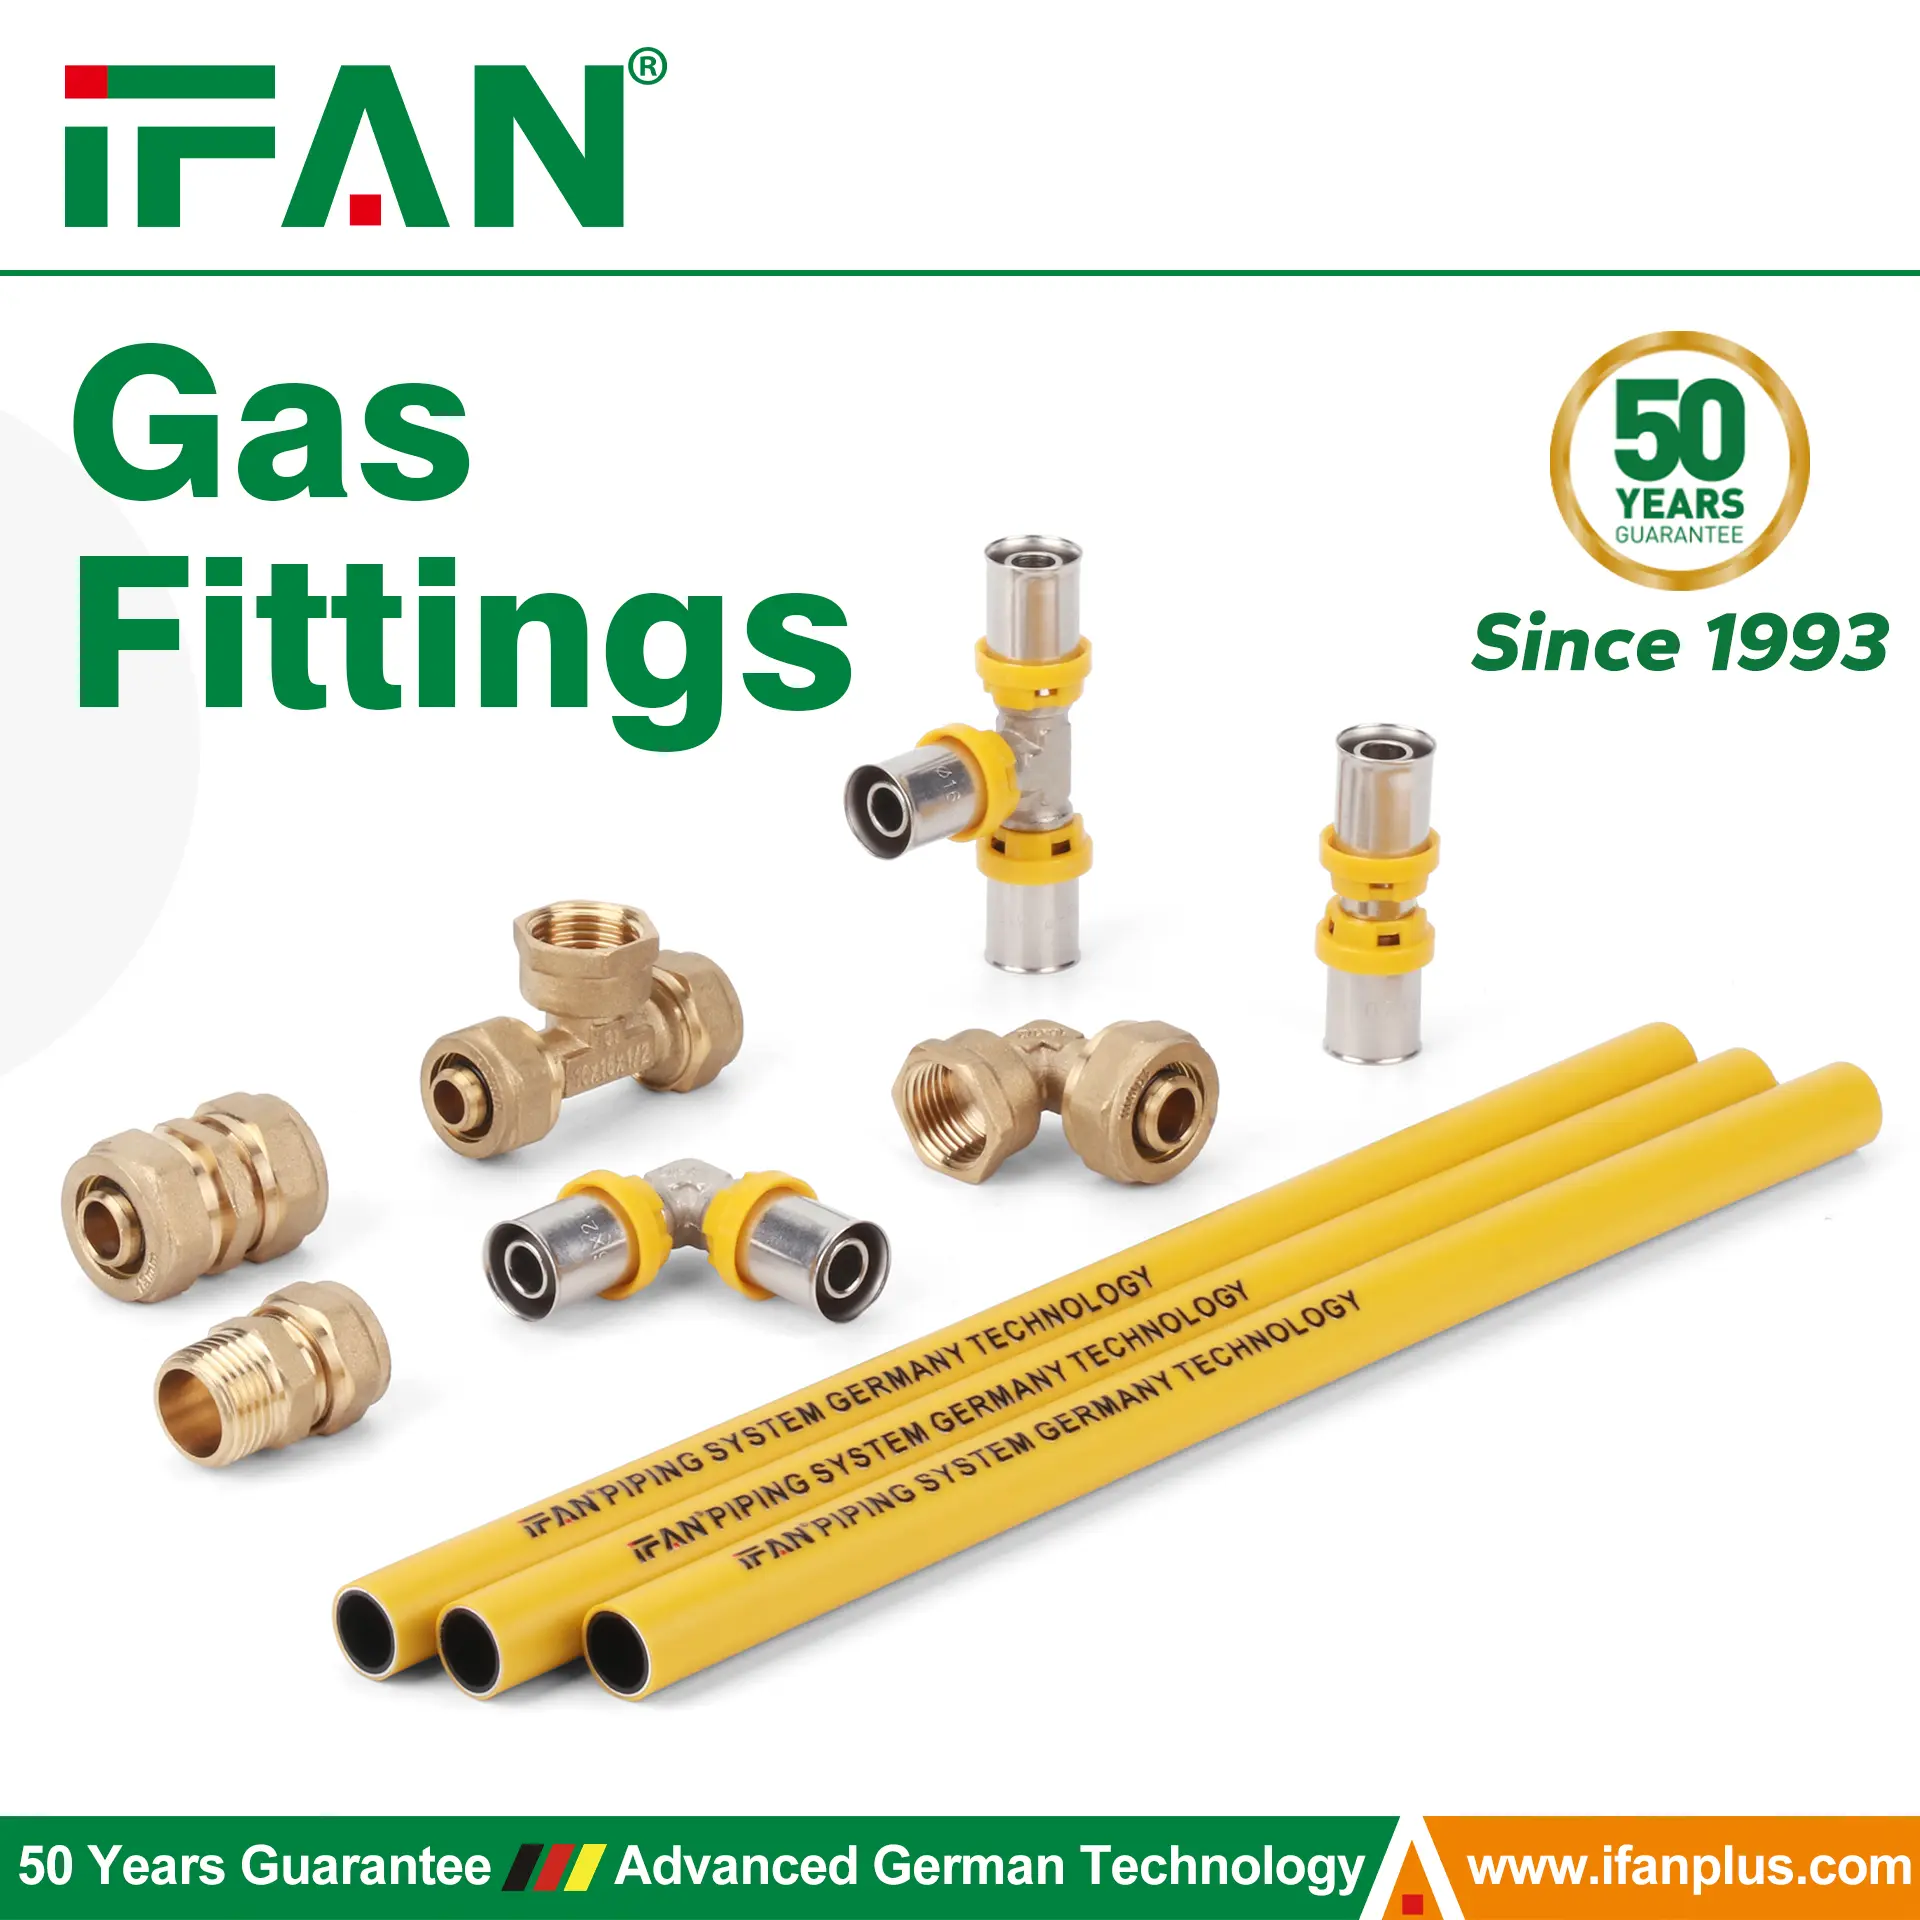
Before diving into the installation steps, it is crucial to understand the basic components of an HDPE compression fitting. Each part performs a specific role, and only a clear grasp of their functions can ensure successful assembly.
Key Components
First, the main body of the fitting houses all other components. Next, the compression nut tightens the fitting and applies force on the sealing system. Between them, the thrust ring distributes the tightening force evenly. Meanwhile, the grip ring locks the pipe in place by biting into its surface. Most importantly, the rubber sealing ring prevents leaks by forming a tight seal around the pipe.
Now that the structure is clear, we can explore how to install these fittings step by step.
Step 1: Select the Right Fitting and Pipe Size
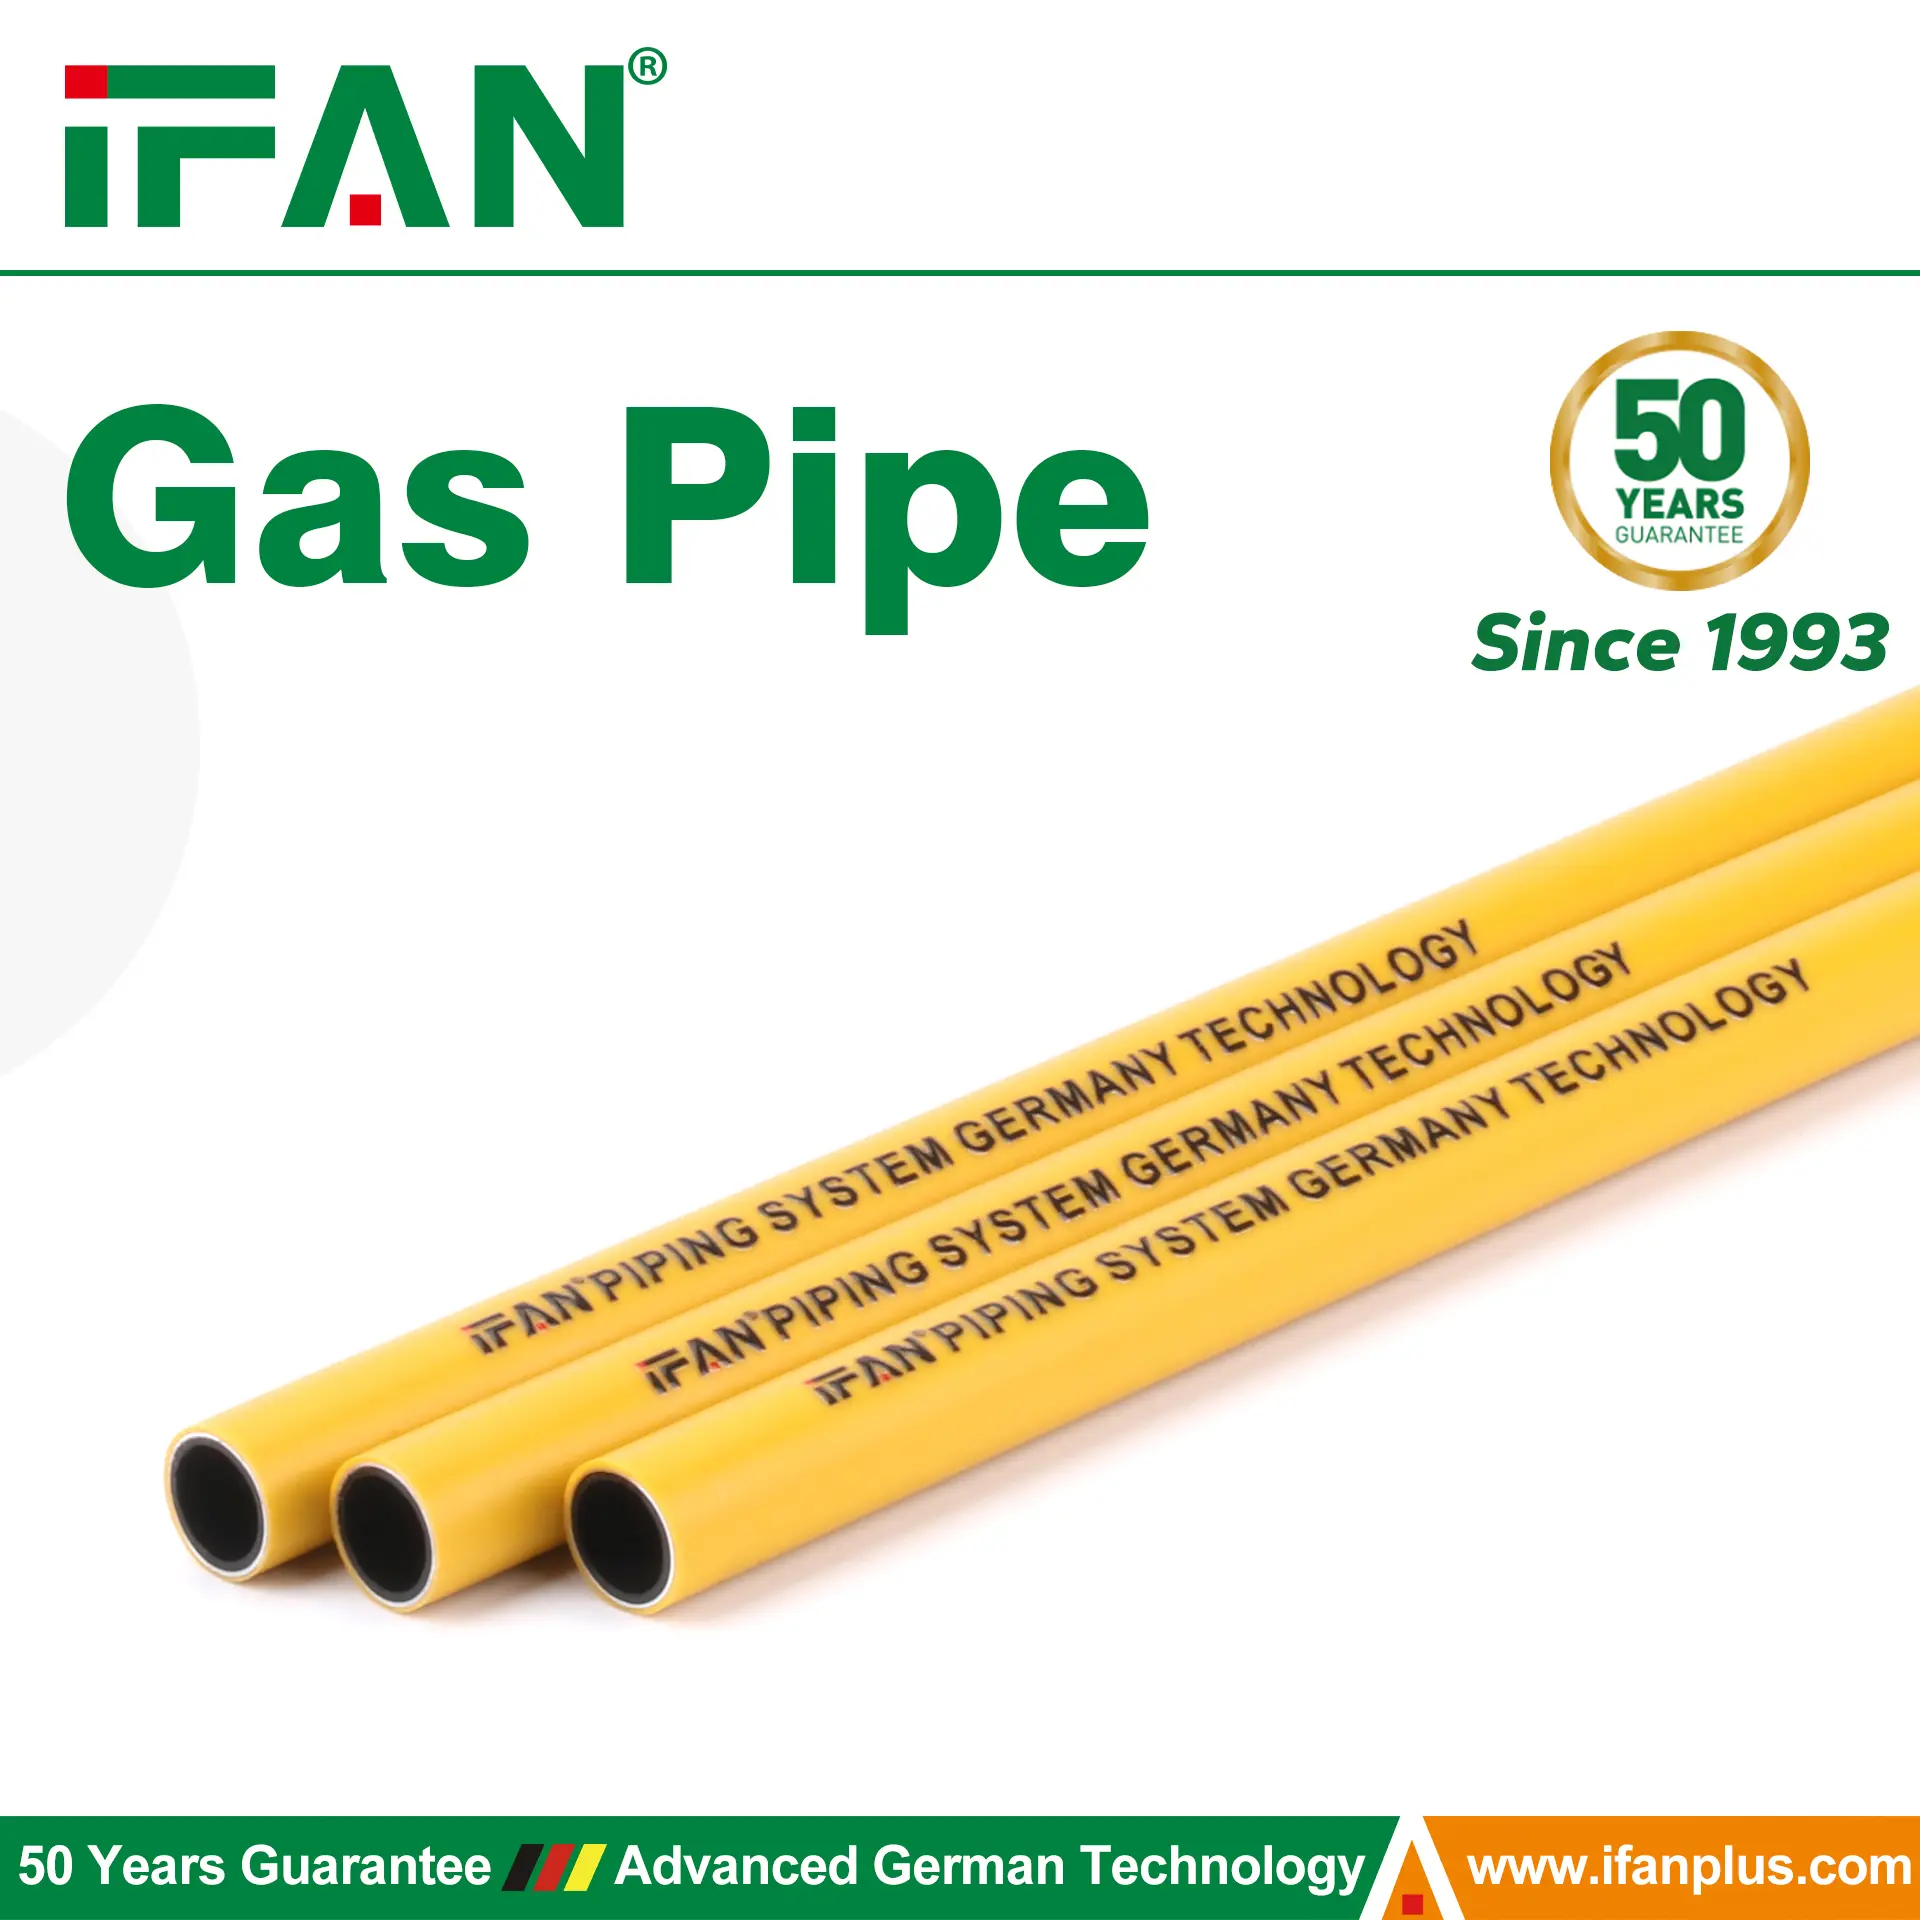
Before installation, choosing the appropriate fitting and pipe size ensures a secure connection. HDPE compression fittings come in various diameters, typically from 16mm to 110mm or more.
Moreover, ensure compatibility between the fitting and the HDPE pipe material. Although most fittings suit standard HDPE grades, mismatches can cause problems later.
Additionally, consider pressure ratings. For example, irrigation systems often use fittings rated at PN10 or PN16. Aligning the pressure class between the pipe and the fitting prevents system failure.
Step 2: Cut the Pipe Squarely
After selecting the right materials, proceed by cutting the pipe. This step may seem minor, yet it lays the foundation for a successful seal.
Use a sharp pipe cutter or a fine-toothed saw. The pipe end must be square, meaning it should form a 90-degree angle to the pipe’s axis. Uneven cuts reduce sealing efficiency and may cause leaks under pressure.
Also, avoid crushing or distorting the pipe during cutting. If the pipe end becomes oval or damaged, the sealing ring will not work as intended.
Step 3: Clean the Pipe Surface
Once the pipe is cut correctly, cleaning becomes the next critical step. Even though the pipe may appear clean, small particles or oils can interfere with the seal.
Wipe the outer surface of the pipe with a dry, clean cloth. If necessary, use a damp rag to remove dust or mud, especially for buried or outdoor pipes. Additionally, remove any burrs or plastic shavings around the cut edge.
Proper cleaning improves friction, promotes sealing, and increases the grip ring’s effectiveness.
Step 4: Disassemble the Compression Fitting
Now, take the compression fitting apart. Most fittings arrive pre-assembled, so begin by unscrewing the compression nut.
Next, remove the internal components in sequence: the nut, the grip ring, the thrust ring, and the rubber sealing ring. Slide these components onto the pipe in the correct order.
Although this may feel repetitive, checking the order ensures you avoid rework later.
Step 5: Insert the Pipe Fully Into the Fitting Body
After placing the components on the pipe, insert the pipe into the fitting body until it reaches the internal stop. Full insertion matters more than it seems.
If the pipe doesn’t go in all the way, the seal won’t engage properly. Moreover, the grip ring may bite into the wrong position. Therefore, push firmly until you feel solid resistance.
For large-diameter pipes, lubrication may help, but only use substances recommended by the fitting manufacturer. Never use oil or soap unless stated safe for HDPE.
Step 6: Slide the Rings into Position
Once the pipe sits inside the fitting body, move each ring forward.
First, push the sealing ring until it contacts the internal shoulder. Then follow with the thrust ring, and finally, slide the grip ring into place.
At this point, the components should sit snugly in the fitting. Double-check the order: sealing ring → thrust ring → grip ring. Finally, bring the compression nut up to the fitting’s thread.
Step 7: Tighten the Compression Nut
Now, tighten the compression nut by hand. Turn it clockwise until resistance increases.
Then, switch to a wrench. However, avoid over-tightening. Many manufacturers provide torque values or visible indicators for guidance. In general, a quarter to half additional turn beyond hand-tight suffices.
Proper tightening compresses the sealing ring around the pipe while activating the grip ring’s teeth. These two forces—radial sealing and axial gripping—secure the connection.
Additionally, tightening too much can deform internal parts, while too little may cause leaks. Therefore, follow the manufacturer’s instructions carefully.
Step 8: Test the System for Leaks
With the fitting in place, system testing becomes the next logical step. Although fittings rarely fail when installed correctly, testing prevents future surprises.
Slowly introduce pressure into the system. At first, observe the joint visually for signs of leaking. If no water escapes, increase the pressure gradually to operating level.
Allow the system to remain pressurized for several minutes. If the joint holds steady, the installation succeeded. Otherwise, shut down the system, release pressure, and inspect the fitting.
Most often, leaks result from incomplete pipe insertion, dirt under the sealing ring, or insufficient nut tightening.
Additional Tips for a Trouble-Free Installation
Temperature Considerations
Although HDPE works across a wide temperature range, the material expands and contracts with heat. If you install fittings in hot climates, consider allowing some slack for expansion. Conversely, in cold regions, make sure pipes remain flexible enough to insert.
Pipe Ovality
Sometimes, HDPE pipes deform during transportation or storage. If a pipe appears oval, insert it into a pipe straightener or round it out manually before installation. Round pipes seal better and allow easier tightening.
Lubrication Guidelines
While lubrication may help during assembly, always follow product guidelines. Some manufacturers offer specific silicone greases that work well with compression systems. Others advise against all lubricants. Misuse may cause the sealing ring to slip or degrade.
Advantages of HDPE Compression Fittings During Installation
HDPE compression fittings provide several advantages during installation compared to other pipe-joining methods.
Firstly, they require no special tools. A wrench and cutter usually suffice. Secondly, they offer quick assembly, ideal for urgent repairs or remote projects. Moreover, they allow disassembly and reassembly, making them useful for modular systems.
In contrast to butt fusion or electrofusion, compression fittings pose fewer risks in wet conditions. Furthermore, workers with minimal training can install them accurately, provided they follow the proper steps.
Common Mistakes and How to Avoid Them
Even though the installation process appears simple, common mistakes can cause leaks or joint failures.
For instance, one typical mistake involves incomplete pipe insertion. If the pipe doesn’t reach the fitting stop, the sealing ring may not seat correctly.
Another error arises from dirty or rough pipe ends. Dirt particles break the seal, while burrs create gaps.
Additionally, overtightening the nut can deform the sealing ring or crack the fitting body.
To avoid these problems, take your time. Prepare the pipe carefully, follow the component order, and use proper torque. Most importantly, don’t skip testing after assembly.
Maintenance and Disassembly
One of the most convenient aspects of HDPE compression fittings is their reusability.
When disassembly becomes necessary, simply depressurize the system, unscrew the nut, and remove the pipe. You can inspect each part and replace only the damaged components.
However, always check the grip ring and sealing ring before reuse. If either part shows wear, replace it before reassembly. Over time, rubber rings may harden or deform, especially in high-temperature environments.
Conclusion
HDPE compression fittings simplify pipe connections while offering long-term reliability. From proper cutting and cleaning to careful tightening and leak testing, every installation step contributes to the system’s performance.
By understanding each component, using proper tools, and following logical procedures, professionals and DIY users alike can achieve strong, leak-free joints. Transitioning from one step to the next with care not only reduces errors but also extends the life of the entire piping network.
In conclusion, the installation of HDPE compression fittings requires focus, patience, and attention to detail. However, once mastered, this technique delivers fast, flexible, and durable pipe connections across a wide range of applications.
IFAN international standard
IFAN’s HDPE compression fittings and pipes comply with a wide range of international standards, ensuring high performance and global compatibility. These include ASTM D3035 and ASTM D3350 from the United States, ISO 4427 series and EN 12201 series from Europe, DIN 8074/8075 from Germany, GB/T 13663 series from China, AS/NZS 4130 from Australia and New Zealand, JIS K6760 from Japan, BS 6572 from the United Kingdom, and CSA B137.1 from Canada. Adherence to these standards guarantees excellent mechanical properties, chemical resistance, and long-term durability across diverse water supply and industrial applications.
Contact
IFAN is a professional manufacturer with of experience, dedicated to producing high-quality plastic pipes, fittings, and valves. Our products include brass valves, PPR valves, as well as various pipes and fittings to meet different customer needs. Whether you need plumbing and drainage pipes or valve products, IFAN can provide a diverse range of high-quality, cost-effective products to support your projects. Below is our contact information.
We will reply your email or fax within 24 hours.
You can call us at any time if there is any question on our production.
For more information,pls visit our webside https://www.ifanplus.com/
Pls Mailto: [email protected]
Whatsapp: + 86 19857948982