Versatile Functionality:
A PEX shut-off valve serves as a crucial component in plumbing systems. Allowing users to control the flow of water to specific fixtures or sections of piping with ease.
What Are 1/4-Turn Water Stop Valves Used For?
1/4-Turn Water Stop Valves are essential components in plumbing systems, primarily used to regulate water flow. They offer effortless operation, allowing you to swiftly start or stop water with a simple quarter turn of the handle.
These valves are particularly useful in areas where water lines penetrate walls, ensuring you can conveniently control the water supply without having to access pipes directly. This makes them ideal for home renovation projects, maintenance tasks, or emergency shut-offs where immediate water control is necessary.
Their user-friendly design and efficient functionality make them a popular choice in both residential and commercial plumbing setups.
Precise Flow Regulation:
With a PEX shut-off valve, users can adjust the flow of water precisely. Enabling them to achieve optimal water pressure and distribution throughout the plumbing system.
Emergency Shut-Off Capability:
In case of a plumbing emergency, such as a burst pipe or leak, a PEX shut-off valve provides a quick and convenient way to shut off the water supply, minimizing water damage and potential loss.
Flexible Installation Options:
PEX shut-off valves are designed for easy installation and can be installed in various configurations. Including inline, angle, or branch connections, to accommodate different plumbing layouts and requirements.
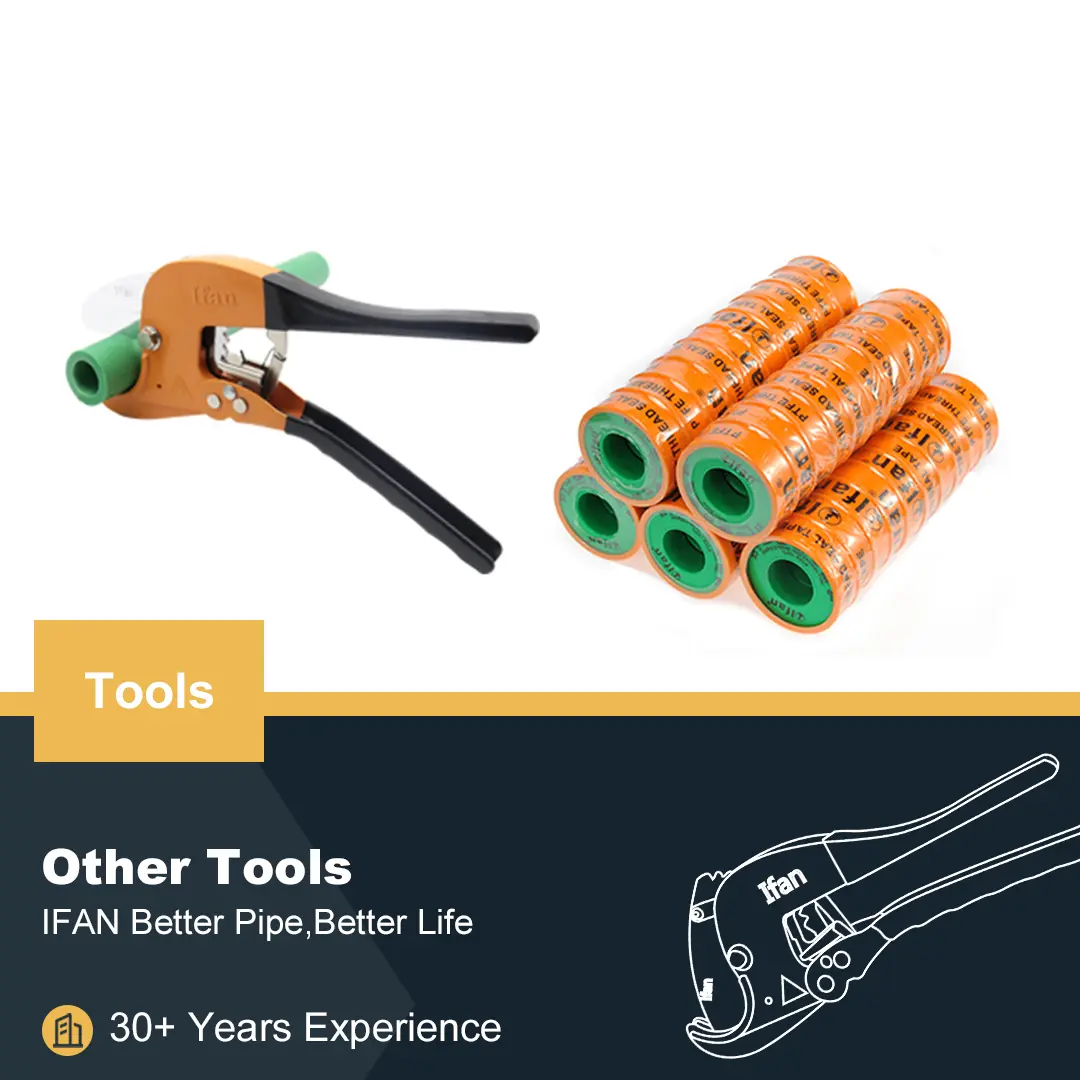
Tools and Materials Needed to Replace a Shut Off Valve
When replacing a shut-off valve, having the right tools and materials is crucial for a smooth and successful installation. Here’s a comprehensive list to guide you through the process:
- Quarter-Turn Angle Stop Valve: Essential for controlling water flow efficiently.
- Adjustable Wrenches: Necessary for gripping and turning nuts and fittings.
- Thread Sealant: Ensure a tight, leak-proof seal on connections.
Optional Items Based on Pipe Type
- For ABS Pipes:
- Multi-purpose Cement: Bonds and secures pipe joints.
- For PVC Pipes:
- Primer: Prepares the surface for cement application.
- Multi-purpose Cement: Adheres and seals the joints effectively.
- For CPVC Pipes:
- Primer: Vital for cleaning and softening the pipe surface.
- Multi-purpose Cement or Specialized CPVC Cement: Choose according to pipe requirements for a strong bond.
- Expansion Tool: Especially useful if working with PEX piping systems for expanding pipe ends.
Additional Tool
- Crimping Tool: Handy for PEX installations to securely attach fittings.
By preparing each of these tools and materials, you’ll be well-equipped to tackle your shut off valve replacement with confidence and ease.
How to Prepare the Stub Out Before Installing a Stop Valve
Preparing the stub out correctly is an important step before installing a stop valve. Here’s a step-by-step guide to ensure your plumbing task is set for success:
- Cut the Pipe to Size
Begin by measuring the exact length of pipe needed for your installation. This avoids any unnecessary gaps or tight fittings. Use the appropriate tool or pipe cutter that matches the material of your pipe, whether it’s copper, PVC, or PEX. - Flush the Line
Before proceeding further, make sure to flush the pipe. This step is crucial to clear any debris or sediment that could disrupt the installation or affect the flow once the valve is in place. - Smooth the Pipe Edges
After cutting, inspect the pipe ends. They should be rounded and free from imperfections. Removing burrs or any jagged edges not only ensures a proper fit but also prevents potential damage to seals within the valve. Use a deburring tool for this task. - Inspect for Damage
Check the pipe for any signs of grooves, scars, or abrasions. Even minor damages can lead to leaks or malfunctions later on. Ensure the pipe’s surface is smooth and defect-free.
By following these steps, you’ll have a well-prepared stub out, ready for installing the stop valve with confidence.
Instructions for a Push Connection
- Preparation: Start by measuring and marking ¾ of an inch from the end of your stub-out pipe. This will serve as your guide to ensure the valve is pushed on correctly.
- Valve Installation: Firmly push the valve onto the stub-out pipe. Make sure it is secure and that the valve’s collar meets your ¾ inch mark. This ensures a proper seal.
- Avoid Adjustments: Once the valve is in place, do not twist or adjust it, especially when the system is under water pressure. This prevents potential leaks or damage.
- Safety Precaution: Always keep the safety clip on the valve after installation, removing it only if necessary to take the valve off.
Following these guidelines will help ensure a secure and effective push connection.
Steps for Making a PEX Crimp Connection
To successfully make a PEX crimp connection, follow these straightforward steps:
- Prepare the Tubing:
- Begin by cutting the PEX tubing to the desired length. It’s crucial to make a straight cut to ensure a proper seal.
- Slide on the Crimp Ring:
- Gently slide a PEX crimp ring onto the tube. Ensure it’s positioned about 1/8 to 1/4 inch from the end of the tubing.
- Insert the Fitting:
- Push the fitting into the end of the PEX tubing. Make sure it’s fully inserted, so it reaches the shoulder of the fitting.
- Position the Crimp Ring:
- Adjust the crimp ring so that it’s placed evenly over the barbs of the fitting. The ring should be about 1/8 inch from the edge of the tubing.
- Crimp the Connection:
- Using a PEX crimping tool, compress the crimp ring securely. Ensure that the tool fits properly over the crimp ring before squeezing the handles together.
- Inspect the Crimp:
- Check every crimp by using a go/no-go gauge to verify proper compression. The gauge should slide over the crimped ring smoothly to confirm a good seal.
- Follow Manufacturer Instructions:
- Always refer to the specific PEX manufacturer’s guidelines. They may have additional recommendations to ensure optimal installation.
These steps should help you achieve a secure and leak-free PEX crimp connection. Proper installation is essential for the longevity and reliability of your plumbing system.
How to Make a Copper or PEX Compression Connection
Creating a reliable copper or PEX compression connection is a straightforward process when done correctly. Follow these steps to ensure a secure and leak-free fit:
- Prepare the Pipe
Begin by sliding a compression nut onto the end of the pipe. Follow this by sliding on the compression sleeve. Ensure both pieces are positioned properly before you proceed. - Position the Valve
Insert the pipe into the valve body. Push it in until it is fully seated at the end. - Secure the Connection
Thread the compression nut onto the valve body’s threads. Using two adjustable wrenches, tighten the nut. This action compresses the sleeve onto the pipe, ensuring a tight fit. After securing, give it an additional half turn for extra assurance. - Important Considerations
Avoid using pipe joint compound or thread sealant tape on the threads. These materials are unnecessary for compression connections and may compromise the fit.
By following these steps, you’ll create a sturdy and effective compression connection for your copper or PEX piping.
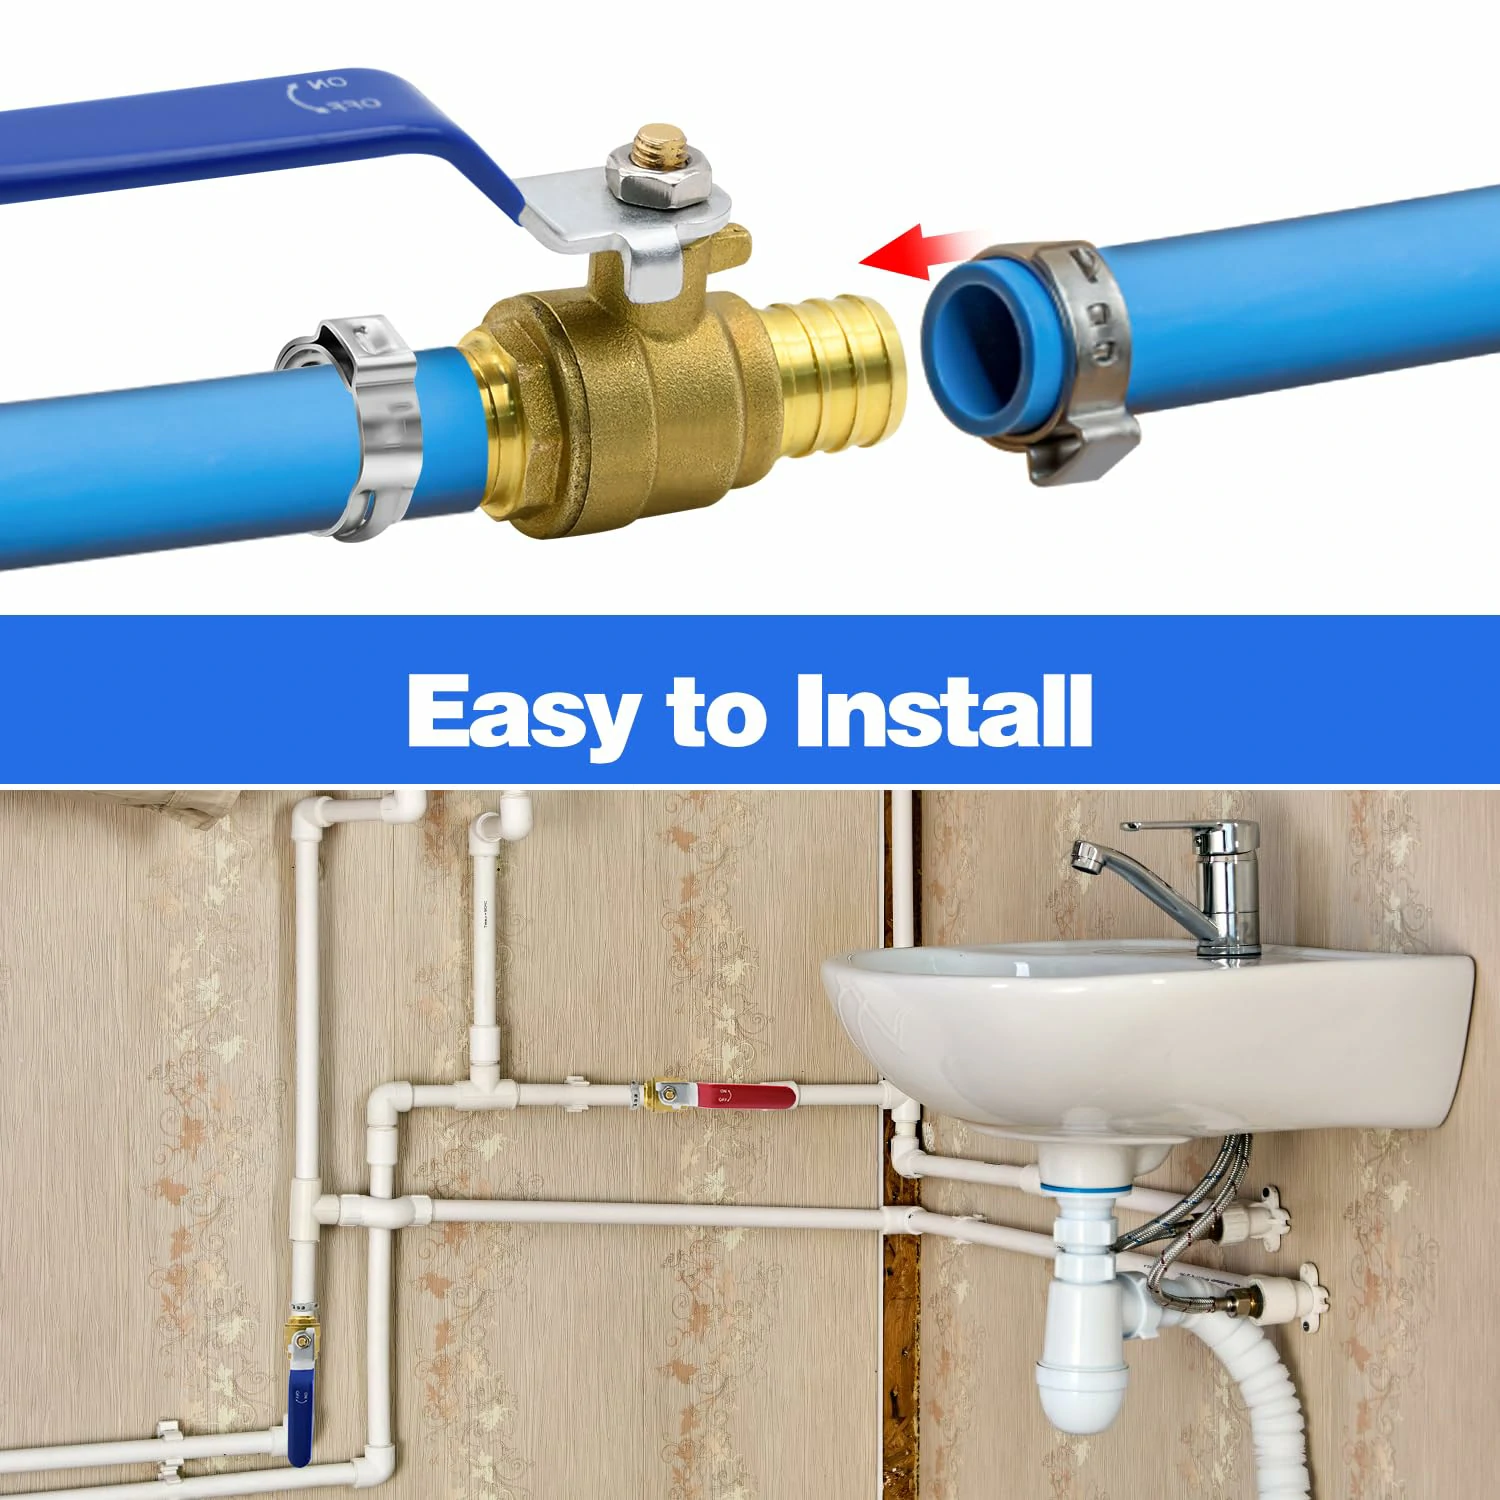
How to Position the Valve After Installation
Once you’ve installed a quarter-turn stop valve, it’s essential to position it correctly to ensure proper functionality and connection with the water supply. Here’s a step-by-step guide to help you do just that:
- Align the Valve: Ensure the valve is oriented correctly to align with the incoming water supply tube. The valve should face in the direction where the tube will be connected seamlessly.
- Prepare the Supply Tube: Before connecting, place the compression nut and sleeve over the end of the supply tube. These components are crucial for creating a secure seal.
- Secure the Connection: Carefully insert the end of the supply tube into the valve. Once aligned, tighten the compression nut onto the valve using an appropriate wrench. Make sure it is snug enough to prevent leaks but avoid overtightening, which can damage the components.
- Check the Position: Ensure the valve handle is easily accessible and can be turned without obstruction. This accessibility is key for usability and maintenance.
By following these steps, you ensure a reliable and leak-free connection, ready for the water supply to flow smoothly into your plumbing system.
How to Replace and Install a Shut Off Valve
Time Required: Under 2 Hours
Replacing or installing a shut off valve might seem daunting, but with the right tools and guidance, you can complete this project efficiently. Follow these steps to ensure a smooth installation.
Preparation Checklist
Before getting started, gather these essential tools and materials:
- 1/4-Turn Angle Water Stop Valve
- Adjustable wrenches
- Thread sealant
- Expansion tool
- Optional for specific materials:
- ABS: All-purpose cement
- PVC: Primer and all-purpose cement
- CPVC: Primer and cement or a high-contrast one-step cement
- PEX: Crimping tool
Step 1: Remove the Old Valve
If you’re replacing a current valve, start by shutting off the water supply. Use the correct tools to remove the existing valve and any hardware like nuts or ferrules from the stub out pipe.
- For iron pipes: Use two wrenches to remove the valve.
- For copper sweat and PEX connections: Cut off the existing valve entirely.
Step 2: Prepare the Stub Out
Before installing the new valve, make sure the stub out pipe is ready:
- Cut the pipe to the desired length with an appropriate cutter.
- Flush the line to clear out any debris.
- Ensure the pipe ends are clean, rounded, and free from burrs or scars.
Step 3: Determine and Install the Connection Type
The method of connecting your new valve depends on your specific plumbing setup.
A. PEX Crimp Connection
Slide a crimp ring over the PEX tubing and follow installation guidelines from the PEX manufacturer.
B. Compression Connection
Slide a compression nut and sleeve onto the pipe. Position the valve body and tighten the nut using wrenches until firmly secured.
C. Female Iron Pipe Connection
Apply thread sealant to the male threads of the pipe or adapter. Screw the valve onto the threads, holding it steady with wrenches.
D. Copper Sweat Connection
Clean and apply flux to the pipe and fitting. Push the valve onto the pipe and solder it into place, avoiding movements until it’s set.
E. CPVC Connection
Use primer and cement on both the pipe end and valve hub. Push the valve onto the pipe firmly.
F. Cold Expansion PEX Connection
Position a PEX ring over the tube, expand the pipe using an expansion tool, and insert the valve. Hold it in place until contraction ensures a snug fit.
G. Push Connection
Mark ¾ inch from the pipe end and push the valve onto the pipe until it meets the mark. Do not adjust the valve under pressure.
Step 4: Position the Valve
Align the installed valve with your water supply tube. Attach the nut and sleeve to the supply tube and secure it tightly to the valve.
Step 5: Test and Maintain
Once installation is complete, turn the water back on and conduct a test to ensure there are no leaks. Plan to inspect and maintain the valve annually for optimal performance.
By following these steps carefully, you’ll have a well-installed shut off valve that ensures efficient water control in your plumbing system.
How to Remove an Old Valve
When it’s time to update your plumbing fixtures, removing an old valve may be necessary. Here’s a step-by-step guide to help you through the process:
Step 1: Turn Off the Water Supply
Start by ensuring that the water supply is completely shut off. This is crucial to avoid any water leakage or damage during the valve removal.
Step 2: Dismantle the Existing Valve
- First, take off the existing valve. Make sure you also remove any connecting elements such as nuts, ferrules, and stiffeners that might remain on the pipe stub.
- Tip: For pipes with threaded iron connections, use two wrenches. One wrench should hold the pipe steady, while the other unscrews the valve.
Step 3: Handle Specific Pipe Types
- Copper Sweat Connections: Cut off the valve entirely using a pipe cutter.
- PEX Connections: Again, cutting off the valve is advisable. Make sure to employ the appropriate cutting tool to ensure a clean cut.
By following these steps, you’ll efficiently remove an old valve, paving the way for the installation of new fixtures. Remember to keep a towel or bucket handy to catch any residual water that may escape.
Durable Construction:
Constructed from high-quality materials such as brass or polymer, PEX shut-off valves are highly durable and resistant to corrosion, ensuring long-term reliability and performance in residential and commercial applications.
When considering the task of replacing a shut-off valve, you can expect an intermediate level of difficulty. This means that it’s manageable for someone with a bit of experience in DIY home repairs, but it might pose a challenge for absolute beginners.
In terms of time commitment, you should set aside up to 2 hours to complete the job. This time frame allows for removing the old valve, installing the new one, and ensuring everything is securely fitted and functioning correctly.
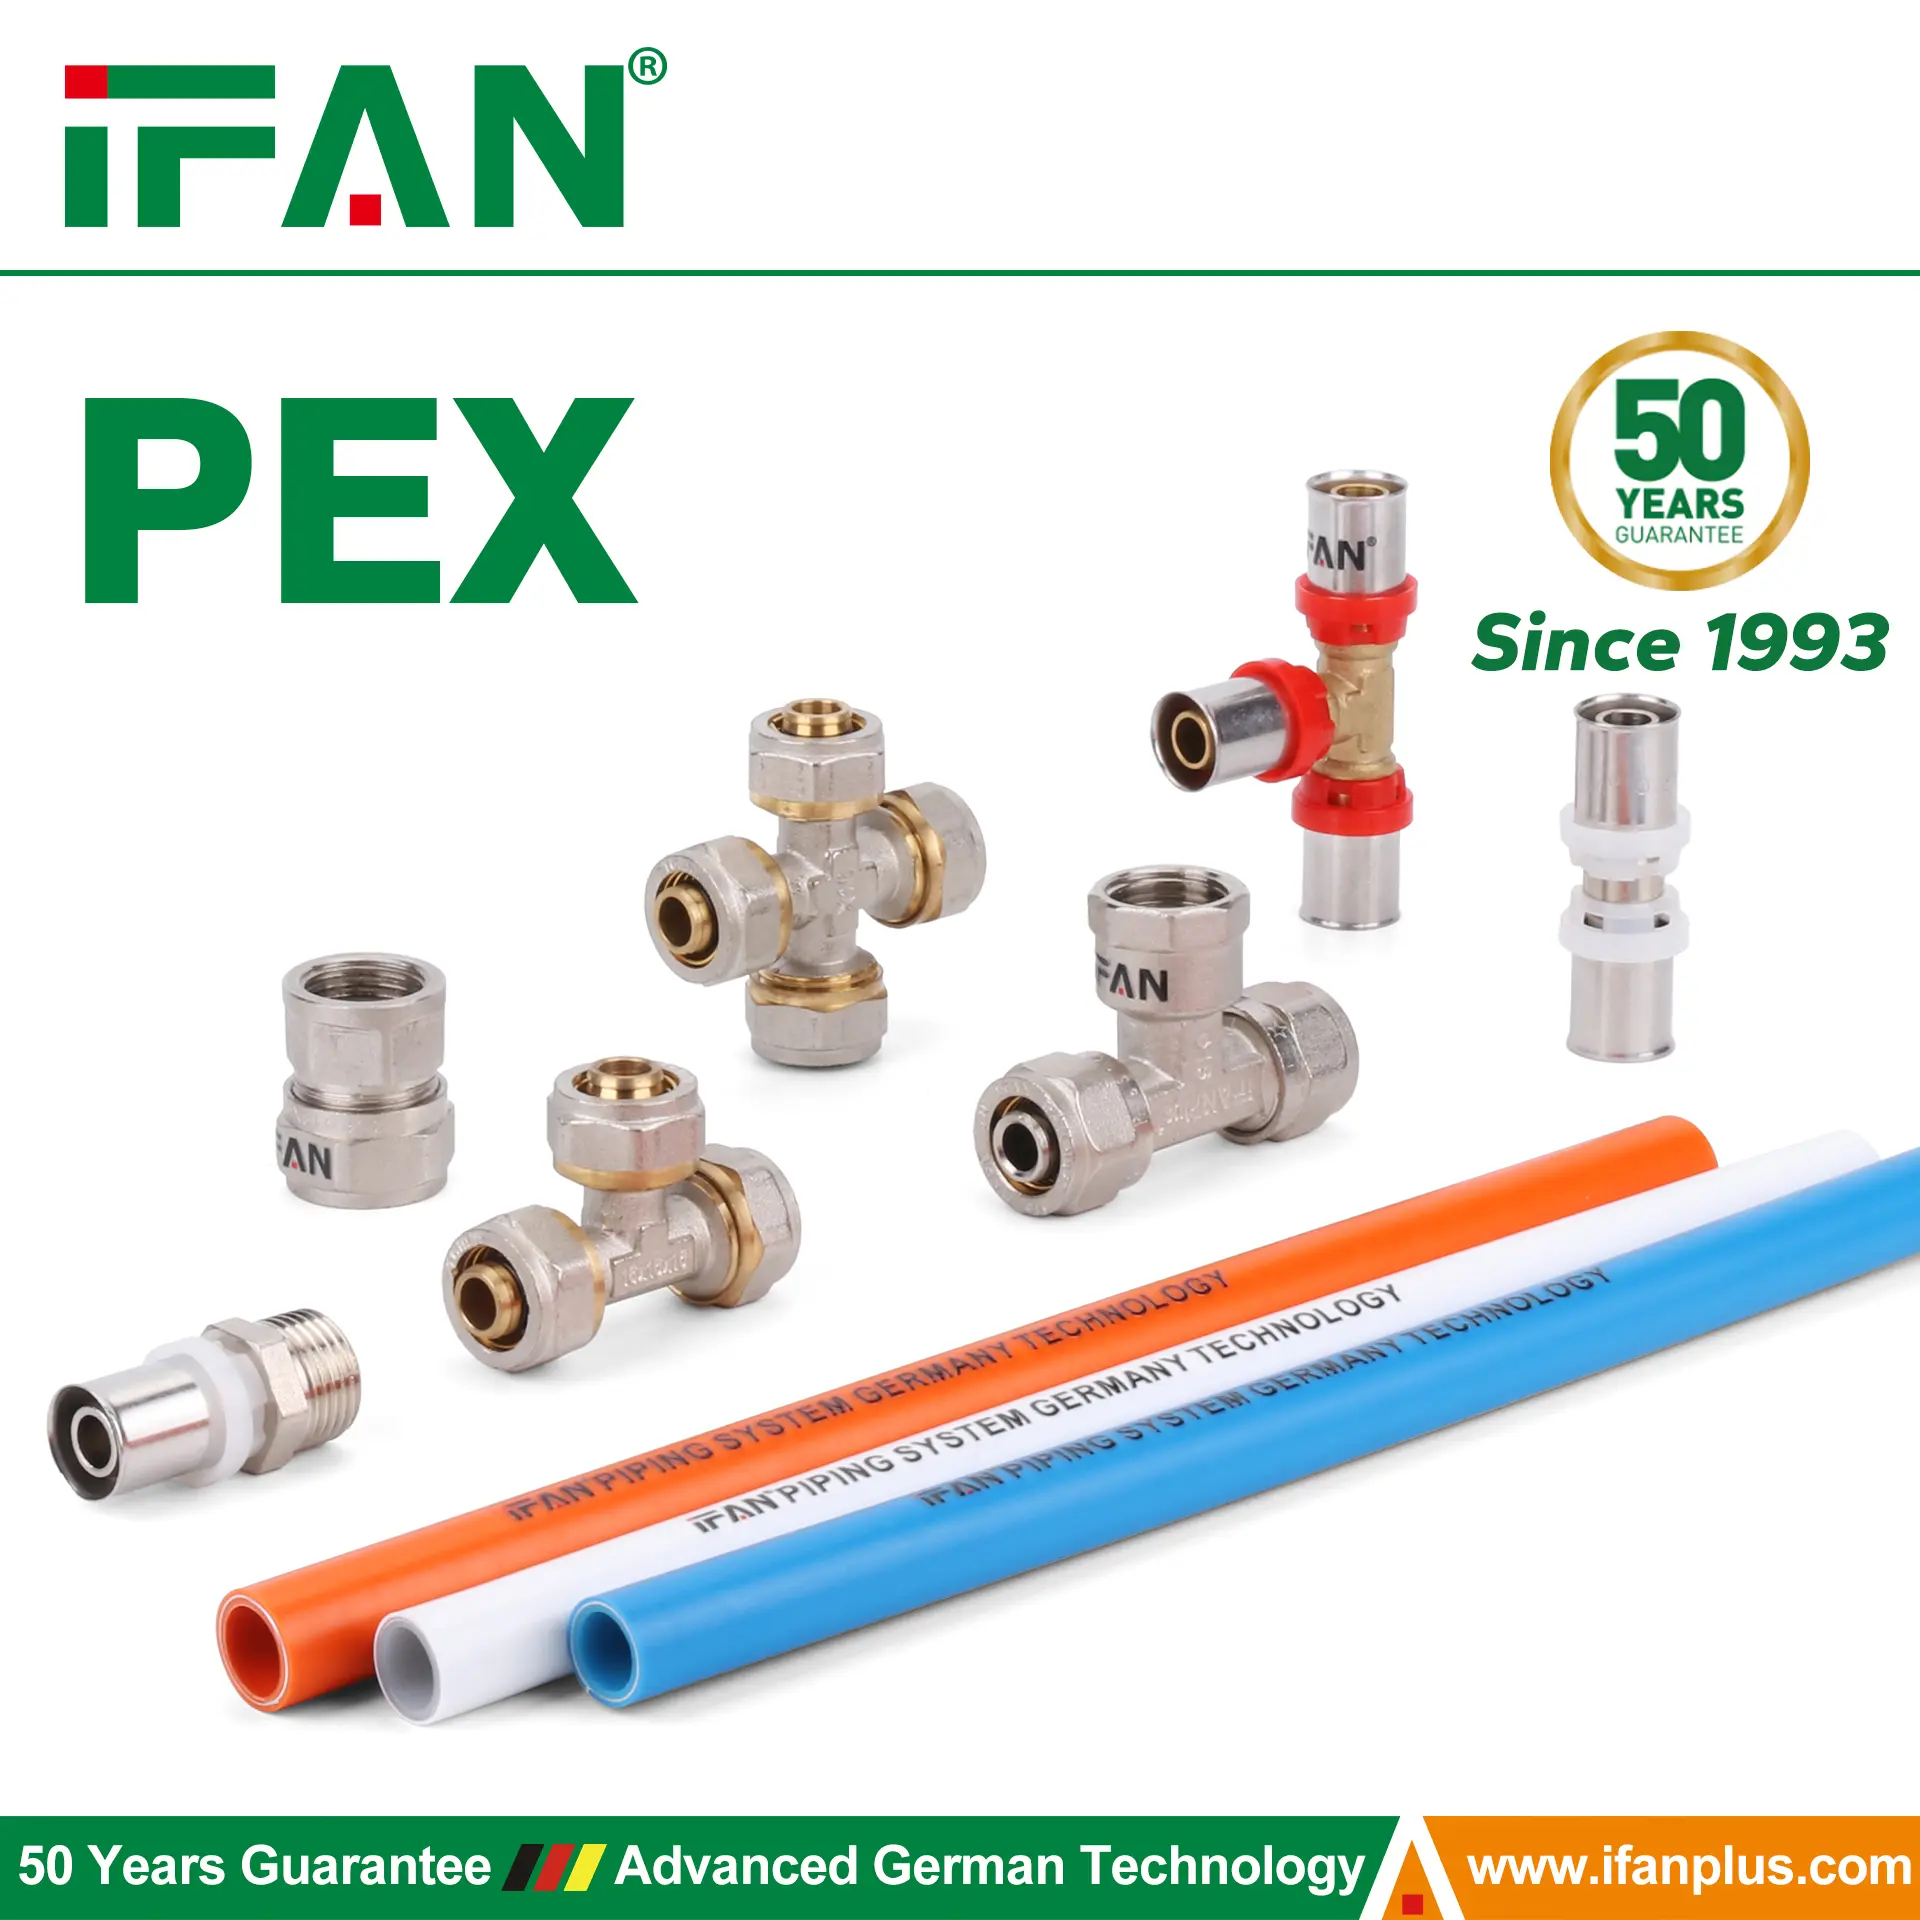
Compatibility with PEX Tubing:
PEX shut-off valves are specifically designed to work seamlessly with PEX tubing. Providing a leak-free connection that maximizes efficiency and minimizes the risk of water damage.
How to Make a Cold Expansion PEX Connection
Creating a cold expansion PEX connection is a straightforward process, allowing for secure and reliable plumbing connections. Here’s a step-by-step guide:
- Prepare the Materials:
- Acquire a length of PEX tubing and a compatible PEX ring.
- Ensure you have an appropriate expansion tool and the fittings ready for the connection process.
- Slide on the PEX Ring:
- Before any expansion, slide the PEX ring over the tubing. This ring will eventually help secure the fitting in place once the tubing contracts.
- Expand the Tubing:
- Use an expansion tool to widen the end of the PEX tubing. Make sure the tool is used according to the manufacturer’s instructions for best results.
- Rotate the tool as you expand for even stretching.
- Insert the Fitting:
- Once the tubing is adequately expanded, promptly insert the barbed end of the fitting into the expanded pipe.
- Ensure the fitting is entirely seated and that the tubing covers all the barbed sections.
- Allow Contraction:
- Hold the connection steady until the tubing naturally contracts around the fitting, ensuring a secure and durable connection.
Quick Tips:
- Tool Maintenance: Regularly check your expansion tool for wear and tear to keep expansions uniform.
- Avoid Delays: Insert the fitting promptly after expansion to avoid any issues with contraction timing.
- Proper Sizing: Always double-check that the PEX ring and tubing are compatible sizes to ensure a snug fit.
By following these steps, you’ll achieve a sturdy PEX connection perfect for any cold expansion plumbing needs.
Cost-Effective Solution:
Compared to traditional shut-off valves, PEX shut-off valves offer a cost-effective solution for controlling water flow. Providing reliable performance at a competitive price point.
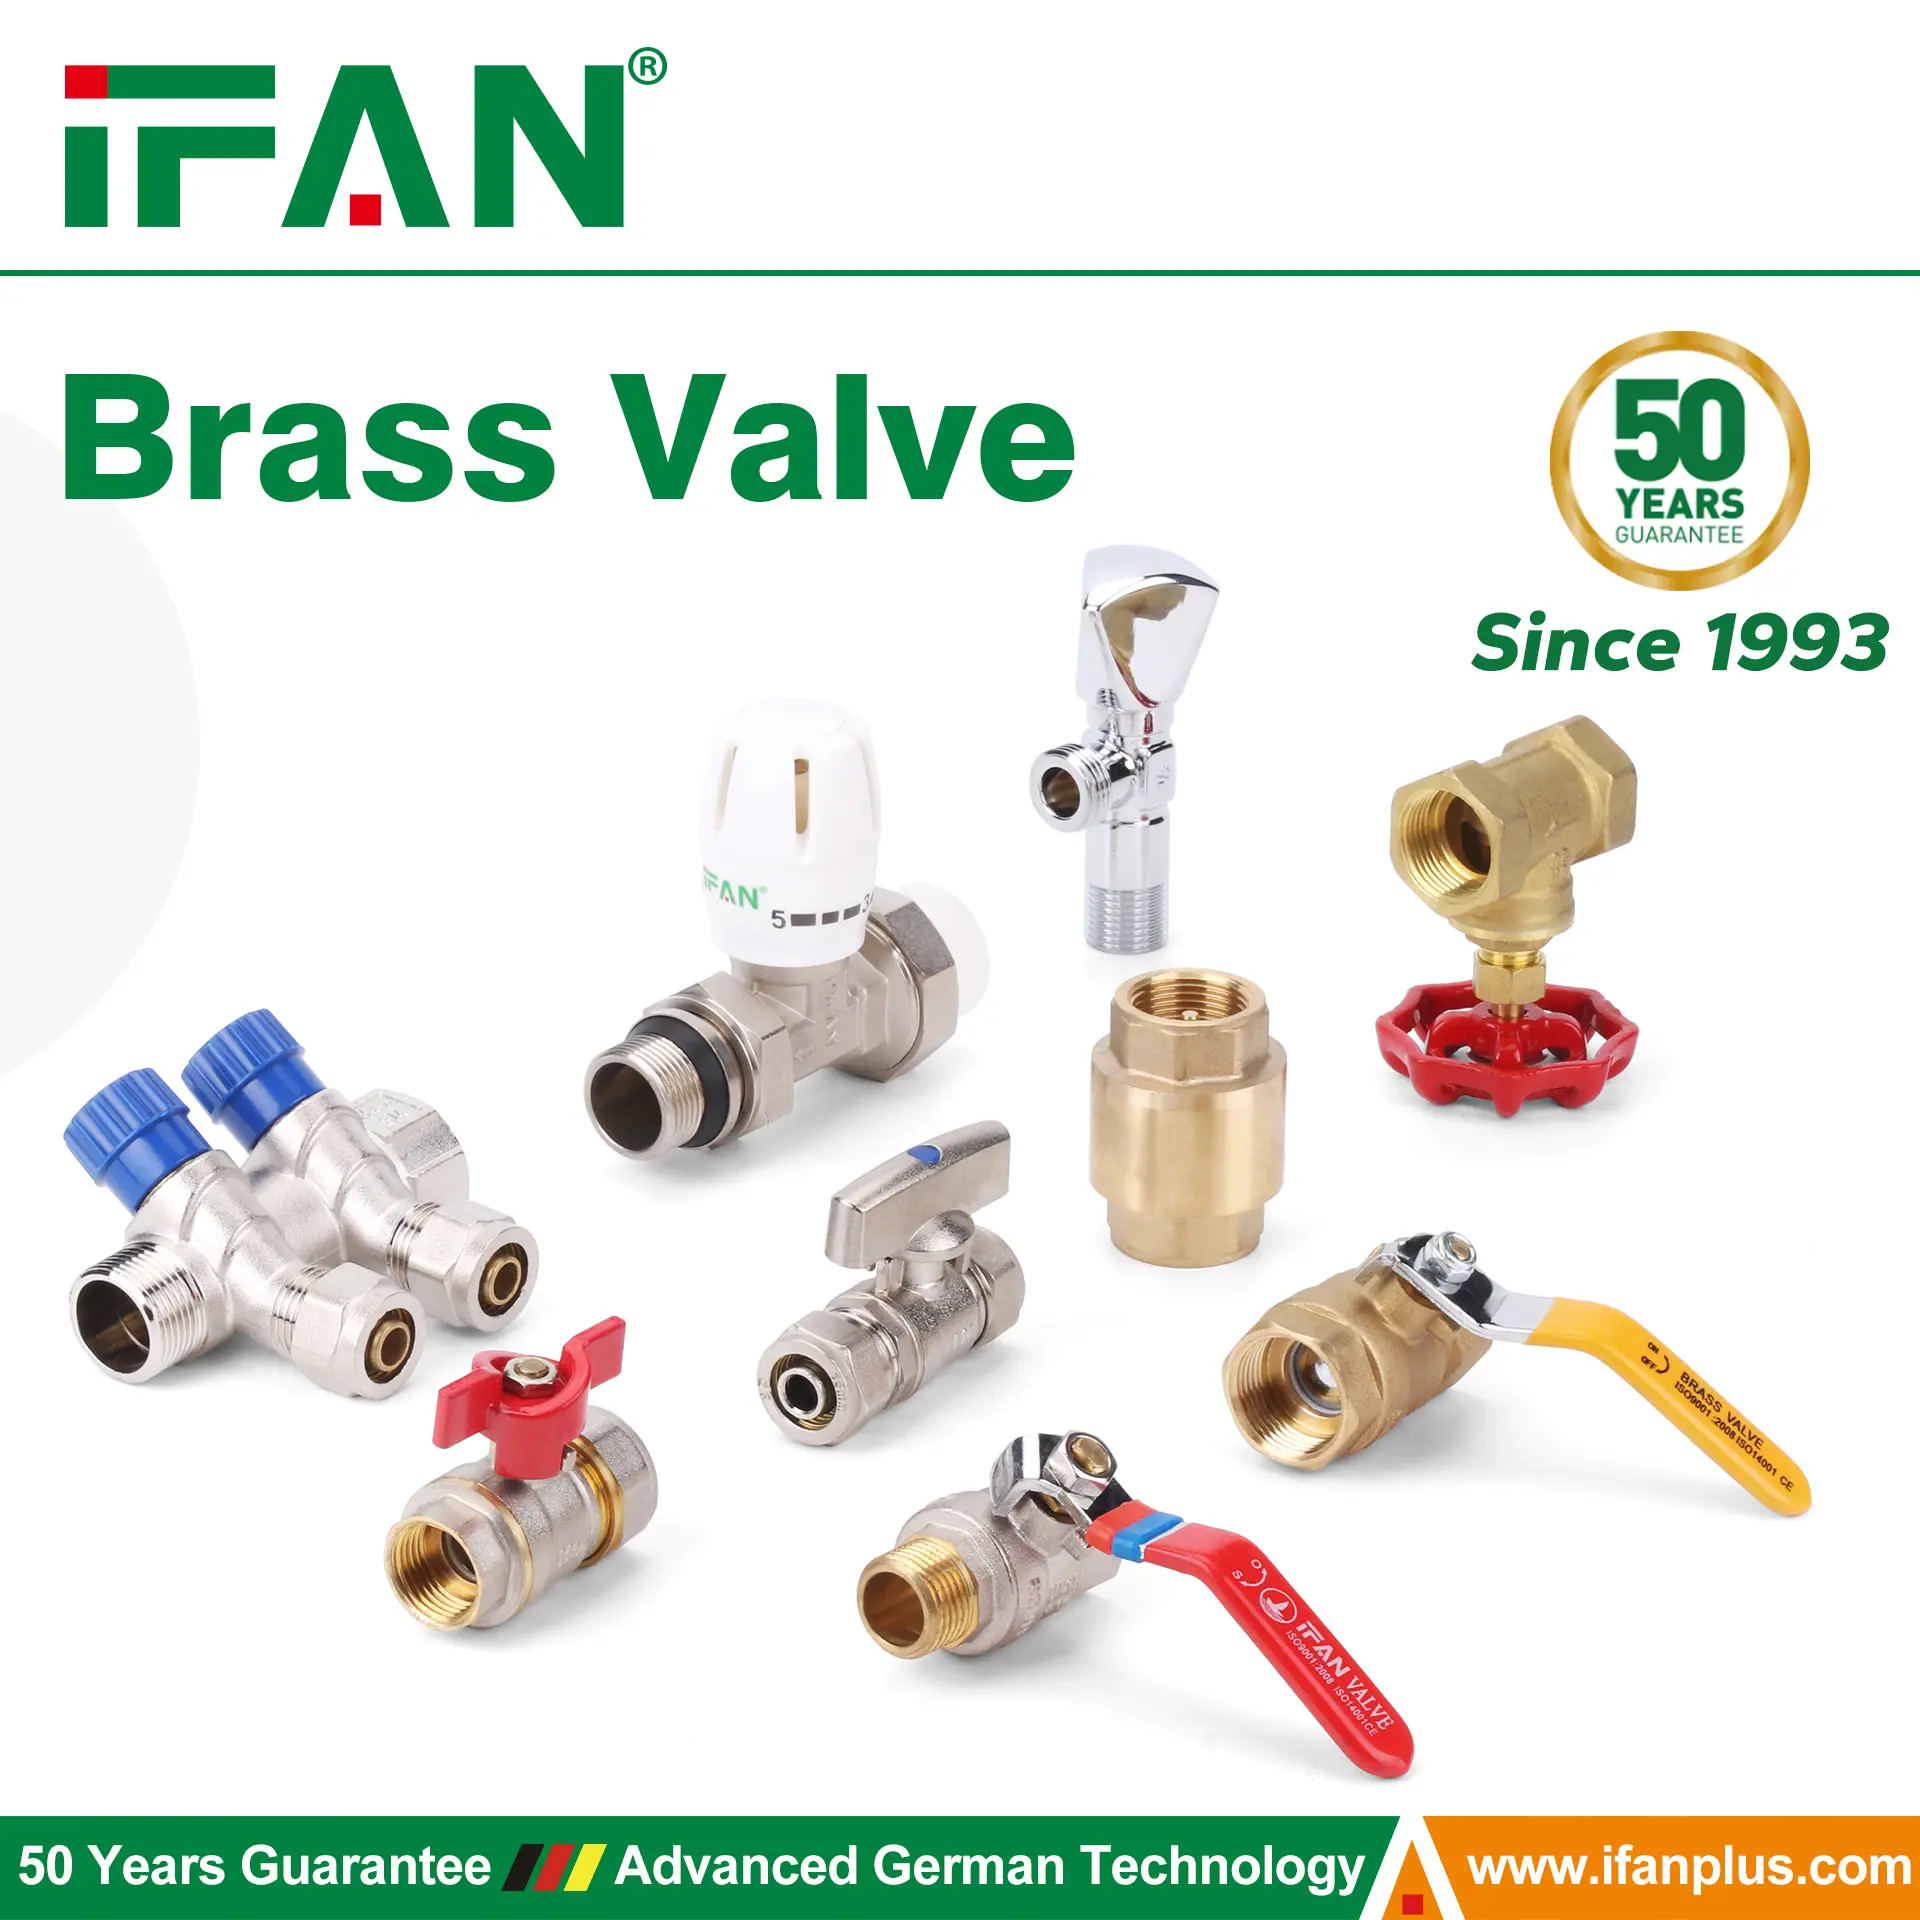
How to Choose the Right Shut Off Valve
Selecting the correct shut off valve is crucial for any plumbing project. To make the best choice, consider these key points:
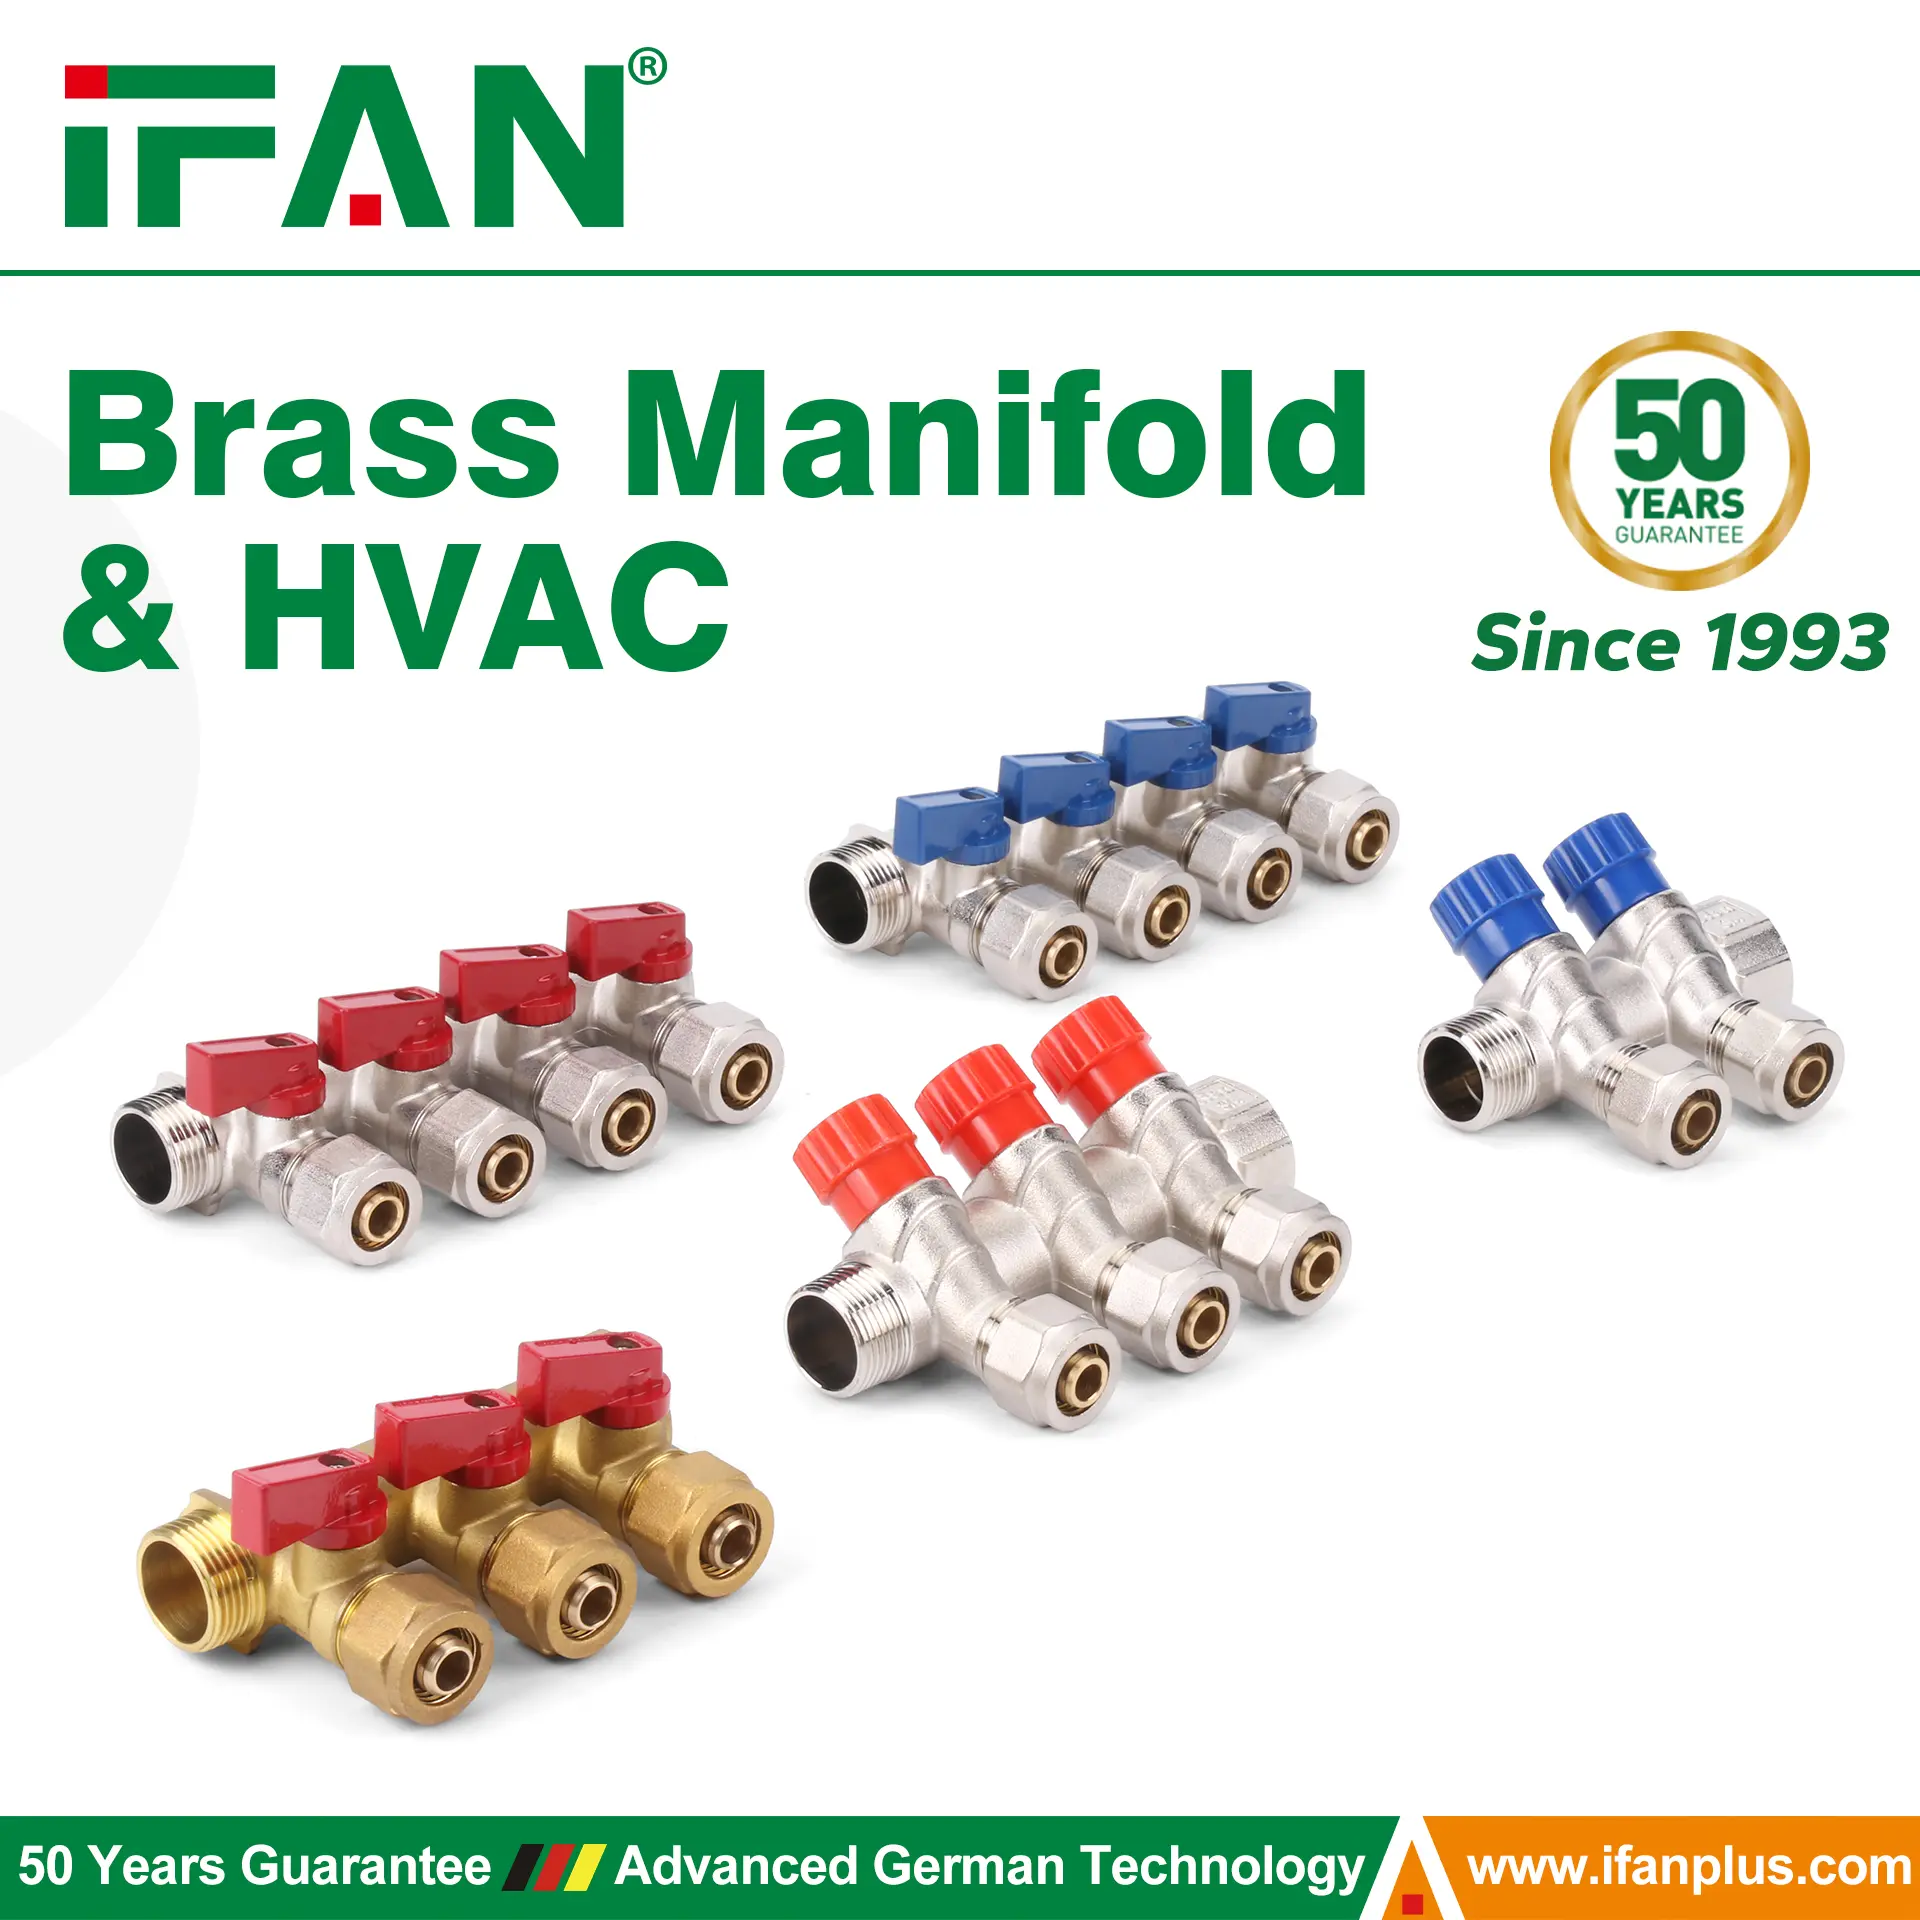
- Identify the Valve Type: Determine whether you need a straight valve, an angle valve, or a specialty valve based on your installation needs. A straight valve works well for in-line connections, while an angle valve is ideal when the water line changes direction.
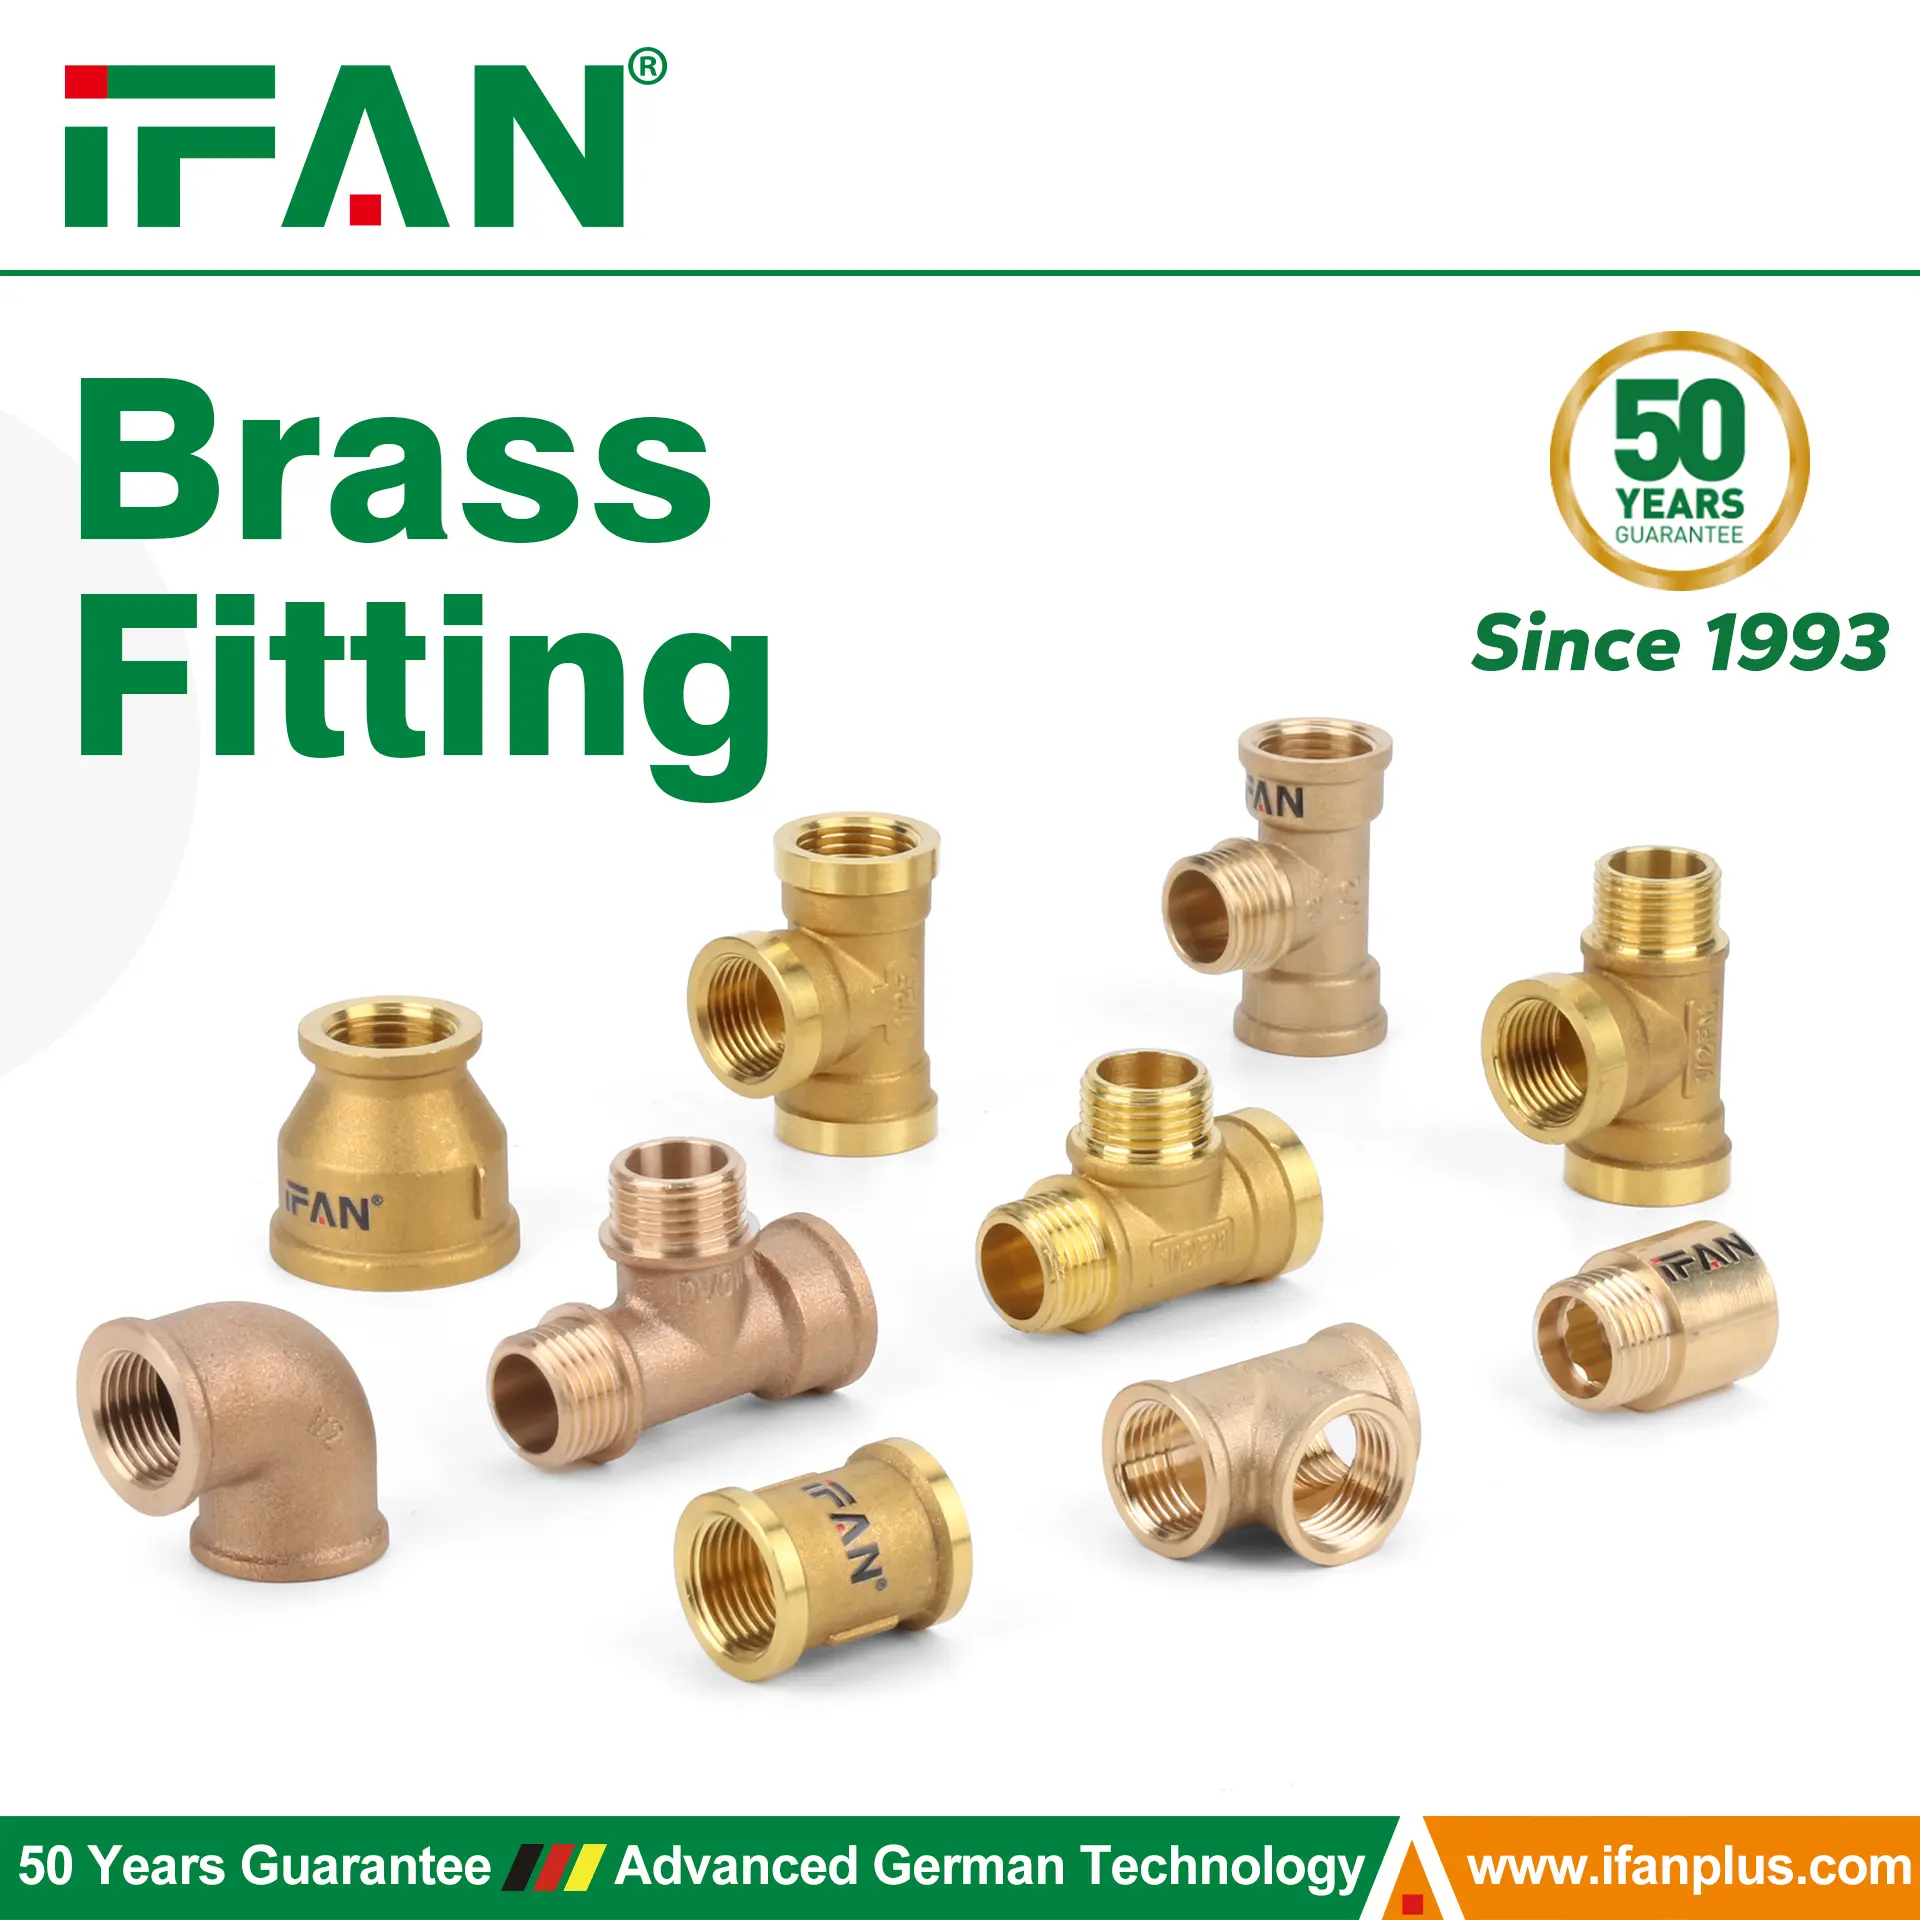
- Consider Material and Durability: Valves come in various materials like brass, plastic, or stainless steel. Brass is known for its durability and is widely used, while plastic valves offer corrosion resistance and are lighter in weight. Stainless steel valves are ideal for high-pressure applications.
- Size and Thread Type: Match the valve size to your piping and ensure the thread type (NPT, compression, etc.) is compatible. This ensures a secure fit and prevents leaks.
- Water Pressure and Temperature: Check the maximum pressure and temperature ratings of the valve to ensure they’re suitable for your application. This is especially important in industrial settings where conditions can be extreme.
- Check for Certifications: Look for valves that meet industry standards and certifications, such as NSF or UPC. These ensure the valve is safe and reliable for use.
By considering these factors, you’ll be equipped to select the perfect shut off valve for your specific needs. 🛠️
Process for Connecting a Female Iron Pipe
- Prepare the Threads: Start by applying a suitable thread sealant, such as pipe dope or Teflon tape, onto the male threads of the pipe nipple or adaptor. This ensures a secure and leak-free connection.
- Attach the Valve: Carefully thread the valve onto the prepared male threads. This step requires precision to avoid misalignment and possible leaks.
- Secure the Connection: Utilize two adjustable wrenches for this step. Hold one wrench on the nipple or adaptor to keep it steady. Simultaneously, use the other wrench to tighten the valve body until it is both watertight and properly aligned with the fixture’s inlet connection.
Following these steps will ensure a reliable and effective connection for female iron pipes.
Maintenance-Free Operation:
Once installed, PEX shut-off valves require minimal maintenance, offering hassle-free operation and peace of mind to homeowners and building managers.
How to Test and Maintain the Installation of a Shut-Off Valve
Testing and maintaining your shut-off valve is crucial for its long-term effectiveness and safety. Here’s a step-by-step guide to ensure your installation stands the test of time:
1. Conduct a Functional Test
- Post-Installation Check: Immediately after installing the shut-off valve, turn it on and off several times. Confirm that it operates smoothly without any resistance.
- Water Flow Test: Open the valve to its fullest setting and observe the flow. Ensure there are no leaks or drops in pressure when it’s in the open position.
2. Leak Inspection
- Visual Inspection: Look for any signs of water leakage around the valve and its connections. Pay special attention to the joints and ensure they remain dry.
- Paper Towel Method: Wrap a dry paper towel around the valve connections. After turning the valve on and off, inspect the towel for any moisture.
3. Regular Maintenance
- Annual Inspections: Plan routine checks at least once a year. This proactive approach helps catch any potential wear and tear before it becomes a problem.
- Lubrication: Use a suitable plumbing lubricant on the valve’s moving parts to maintain smooth operation.
4. Professional Assistance
- Periodic Professional Inspection: Every few years, consider hiring a certified plumber to ensure all components are in top condition and functioning correctly.
- Replacement: If any part of the valve shows signs of significant wear or damage, replace it promptly to prevent leaks or failures.
By following these steps, you’ll ensure your shut-off valve remains reliable and functional for years to come.
Improved Water Conservation:
By allowing users to shut off water flow to specific fixtures when not in use. PEX shut-off valves help conserve water and reduce water wastage, contributing to environmental sustainability.
Enhanced Plumbing Safety:
Incorporating PEX shut-off valves into a plumbing system enhances overall safety by providing an additional layer of control over the water supply, helping to prevent accidents and water-related incidents.
Step-by-Step Guide to CPVC Connection
Connecting CPVC pipes and valves involves several crucial steps to ensure a secure and leak-proof joint. Here’s how to do it effectively:
- Preparation:
Begin by cutting the CPVC pipe to the desired length using a pipe cutter or a fine-toothed saw. Ensure the cut is clean and square to the length of the pipe. - Cleaning the Surfaces:
Use a clean, dry cloth to remove any debris from both the pipe end and the inside of the valve hub. This step is vital for a solid connection. - Applying Primer (if required by the manufacturer):
Some CPVC connections require a primer before cement application. The primer softens the material, which helps create a stronger bond. Apply the primer evenly on the outside of the pipe end and the inside of the valve hub. - Cement Application:
Use CPVC solvent cement, a critical component in this process. Select an approved one-step cement or a cement specified by the manufacturer. Apply a generous, even layer on both the pipe end and inside the valve hub. - Joining:
Quickly and firmly push the valve onto the pipe end while twisting slightly to evenly distribute the cement. Hold the connection for a few seconds to ensure it is secure. - Curing Time:
Follow the cement manufacturer’s instructions regarding cure time before applying any pressure for testing. This curing process is essential to prevent leaks.
By following this method, you’ll ensure a reliable CPVC connection that stands the test of time.
How to Perform a Copper Sweat Connection
Step 1: Prepare the Surfaces
Begin by thoroughly cleaning the end of the stub-out pipe and the inside of the fitting. Use a sand cloth, open mesh, or emery pad to remove any oxidation and dirt. This ensures a clean surface for a strong bond.
Step 2: Apply Flux
Once the surfaces are clean, apply a generous amount of paste flux to both the pipe end and the fitting interior. The flux acts as a barrier against oxidation during the soldering process and helps the solder flow evenly.
Step 3: Fit and Align
Push the fitting onto the prepared pipe, making sure it’s seated properly. Carefully align the fitting so that the outlet points toward the intended connection point. This step is crucial for a precise fit.
Step 4: Heat and Solder
With the fitting in place, apply heat evenly using a torch. Once the joint is hot enough, feed solder into the seam between the pipe and the fitting. The solder will melt and fill the joint, creating a secure connection.
Important Note: Allow the joint to cool and the solder to harden before moving the fitting to ensure the integrity of the connection.
By following these steps, you’ll achieve a reliable copper sweat connection that stands the test of time.
In conclusion
Installing a PEX shut-off valve offers various benefits, including versatile functionality, precise flow regulation, emergency shut-off capability, flexible installation options, durable construction, compatibility with PEX tubing, cost-effectiveness, maintenance-free operation, improved water conservation, and enhanced plumbing safety. With its practical features and reliability, a PEX shut-off valve is an essential component for controlling flow and ensuring efficient water management in any plumbing system.
Contact
We will reply your email or fax within 24 hours.
You can call us at any time if there is any question on our production.
For more information,pls visit our webside https://www.ifanplus.com/
Pls Mailto: [email protected]
Whatsapp: + 86 19857948982