Introduction
PEX plumbing has revolutionized the way we approach residential and commercial plumbing installations. Its flexibility, durability, and ease of installation make it a preferred choice for contractors and homeowners alike. In this article, we delve into the various methods used to install PEX tubing, offering insights into best practices and tips for successful implementation.
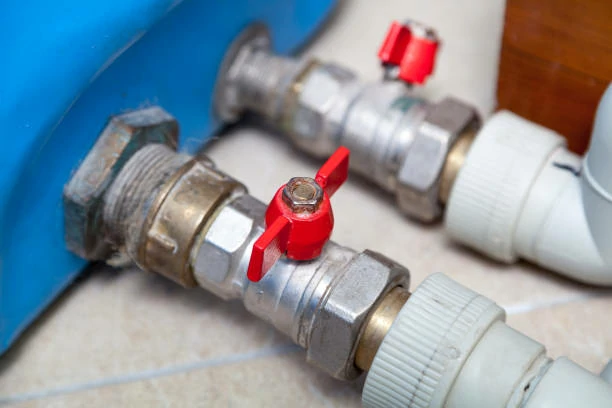
PEX Plumbing Installation Tools
Before embarking on a PEX plumbing project, it’s essential to have the right tools on hand. Common tools used for PEX installation include a PEX tubing cutter, crimping tool or clamp tool, deburring tool, expansion tool (for PEX-a tubing), and measuring tape. Additionally, fittings specific to PEX tubing, such as crimp rings or clamp rings, are required to create secure connections. Investing in quality tools and fittings ensures smooth and efficient installation while minimizing the risk of leaks or failures.
PEX Plumbing Installation Methods
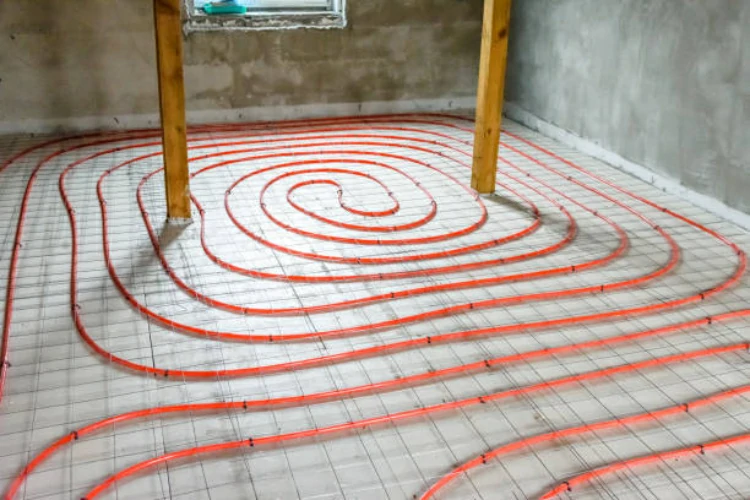
There are two primary methods for installing PEX tubing: the crimping method and the expansion method. The crimping method involves using a crimping tool to compress a metal ring (crimp ring) around the PEX tubing and fitting, creating a tight seal. This method is suitable for PEX-a, PEX-b, and PEX-c tubing types and is widely used in residential and commercial plumbing applications.
In the expansion method, plumbers use a tool to enlarge PEX tubing, allowing fitting insertion without extra rings. The tubing contracts around the fitting, ensuring a secure connection. This primarily uses PEX-a tubing, reducing leaks and improving flow rates.
PEX Plumbing Installation Steps
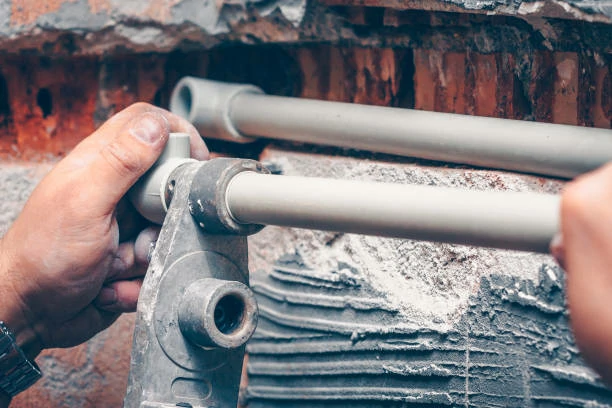
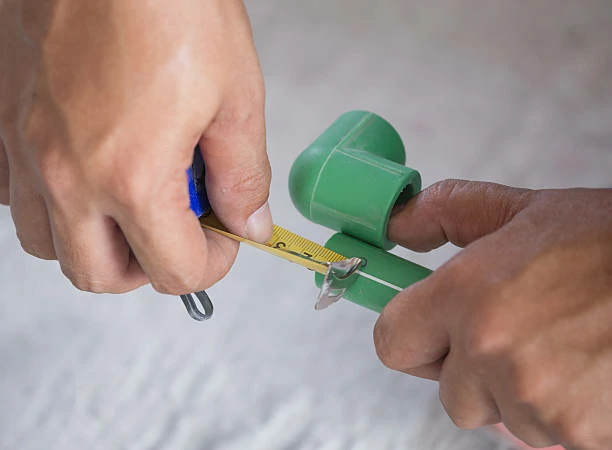
Regardless of the installation method chosen, certain steps are common to all PEX plumbing installations. First, ensure proper planning and layout of the plumbing system, taking into account fixture locations, pipe routing, and access points. Next, cut the PEX tubing to the desired length using a PEX tubing cutter, ensuring clean, square cuts. Deburr the cut ends to remove any burrs or rough edges that could compromise the integrity of the connection.
Once the tubing is prepared, insert the appropriate fitting into the tubing end, ensuring it is fully seated. For crimp fittings, use a crimping tool to compress the crimp ring around the fitting, creating a secure seal. For expansion fittings, use an expansion tool to expand the tubing and insert the fitting, allowing the tubing to contract and form a tight connection. Repeat these steps for each connection in the plumbing system, taking care to maintain proper alignment and spacing between fittings.
Conclusion
PEX plumbing installation offers a versatile and efficient solution for residential and commercial plumbing projects. Understanding the tools, methods, and steps involved in PEX installation ensures successful outcomes. Whether employing the crimping or expansion method, proper planning, preparation, and execution are crucial for leak-free and reliable plumbing systems.
Contact
IFAN is a professional manufacturer with 30 years of experience, dedicated to producing high-quality plastic pipes, fittings, and valves. Our products include brass valves, PPR valves, as well as various pipes and fittings to meet different customer needs. Whether you need plumbing and drainage pipes or valve products, IFAN can provide a diverse range of high-quality, cost-effective products to support your projects. Below is our contact information.
We will reply your email or fax within 24 hours.
You can call us at any time if there is any question on our production.
For more information,pls visit our webside https://www.ifanplus.com/
Pls Mailto: [email protected]