Introduction
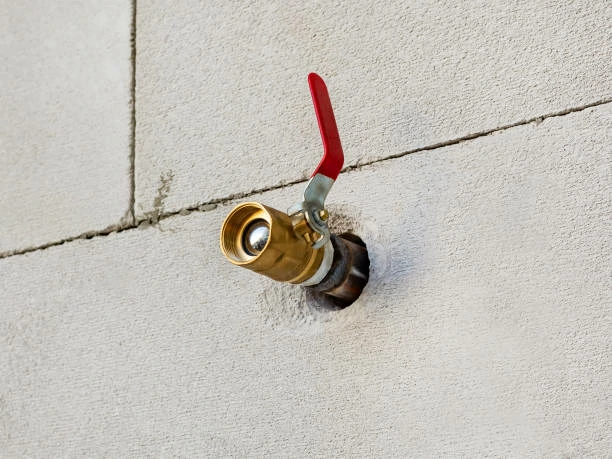
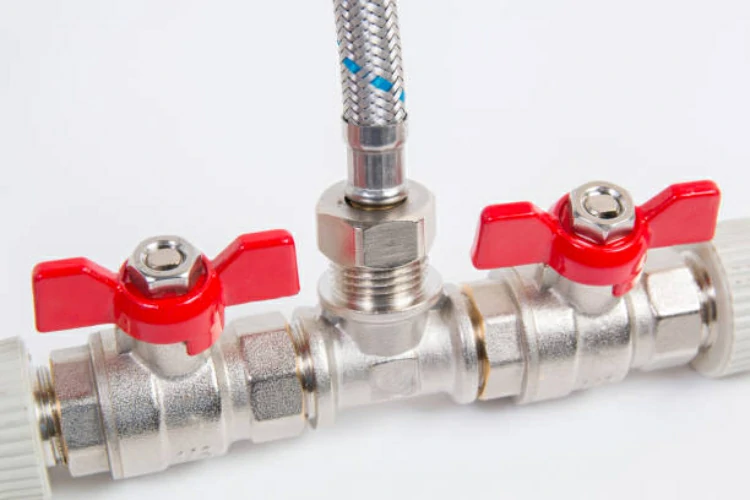
Brass stop valves are essential components in plumbing systems, playing a crucial role in controlling the flow of fluids. Whether it’s in residential, commercial, or industrial settings, proper installation of these valves is key to ensuring efficient and reliable operation. In this guide, we will delve into the installation methods and best practices for brass stop valves.
Pre-Installation Preparation
Inspecting the Valve
Before installation, carefully inspect the brass stop valve to ensure it is free from any defects or damage. Check for any signs of corrosion, leaks, or manufacturing flaws that may affect its performance. Additionally, verify that the valve is the correct size and type for the intended application.
Preparing the Pipes
Prepare the pipes by cutting them to the appropriate length and ensuring they are clean and free of debris. Remove any burrs or rough edges from the cut ends using a pipe reamer or deburring tool. Smooth, clean pipe ends will ensure a proper seal and prevent leaks once the valve is installed.
Installation Process
Positioning the Valve
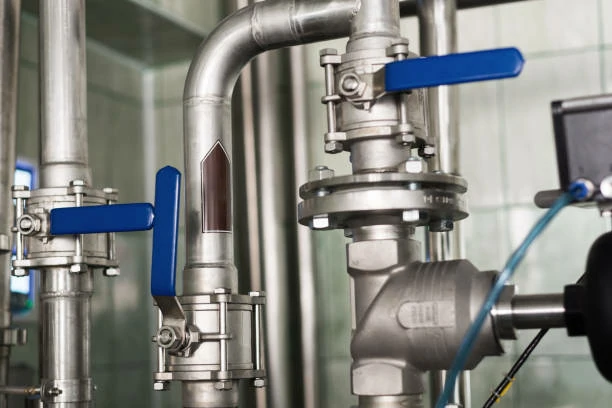
Position the brass stop valve on the pipe in the desired location, ensuring it is oriented correctly according to the flow direction indicated on the valve body. Use a marker or pencil to mark the pipe at both ends of the valve to guide the cutting process.
Cutting the Pipe
Carefully cut the pipe at the marked locations using a pipe cutter or hacksaw, ensuring clean, square cuts. Take care to avoid creating any sharp edges or deformations that could interfere with the sealing process. Once the pipe is cut, remove any burrs or debris from the cut ends.
Attaching the Valve
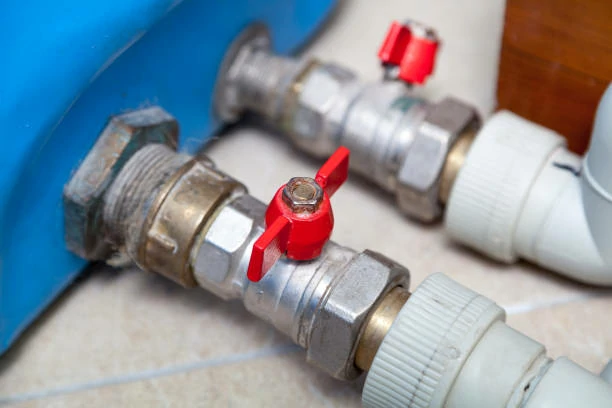
Slide the compression nuts and ferrules onto the pipe, followed by the brass stop valve. Ensure the valve is fully seated on the pipe, with the compression nuts positioned on either side of the valve body. Tighten the compression nuts by hand initially, then use a wrench to make final adjustments until the connection is snug and secure.
Post-Installation Checks
Testing for Leaks
Once the brass stop valve is installed, thoroughly inspect the connections for any signs of leaks. Turn on the water supply and slowly open the valve to allow water to flow through the system. Check all joints and connections for leaks, and tighten any fittings as needed to eliminate leaks.
Final Adjustments
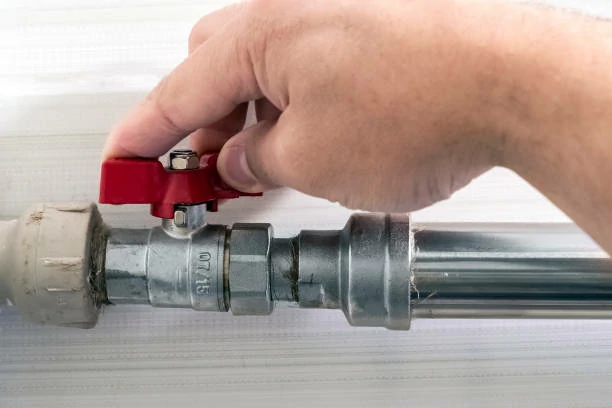
After testing for leaks, make any final adjustments to ensure the brass stop valve is properly aligned and functioning correctly. Check the valve operation by opening and closing it several times to ensure smooth, unrestricted movement.
Conclusion
Proper installation of brass stop valves is essential for ensuring the efficient and reliable operation of plumbing systems. By following the steps outlined in this guide and adhering to best practices, you can master the installation process and achieve leak-free, trouble-free operation of brass stop valves in various applications.
Contact
IFAN is a professional manufacturer with 30 years of experience, dedicated to producing high-quality plastic pipes, fittings, and valves. Our products include brass valves, PPR valves, as well as various pipes and fittings to meet different customer needs. Whether you need plumbing and drainage pipes or valve products, IFAN can provide a diverse range of high-quality, cost-effective products to support your projects. Below is our contact information.
We will reply your email or fax within 24 hours.
You can call us at any time if there is any question on our production.
For more information,pls visit our webside https://www.ifanplus.com/
Pls Mailto: [email protected]