تثبيت حوض غسيل in your bathroom or kitchen is a straightforward task that can be accomplished with the right tools and some basic knowledge of plumbing. Whether you’re upgrading an old basin or setting up a new one, this guide will walk you through each step to ensure a smooth installation process.
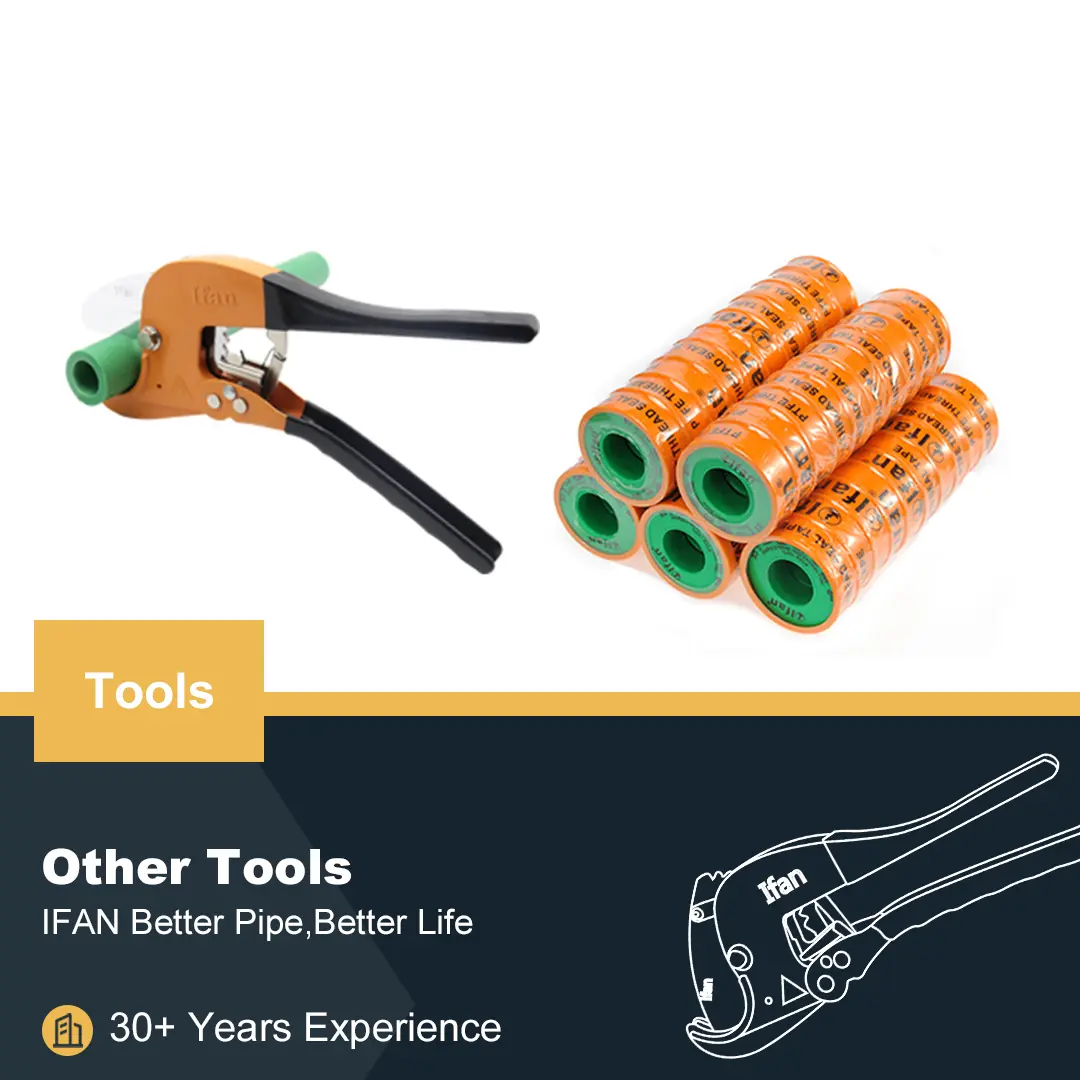
Tools and Materials You Will Need
Before you begin, gather the following tools and materials for the installation:
- New wash basin (undermount, top mount, or pedestal)
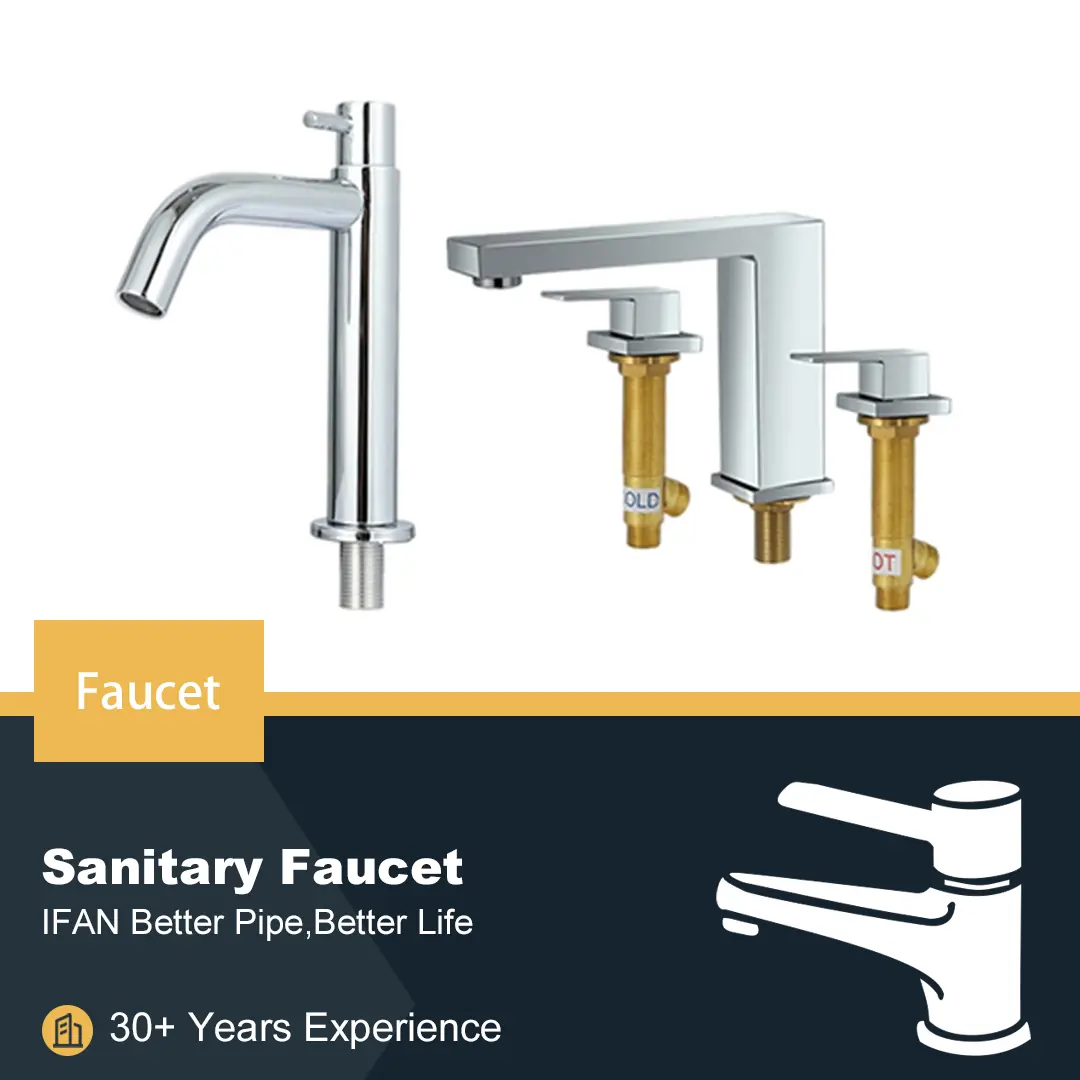
- Basin faucet and drain kit
- Adjustable wrench
- Pipe cutter or hacksaw
- Plumber’s tape
- Silicone caulk or adhesive
- Level
- P-trap (if necessary)
- Plumber’s putty
- Pipe joint compound
- Screwdriver
- Bucket (for drainage)
- Tape measure
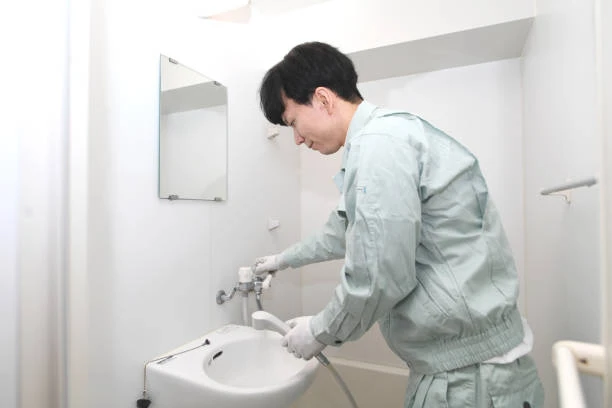
Step 1: Prepare the Installation Area
The first step is to prepare the area where the wash basin will be installed. If you’re replacing an existing basin, remove the old one by detaching the water supply lines and the drain pipe. Use an adjustable wrench to loosen the nuts on the water supply valves and drain connection. Once everything is disconnected, carefully remove the old basin from the countertop or pedestal.
For New Installations:
- Mark the position of the sink on the countertop or wall.
- Ensure the area is clean and free of any debris.
- If installing a pedestal or wall-mounted basin, make sure the necessary support brackets or mounting hardware are in place.
Step 2: Install the Faucet and Drain
Before placing the wash basin in position, install the faucet and drain. It’s easier to install these components before securing the basin, especially if you’re using a top-mount or undermount basin.
Faucet Installation:
- Attach the faucet to the designated holes on the wash basin using the provided mounting hardware.
- Tighten the screws to secure the faucet, but be careful not to overtighten, as this could damage the sink.
Drain Installation:
- Apply plumber’s putty around the underside of the drain flange.
- Insert the drain into the hole of the wash basin from the top, ensuring it is centered.
- From underneath, attach the locknut and tighten it using an adjustable wrench.
- Ensure the drain is properly sealed with the putty to prevent any leaks.
Step 3: Position the Wash Basin
Once the faucet and drain are installed, carefully lift the wash basin into place. If it’s a pedestal basin, you’ll need to position it over the pedestal base and ensure it is level. For countertop basins, ensure the sink aligns with the markings you made earlier.
For Undermount or Top-Mount Basins:
- Apply a bead of silicone caulk around the edge of the basin where it will meet the countertop. This will create a water-tight seal.
- Carefully lower the basin onto the countertop, ensuring it sits flush against the surface. Use a level to check the alignment.
- For undermount sinks, make sure the brackets or mounting clips are securely fixed beneath the countertop.
- Position the basin on the pedestal and adjust it to the correct height. Ensure the basin is level before securing it.
Step 4: Connect the Water Supply Lines
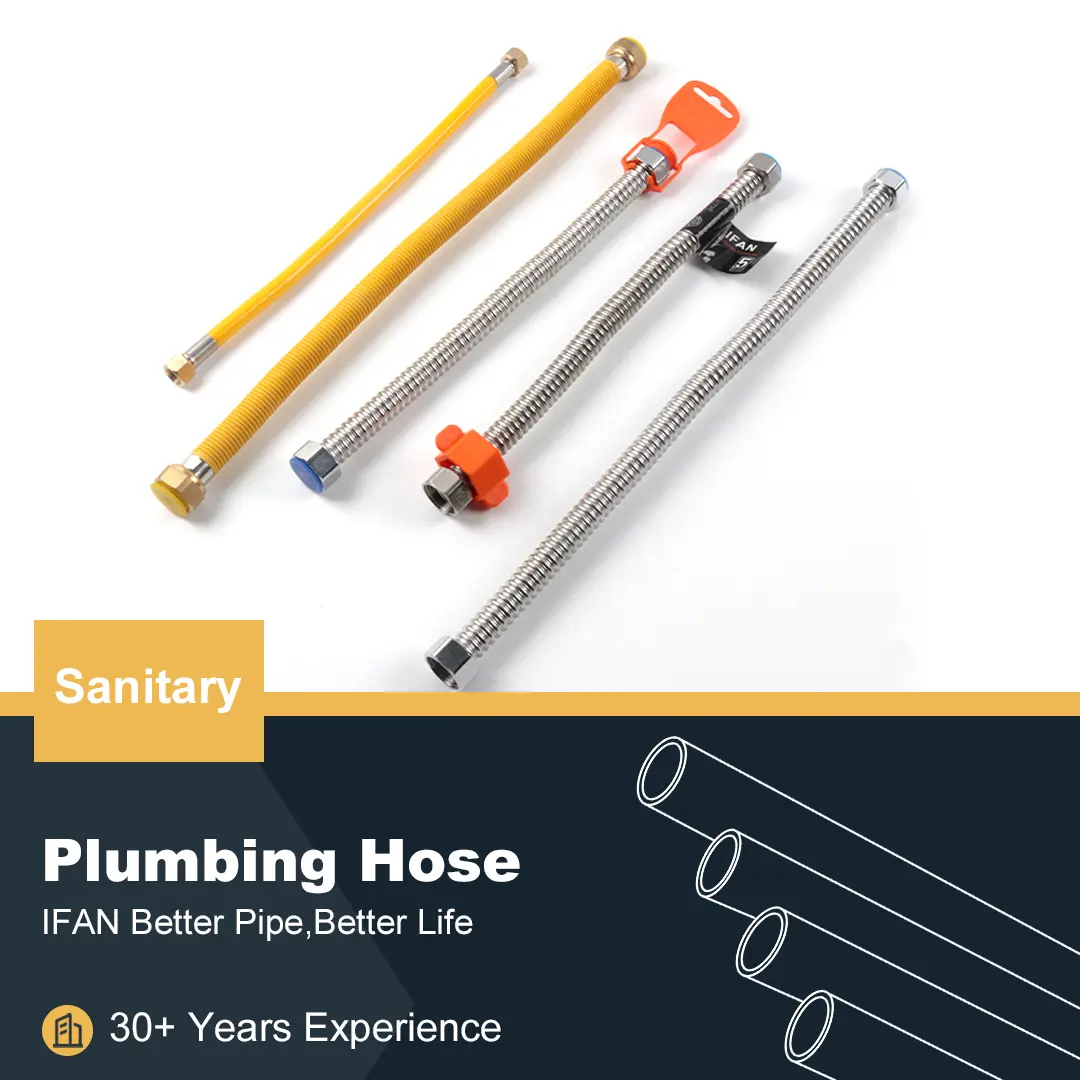
Next, connect the water supply lines to the faucet. Use plumber’s tape on the threads of the faucet’s water inlet connections to create a secure seal. Connect the cold and hot water supply lines to the corresponding faucet inlets.
- Tighten the connections with an adjustable wrench, but avoid overtightening, as this could crack the threads.
- Ensure that both the cold and hot water lines are properly connected to the faucet.
Step 5: Attach the Drainpipe
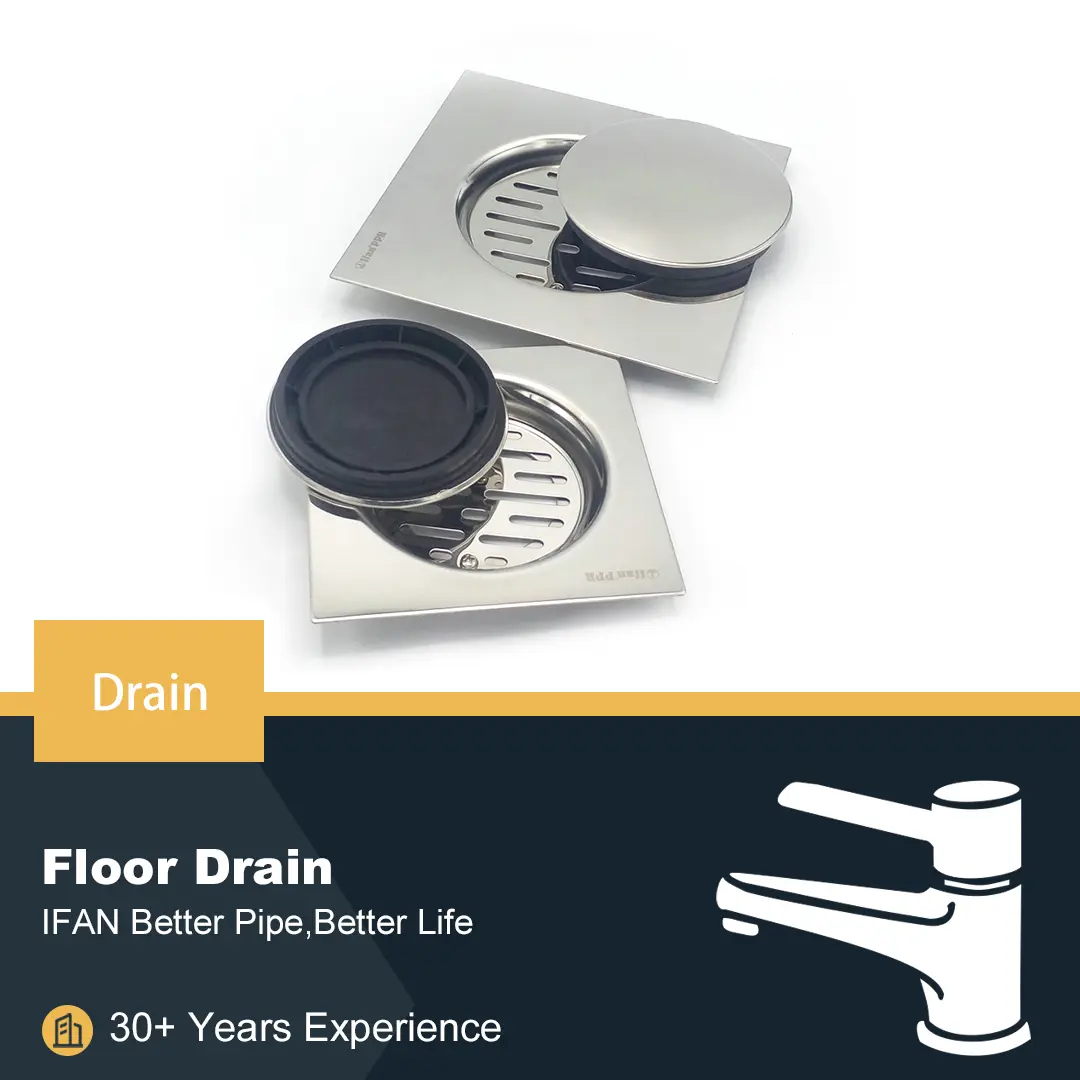
The next step is to attach the drainpipe to the drain assembly. For most sinks, this will involve connecting the drain to the P-trap. The P-trap helps prevent unpleasant odors from rising from the sewer line and maintains the proper flow of water.
- Install the P-trap by connecting it to the drainpipe and the drain line that leads to the wall or floor drain. Make sure all connections are secure.
- Tighten the slip nuts on the drainpipe and P-trap using your hands or a wrench, ensuring that they are firmly in place but not overtightened.
Step 6: Check for Leaks
Once all the connections are made, it’s time to check for leaks. Turn on the water supply and run both hot and cold water through the faucet. Observe all plumbing connections for any signs of water leakage.
- If you notice any leaks, tighten the connections slightly or apply more plumber’s tape or putty to create a better seal.
- Check around the base of the sink, the faucet, and the drainpipe to ensure there are no drips.
Step 7: Secure the Basin (if necessary)
Some wash basins, particularly those with a pedestal or wall-mounted design, may need additional support to stay securely in place.
For Wall-Mounted Basins:
- Secure the basin to the wall using the appropriate wall brackets and screws. Be sure to drill into studs for proper support.
- Use a level to ensure the basin is even before tightening the screws.
For Pedestal Basins:
- Secure the basin to the pedestal base using mounting hardware. If required, use silicone adhesive between the basin and the pedestal for extra stability.
Step 8: Final Touches
After securing the wash basin, clean up any excess silicone caulk or putty around the edges. Wipe down the entire basin, faucet, and surrounding area to remove any dust or debris. Ensure everything looks neat and polished.
- If you installed a countertop basin, ensure the sink is well-seated on the countertop and no gaps remain around the edge.
- For pedestal or wall-mounted basins, ensure there is no visible movement and that the basin is sturdy.
Step 9: Test the Functionality
Once the installation is complete, test all aspects of the wash basin. Run both hot and cold water through the faucet to check the water flow and pressure. Make sure the drain is functioning correctly, and there are no issues with the water draining properly.
- Observe the faucet handles for any leaks or dripping.
- Ensure the P-trap is not obstructed and water flows smoothly.
Best Wash Basin Manufacturers
| اسم الشركة | المقر الرئيسي/الموقع | سنة التأسيس |
| إيفان | تشوجي، الصين | 1993 |
| شركة سيلانيز | إيرفينغ، تكساس، في الولايات المتحدة | 1921 |
| داو | ميدلاند، ميشيغان، في الولايات المتحدة | 1897 |
| جيه إم إيجل | ليفينغستون، نيوجيرسي | 1982 |
| شركة كريسلاين للأنابيب البلاستيكية | ميكانيكسبيرج، بنسلفانيا، مجلس بلوفس، أيوا، كورسيكانا، تكساس | 1949 |
IFAN international standard for Wash Basin
تشمل معايير IFAN مجموعة من الشهادات والمواصفات الدولية، مثل ASTM 2846، وDIN 8079/8080، وASTM F441/F441M SCH80، وDIN، وسلسلة GB/T 18993، وAS/NZS 1477، وCSA B137.6، وNSF/ANSI 14، وTIS 17-2532/1131-2535، وغيرها. تضمن هذه المعايير جودة المنتجات وسلامتها وموثوقيتها، بما يتوافق مع متطلبات التصنيع والأداء العالمية. ومن خلال الالتزام بهذه المعايير، تضمن IFAN أن تلبي منتجاتها معايير الصناعة الصارمة، مما يضمن رضا العملاء والامتثال للإرشادات التنظيمية في مختلف المناطق.
خاتمة
Installing a wash basin is a manageable DIY project that can enhance the functionality and look of your bathroom or kitchen. By following this step-by-step guide and taking the time to ensure everything is properly aligned, sealed, and connected, you can achieve a professional result.
Remember that safety is paramount, so always use the correct tools and take necessary precautions, especially when handling plumbing materials. If you encounter any difficulties or complications, don’t hesitate to seek professional help. With a little patience and effort, you can enjoy your new wash basin for years to come.
اتصال
إيفان شركة مُصنِّعة محترفة بخبرة 30 عامًا، تُكرِّس جهودها لإنتاج أنابيب ووصلات وصمامات بلاستيكية عالية الجودة. تشمل منتجاتنا صمامات نحاسية، وصمامات PPR، بالإضافة إلى مجموعة متنوعة من الأنابيب والوصلات لتلبية احتياجات العملاء المختلفة. سواءً كنتم بحاجة إلى أنابيب سباكة وصرف صحي أو منتجات صمامات، إيفان يمكننا توفير مجموعة متنوعة من المنتجات عالية الجودة والفعّالة من حيث التكلفة لدعم مشاريعكم. تجدون أدناه معلومات الاتصال بنا.
سوف نقوم بالرد على بريدك الإلكتروني أو الفاكس الخاص بك خلال 24 ساعة.
يمكنك الاتصال بنا في أي وقت إذا كان هناك أي سؤال حول إنتاجنا.
لمزيد من المعلومات، يرجى زيارة موقعنا على شبكة الإنترنت https://www.ifanplus.com/
يرجى إرسال بريد إلى: [email protected]
واتساب: +86 19857948982