1. Gather the Necessary Tools and Materials
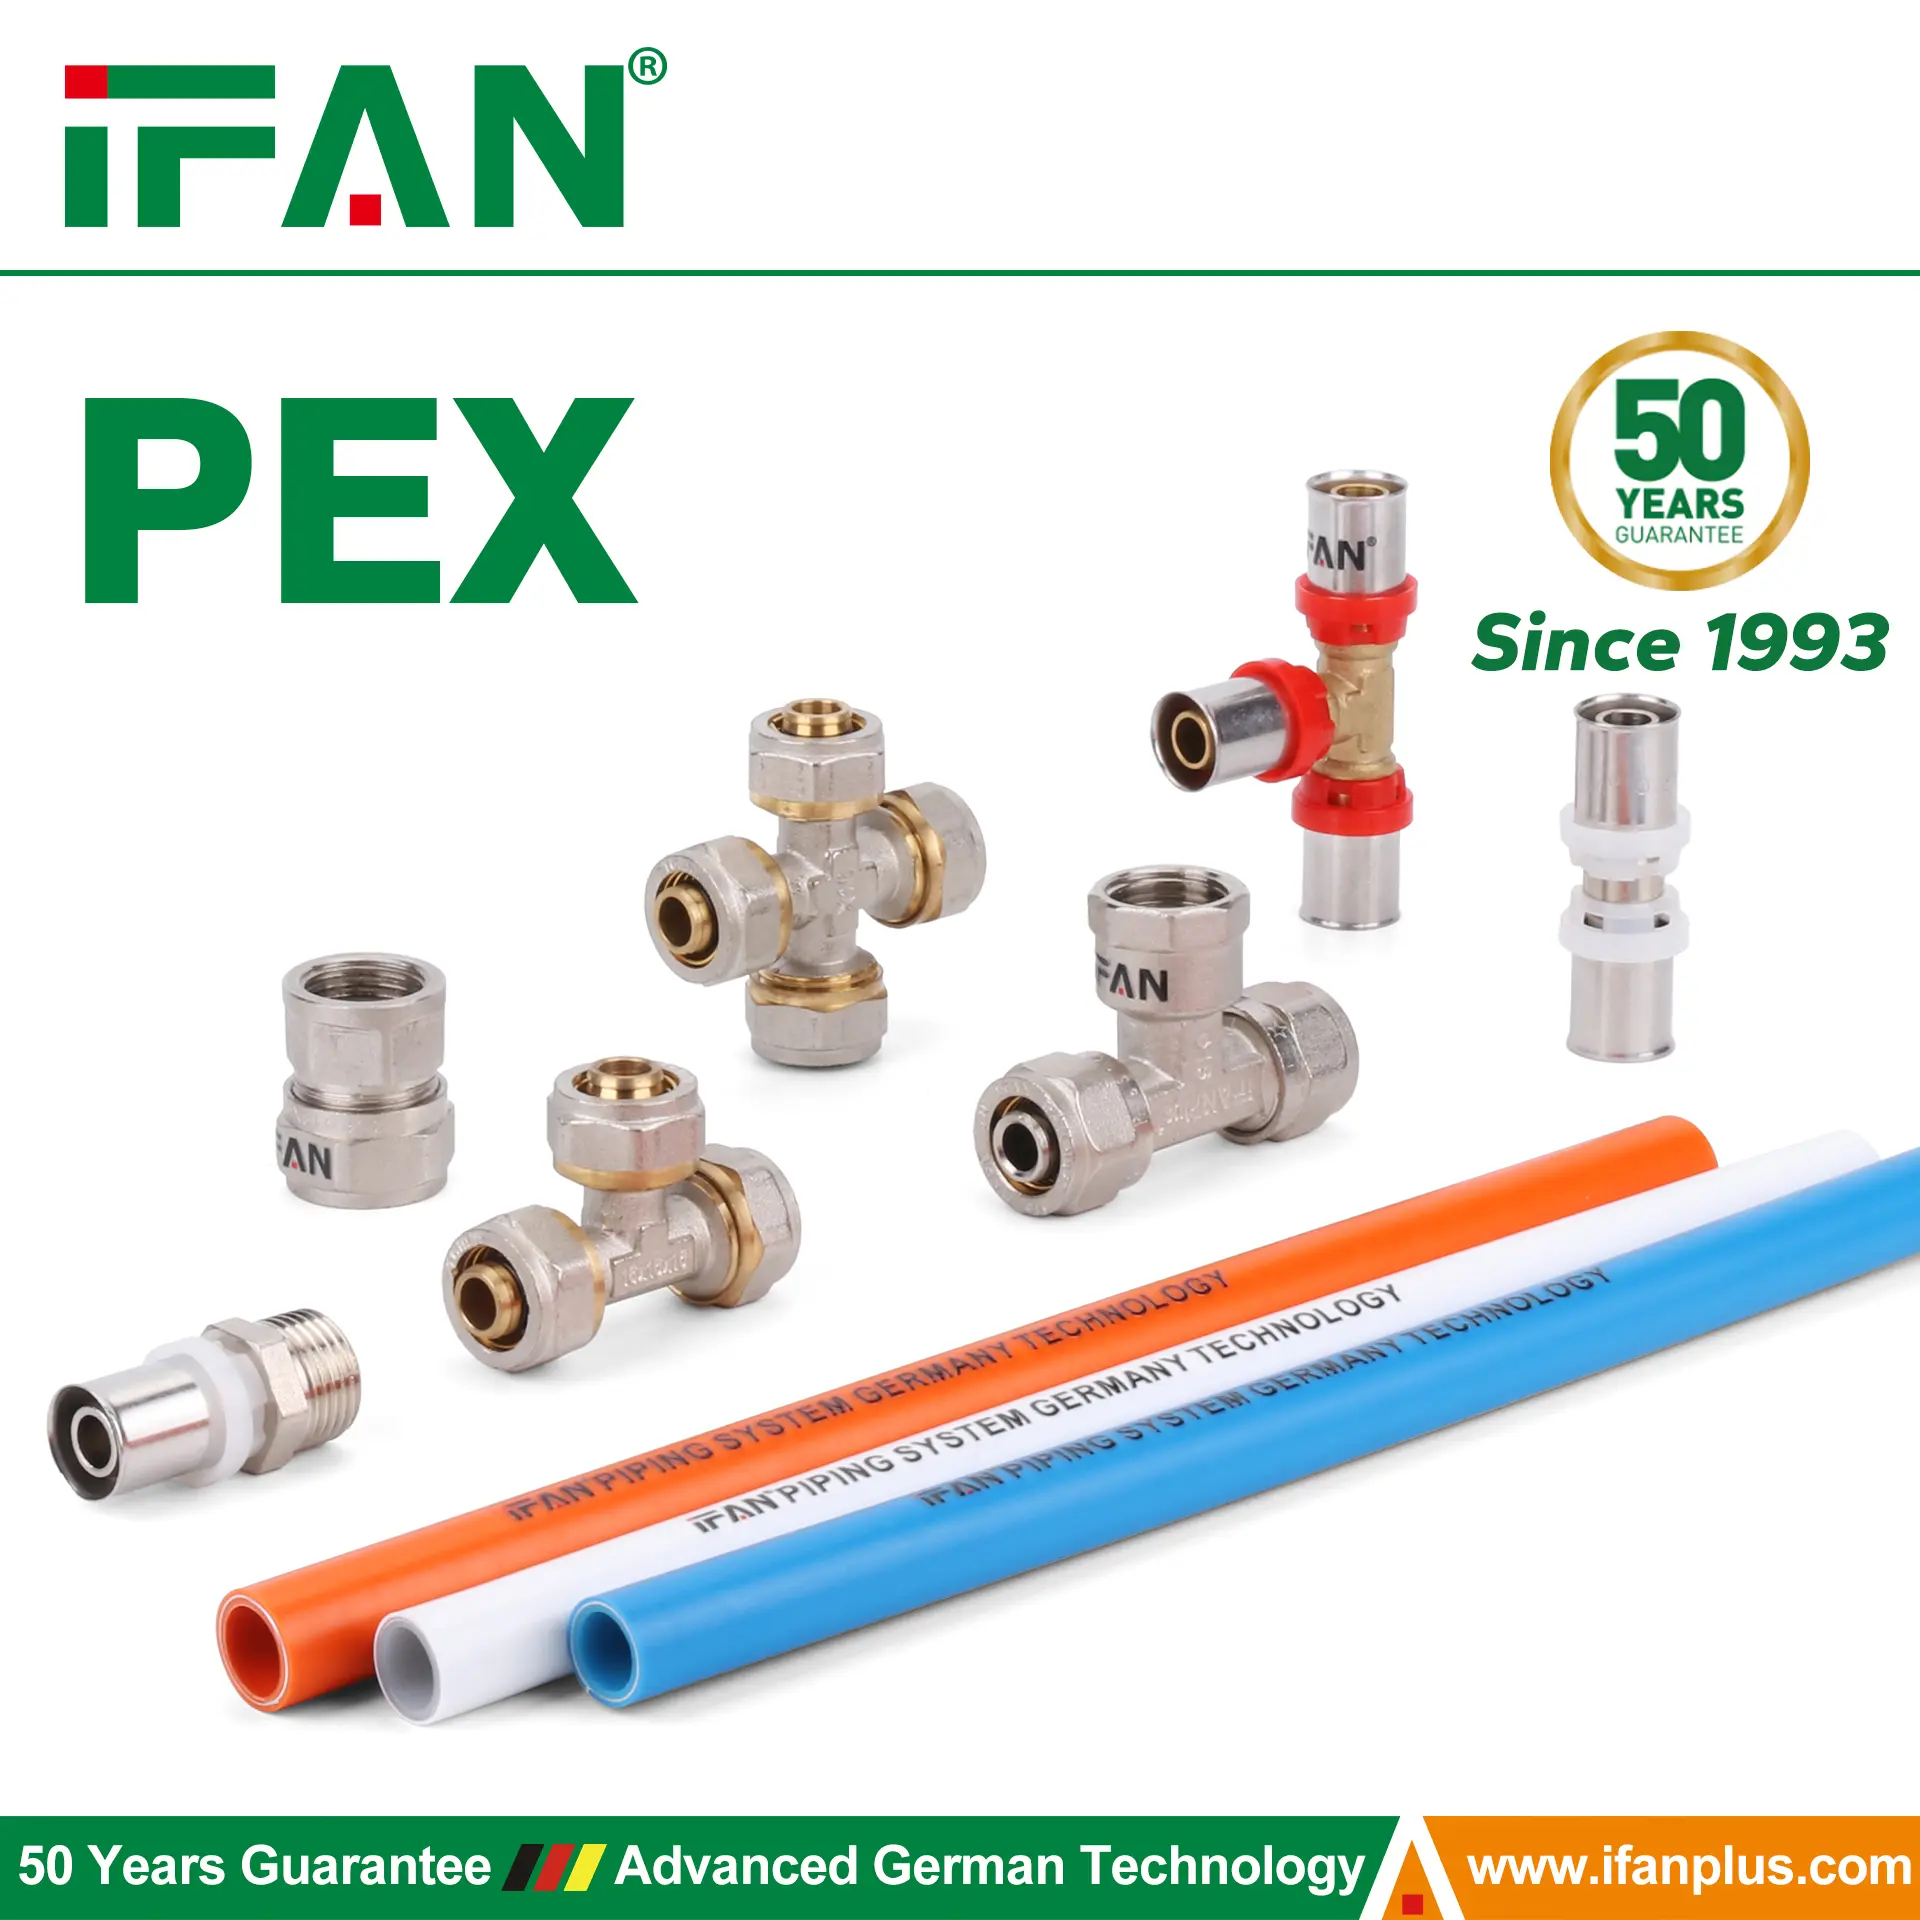
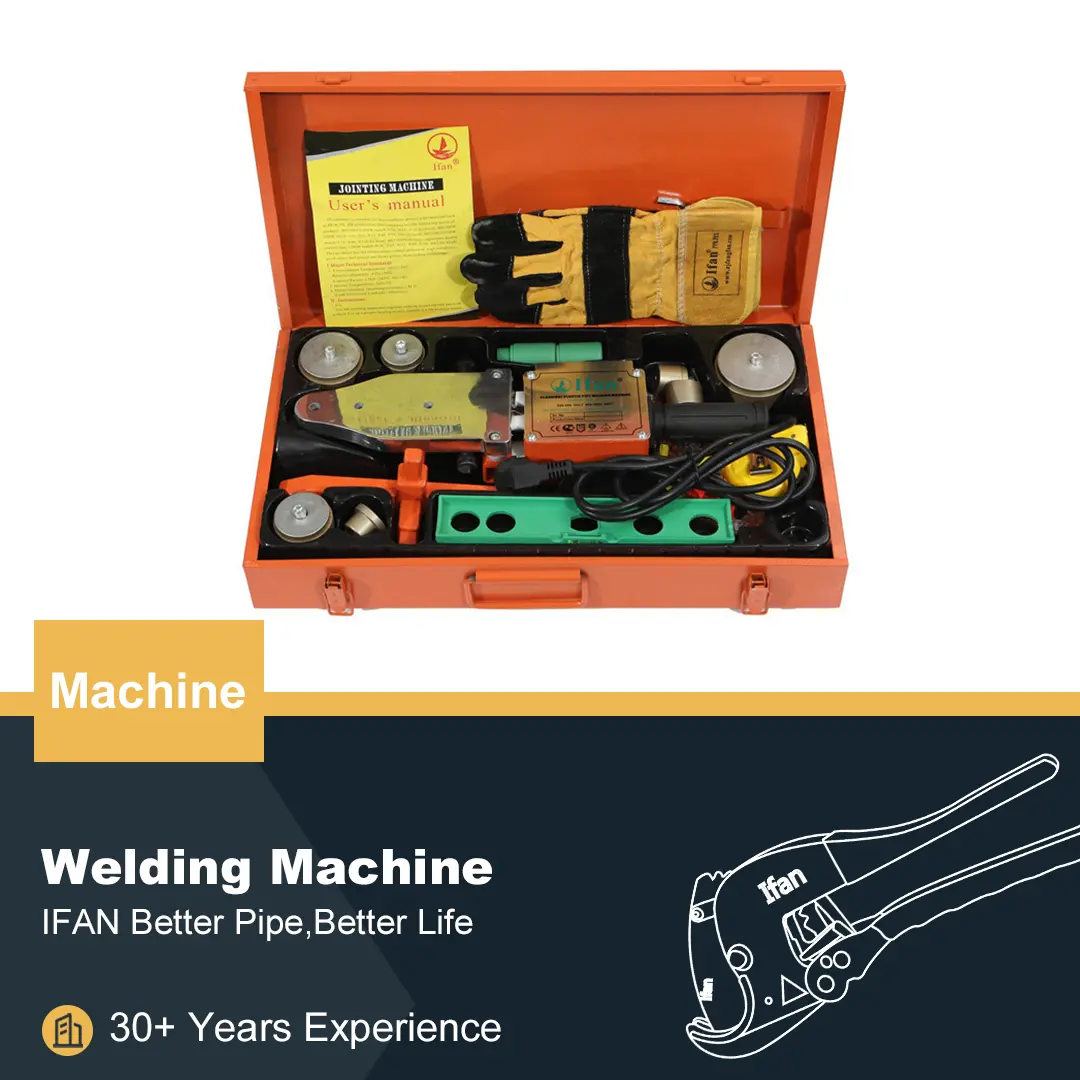
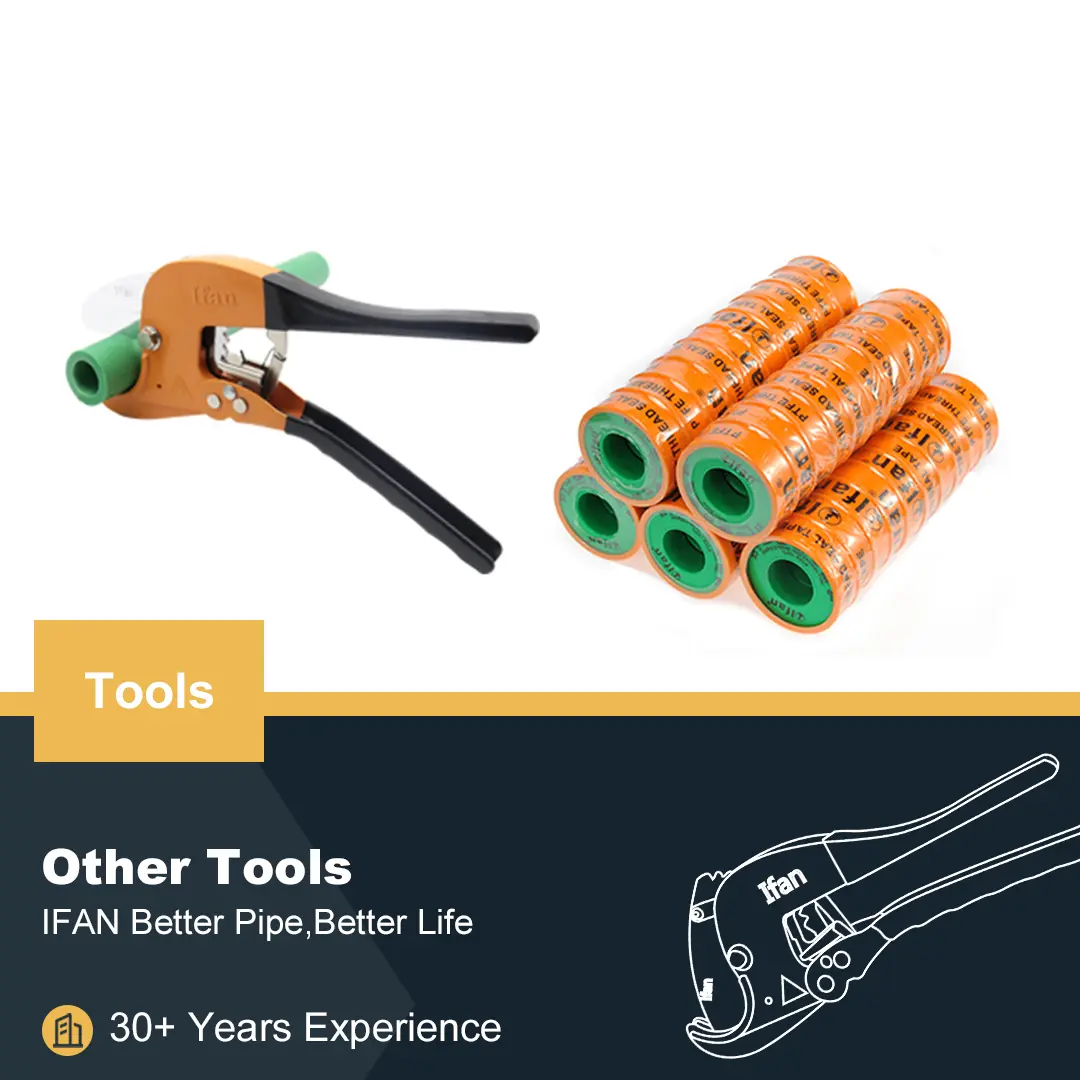
You need the right tools to install 1/2 PEX pipe efficiently. Use a PEX cutter for clean cuts. Get PEX fittings, crimp rings, and a crimping tool. Prepare a deburring tool to smooth edges. Use a measuring tape and marker for accuracy. Keep a pipe expander if you use expansion fittings. Choose PEX type based on your needs. PEX-A allows flexibility, while PEX-B offers durability. Use a manifold for multiple connections. Get Teflon tape for threaded fittings. Have safety gear like gloves and goggles. Gather everything before starting to avoid delays.
2. Plan the Pipe Layout
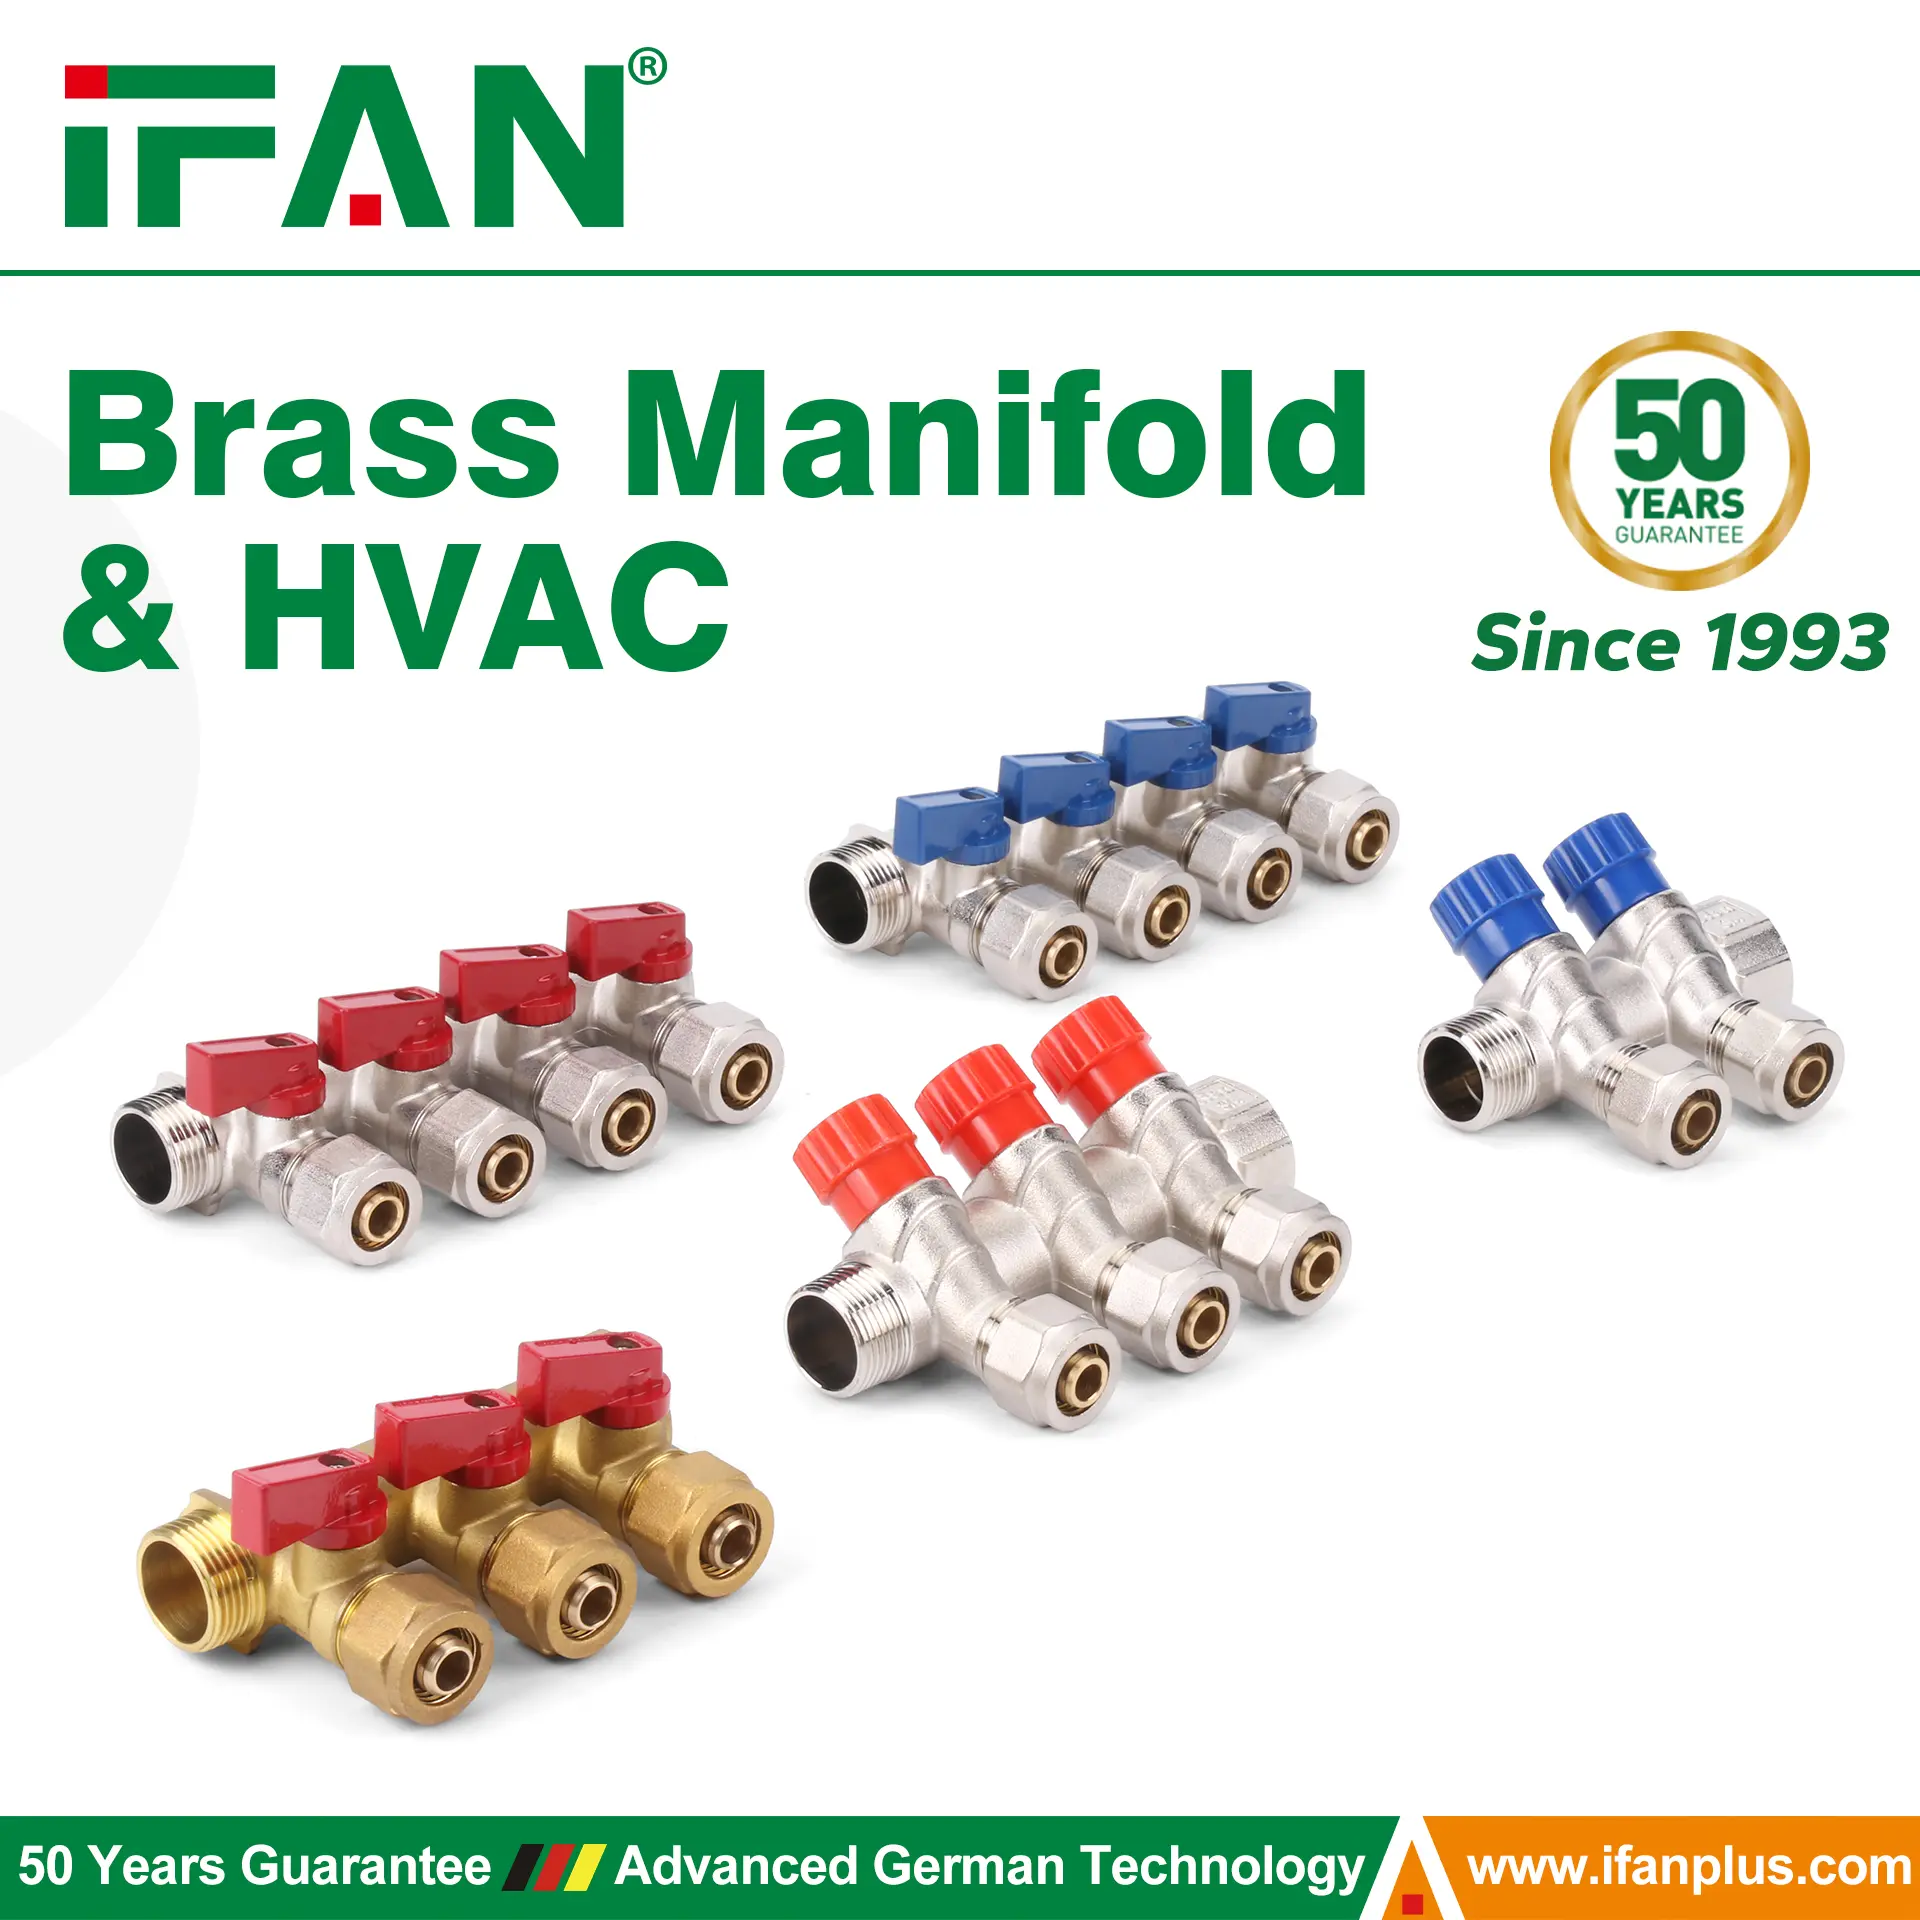
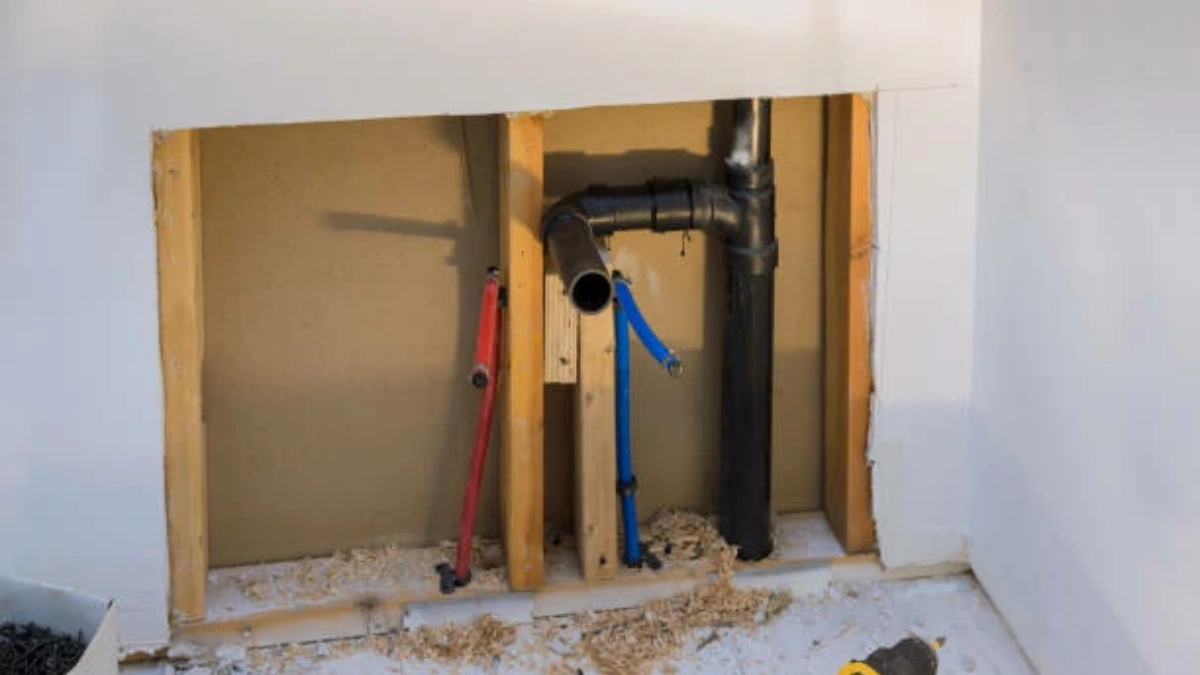
Plan the route before cutting PEX pipes. Identify water sources and fixture locations. Minimize sharp bends to maintain water pressure. Mark drilling points for secure placement. Use a manifold system for multiple outlets. Ensure pipes fit existing plumbing. Avoid running PEX near heat sources to prevent damage. Secure pipes with straps or clamps every few feet. Keep PEX loops loose to allow expansion. Leave space for future repairs. Sketch a diagram to avoid mistakes during installation.
3. Cut and Prepare the 1/2 PEX Pipe
Measure the required length accurately before cutting. Use a PEX cutter to make clean, straight cuts. Ensure no rough edges remain. Smooth the cut ends with a deburring tool if needed. Slide a crimp ring onto the pipe before inserting fittings. Position the ring about 1/8 inch from the pipe’s edge. Double-check measurements before proceeding. Keep fittings dry and free from debris. Proper preparation ensures leak-free connections. Inspect each cut piece before assembly.
4. Connect the 1/2 PEX Pipe with Fittings
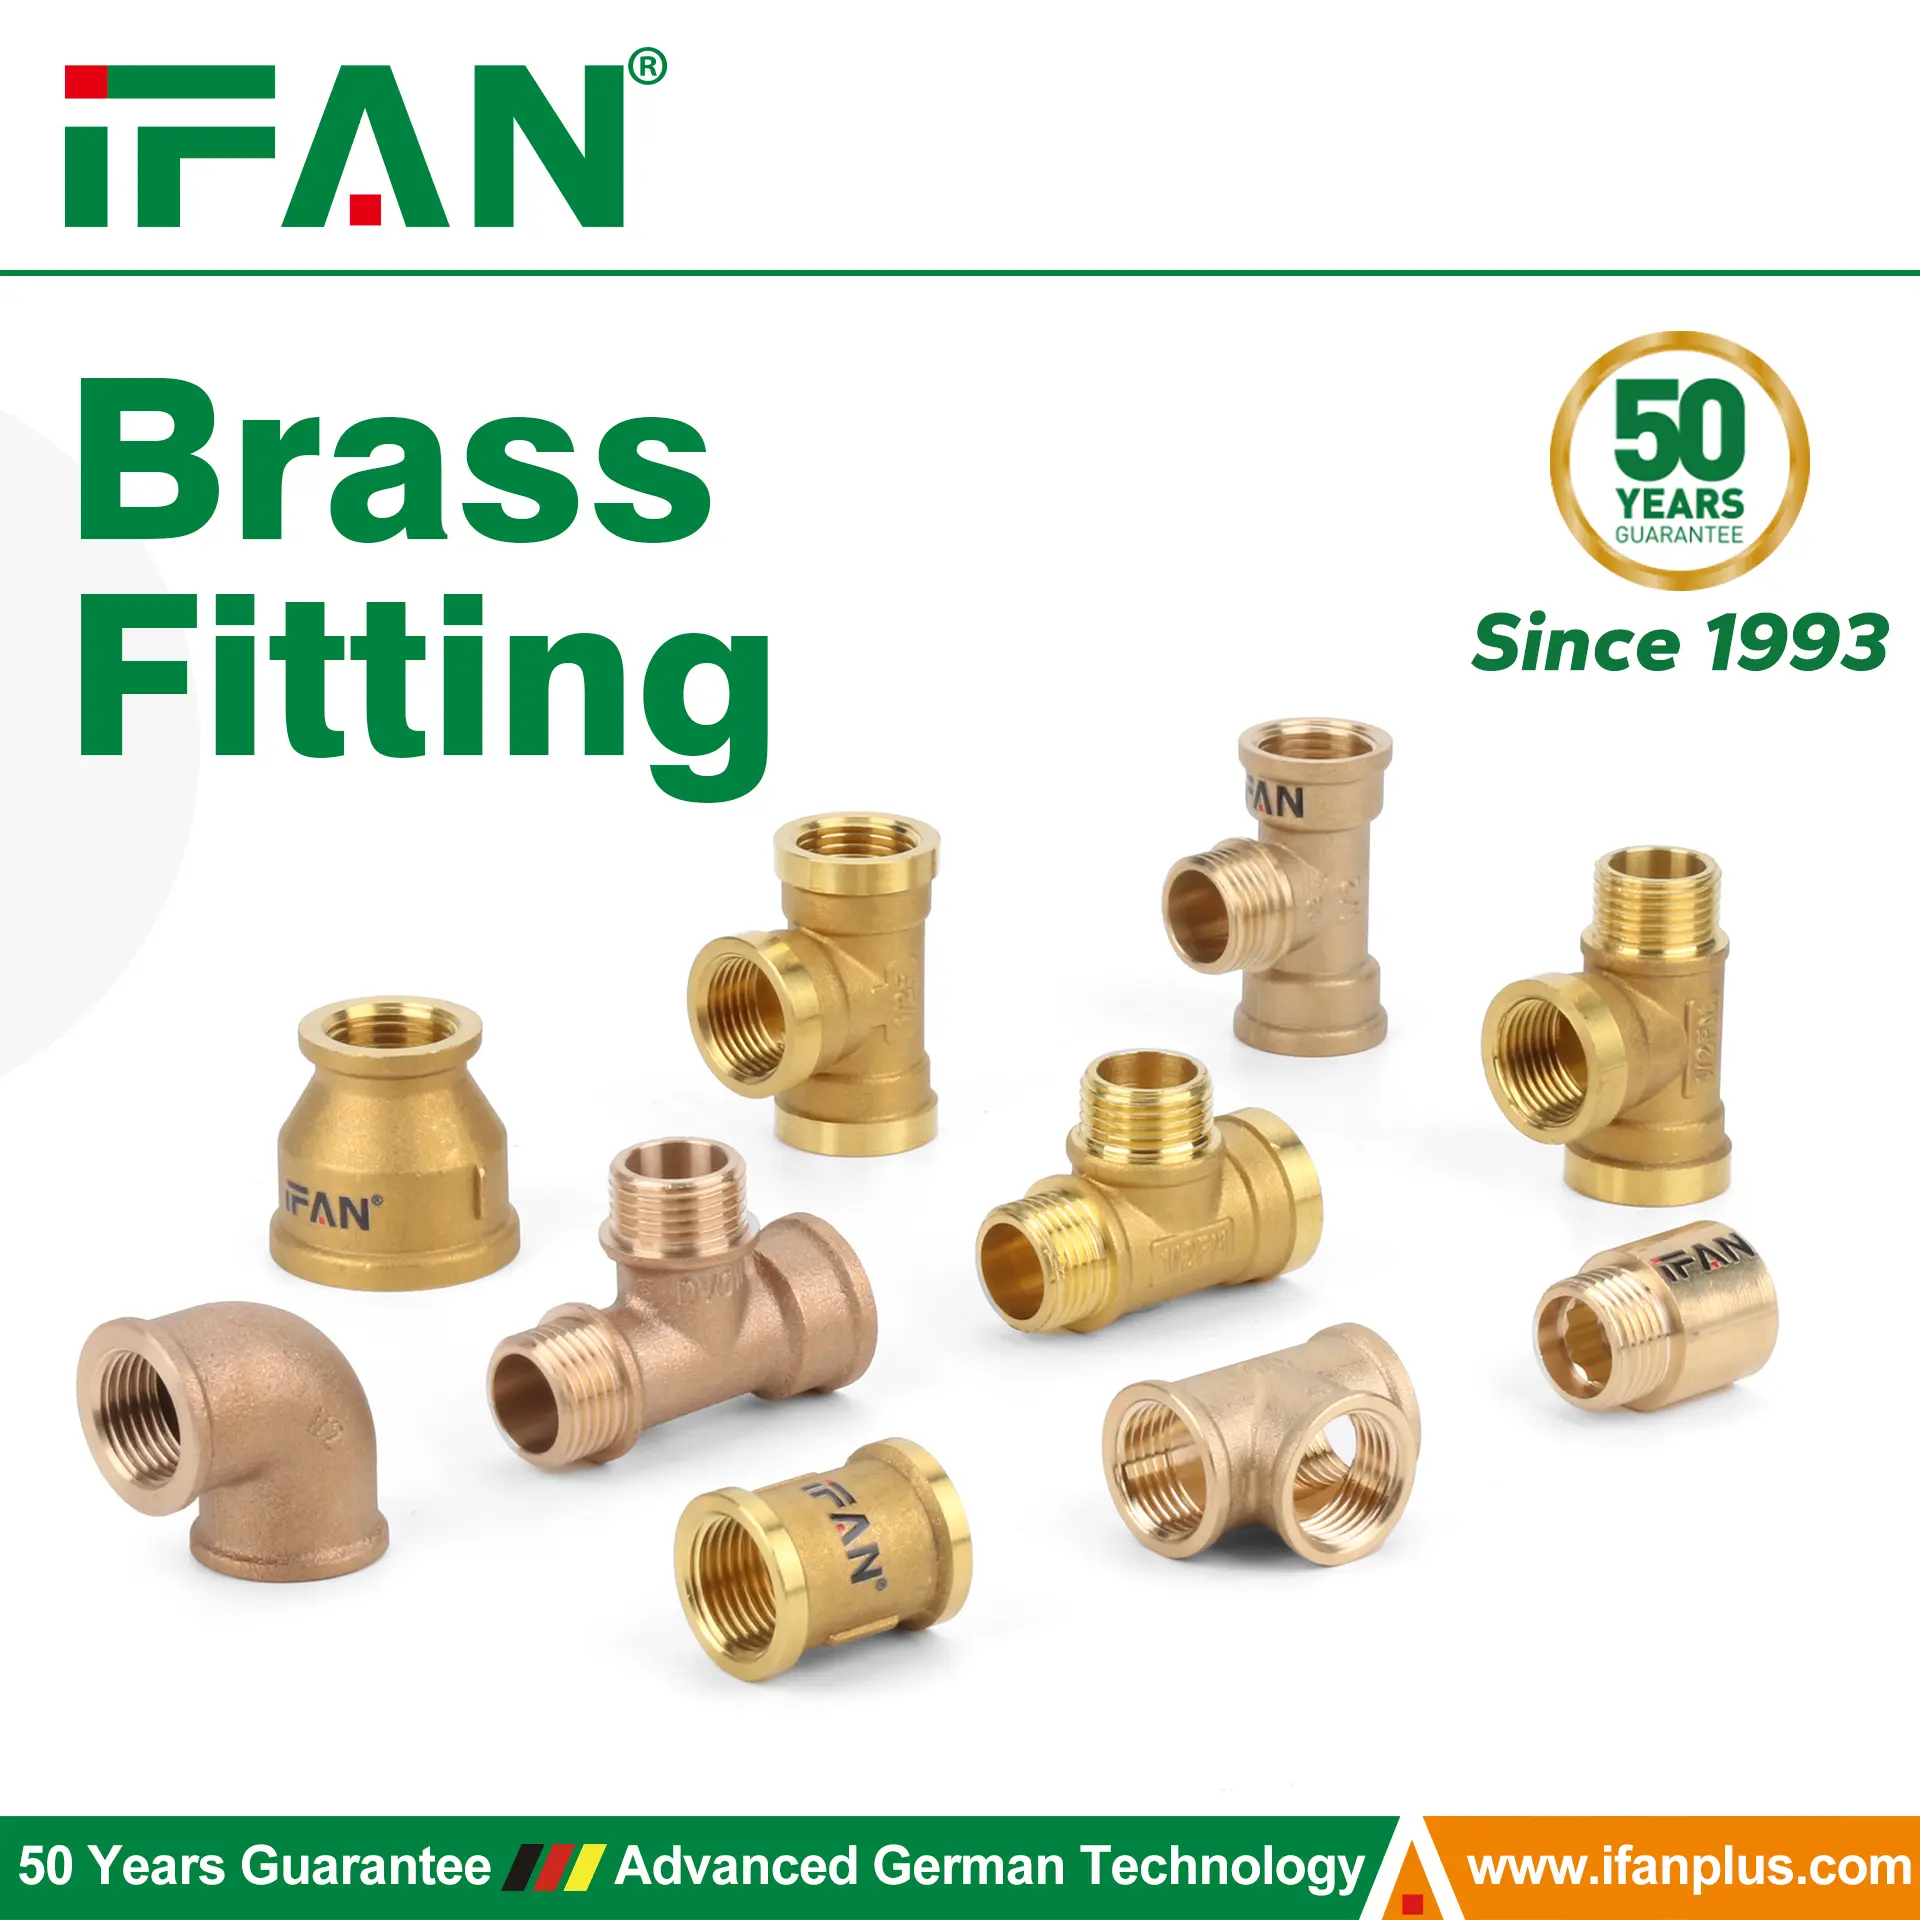
Choose the right fittings for your installation. Insert the fitting into the pipe end. Ensure it sits firmly. Position the crimp ring correctly for a secure seal. Use a crimping tool to press the ring tightly. Check for leaks using a crimp gauge. If using expansion fittings, expand the pipe with a tool before inserting the fitting. Allow the pipe to contract for a tight fit. Use push-to-connect fittings for quick connections. Follow manufacturer guidelines for each fitting type. Secure each connection properly to prevent future leaks.
5. Secure the 1/2 PEX Pipe
Attach PEX pipes to walls or joists using clamps. Space clamps every 32 inches for horizontal runs. Keep vertical pipes secured every 4 feet. Avoid over-tightening to allow expansion. Use insulated supports when passing through metal surfaces. Keep PEX away from sharp edges to prevent damage. Ensure pipes do not rub against rough surfaces. Protect exposed pipes from direct sunlight. Use foam insulation if installing pipes in cold areas. Secure pipes properly to prevent noise and movement.
6. Connect PEX to Existing Plumbing
Turn off the main water supply before connecting. Use adapter fittings to transition between PEX and other pipes. Apply Teflon tape on threaded connections for a secure seal. Use push-to-connect or crimp adapters for copper or PVC connections. Check compatibility of different pipe materials. Tighten connections with appropriate tools. Avoid over-tightening, which may cause leaks. Test each connection before restoring water flow. Proper transitions ensure long-lasting connections.
7. Test the System for Leaks
Turn on the water supply slowly to check for leaks. Inspect each fitting and joint carefully. Look for drips or moisture. If leaks appear, tighten the connections or replace faulty fittings. Use a pressure gauge to test for leaks under normal water pressure. Keep the system pressurized for at least 30 minutes. If pressure drops, recheck all connections. Ensure all joints remain dry before completing installation. Testing prevents future problems and costly repairs.
8. Insulate and Finalize the Installation
Wrap PEX pipes with foam insulation in cold areas. Secure insulation with tape to prevent slipping. Cover exposed pipes to protect from UV damage. Ensure all connections remain accessible for future maintenance. Clean up the work area and remove excess materials. Label pipes if needed for easy identification. Confirm all fixtures receive proper water pressure. Review the entire system for any issues. A well-insulated installation improves efficiency and longevity.
معيار IFAN الدولي
تُصمّم شركة IFAN منتجاتها لتلبية مجموعة واسعة من المعايير الدولية، بما في ذلك ASTM F1974، وASTM F1281، وCSA B137، وDIN 16836، وGB18997، وISO 21003، وISO15875، وGB-T 18992، وDIN 16892، وASTM F877، وASTM F2788، وBS 7291، وBS EN ISO 15875، وCSA B137. تضمن هذه المعايير جودة ومتانة وأداء أنابيب ووصلات PEX من IFAN في مختلف التطبيقات. ومن خلال الالتزام بهذه اللوائح، تُقدّم IFAN حلولاً موثوقة لأنظمة السباكة والتدفئة وإمدادات المياه في الأسواق العالمية.
اتصال
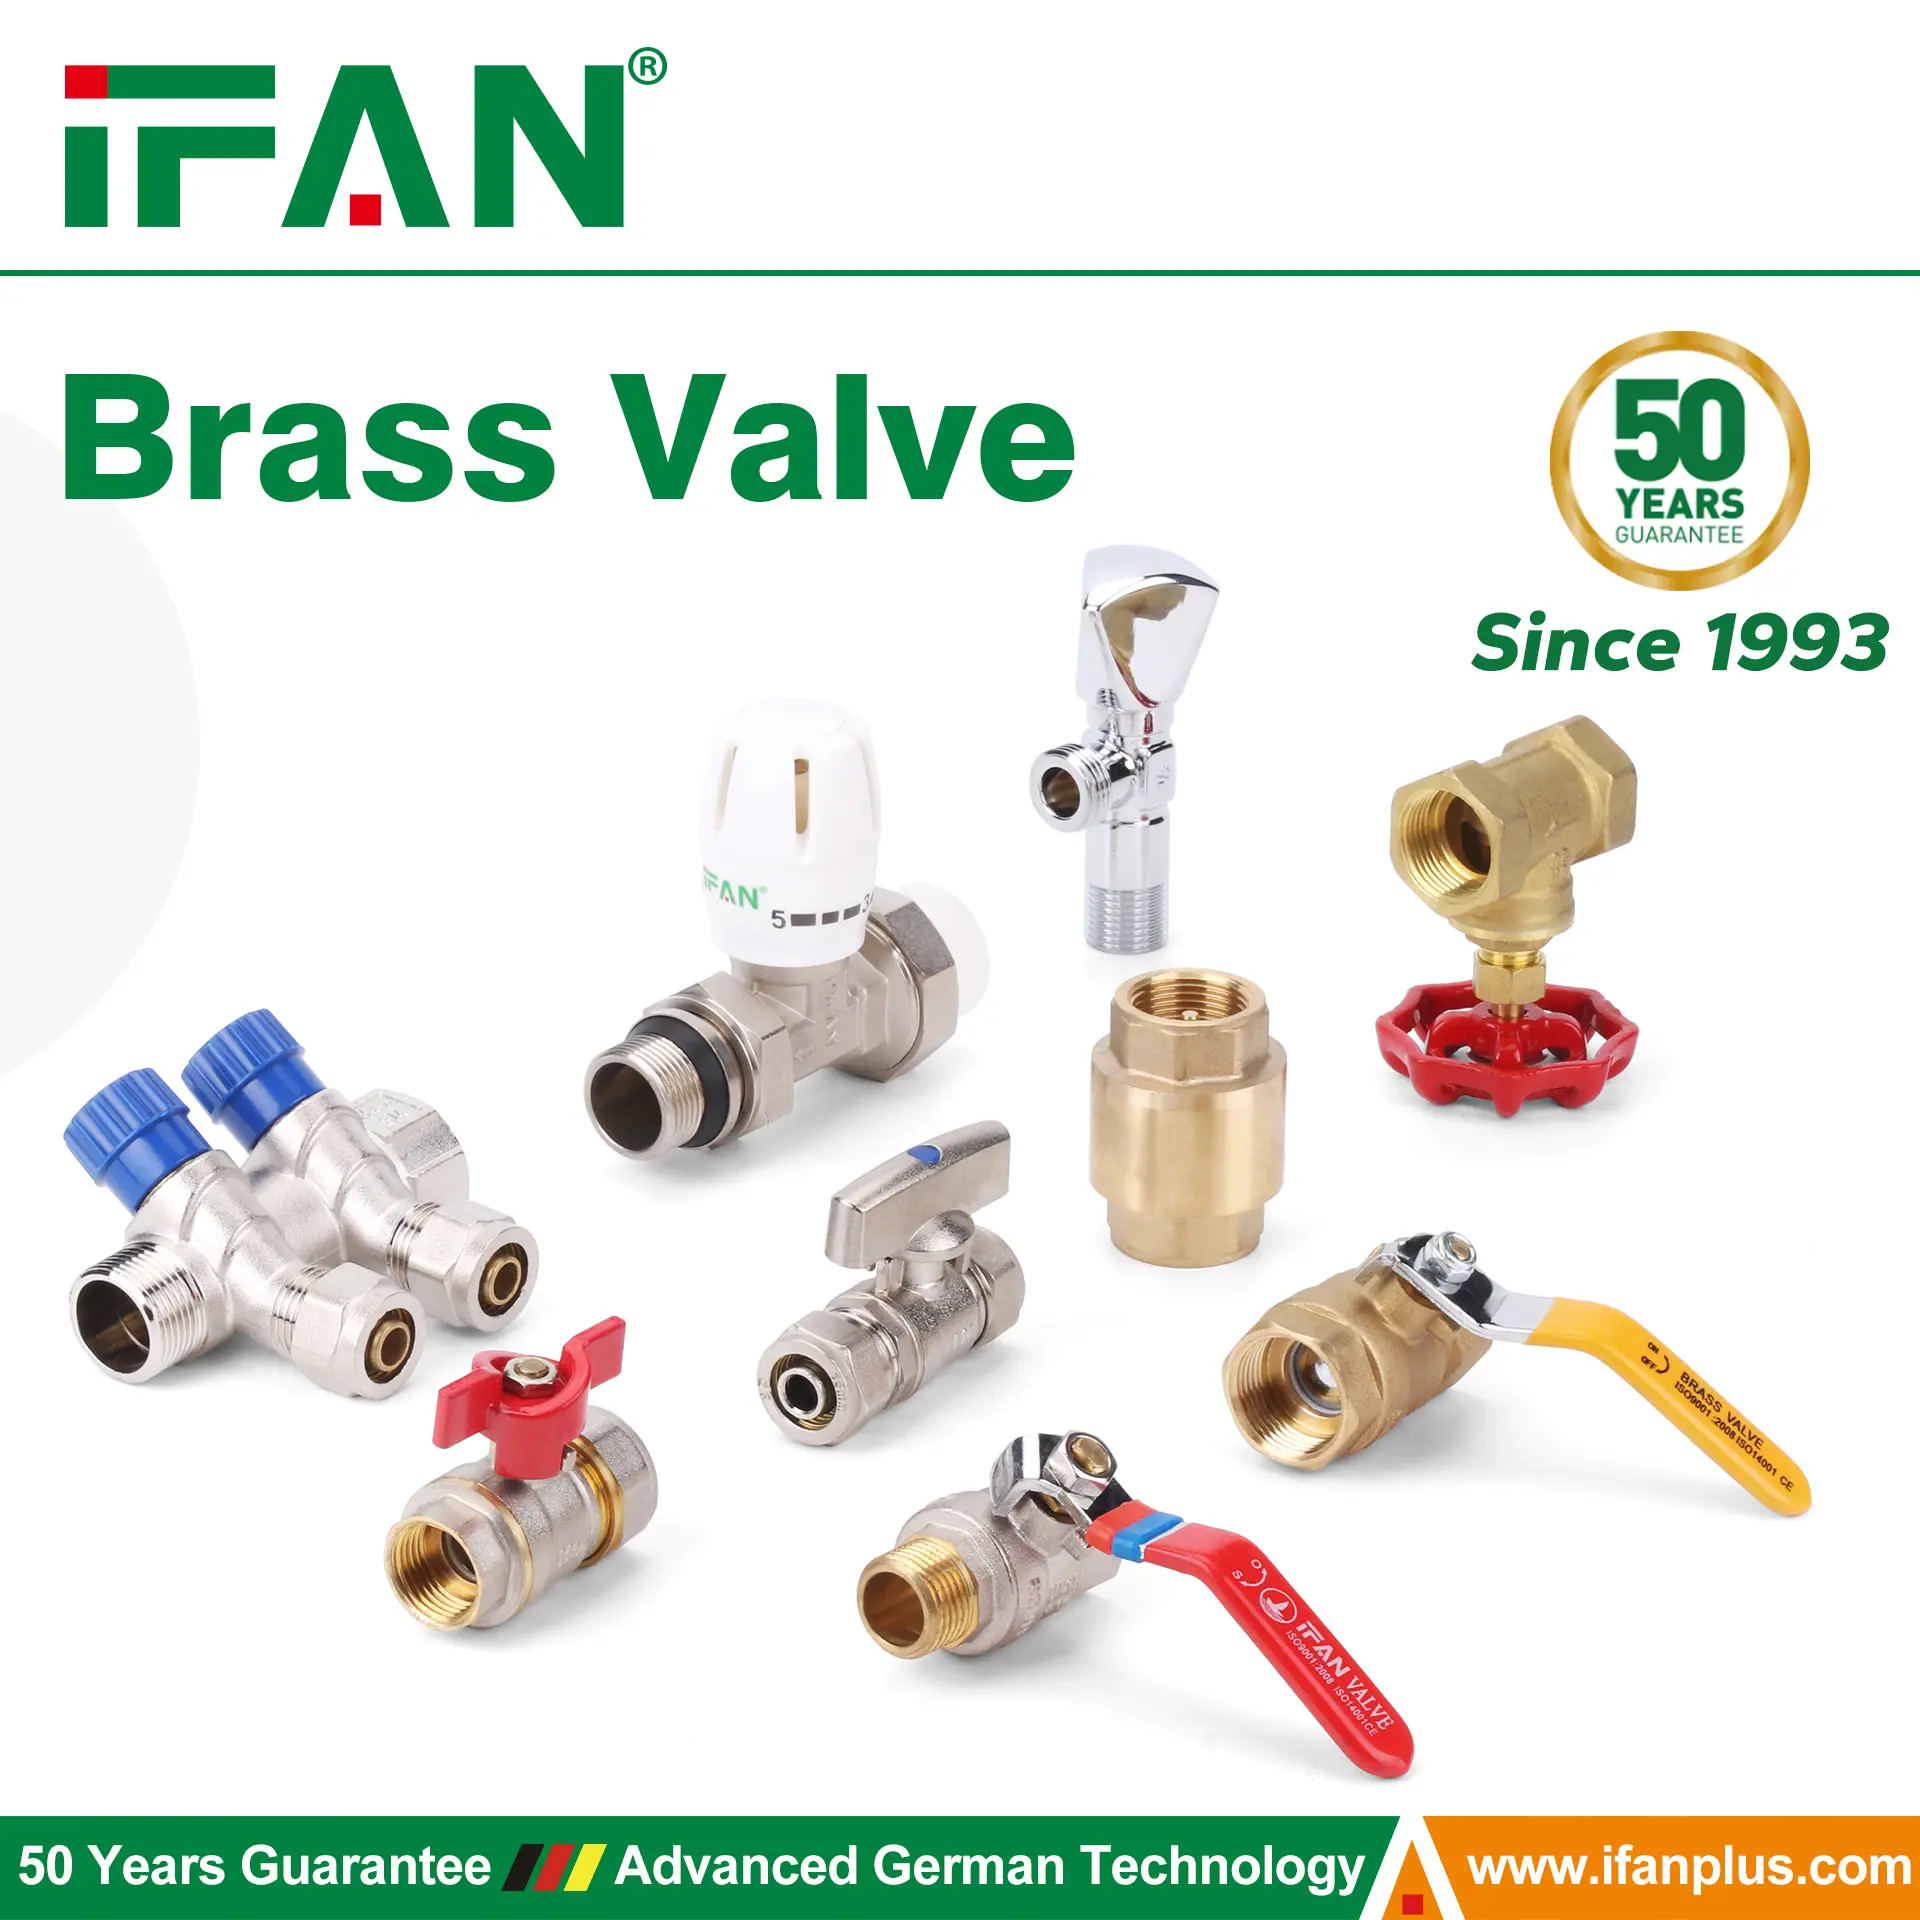
إيفان IFAN شركة تصنيع محترفة بخبرة 30 عامًا، متخصصة في إنتاج الأنابيب والوصلات والصمامات البلاستيكية عالية الجودة. تشمل منتجاتنا صمامات النحاس، وصمامات البولي بروبيلين (PPR)، بالإضافة إلى مجموعة متنوعة من الأنابيب والوصلات لتلبية احتياجات العملاء المختلفة. سواءً كنتم بحاجة إلى أنابيب السباكة والصرف الصحي أو منتجات الصمامات، فإن IFAN قادرة على توفير مجموعة متنوعة من المنتجات عالية الجودة وبأسعار معقولة لدعم مشاريعكم. تجدون أدناه معلومات الاتصال بنا.
سوف نقوم بالرد على بريدك الإلكتروني أو الفاكس الخاص بك خلال 24 ساعة.
يمكنك الاتصال بنا في أي وقت إذا كان هناك أي سؤال حول إنتاجنا.
لمزيد من المعلومات، يرجى زيارة موقعنا على شبكة الإنترنت https://www.ifanplus.com/
يرجى إرسال بريد إلى: [email protected]
واتساب: +86 19857948982